Clasp Weave: American Flag

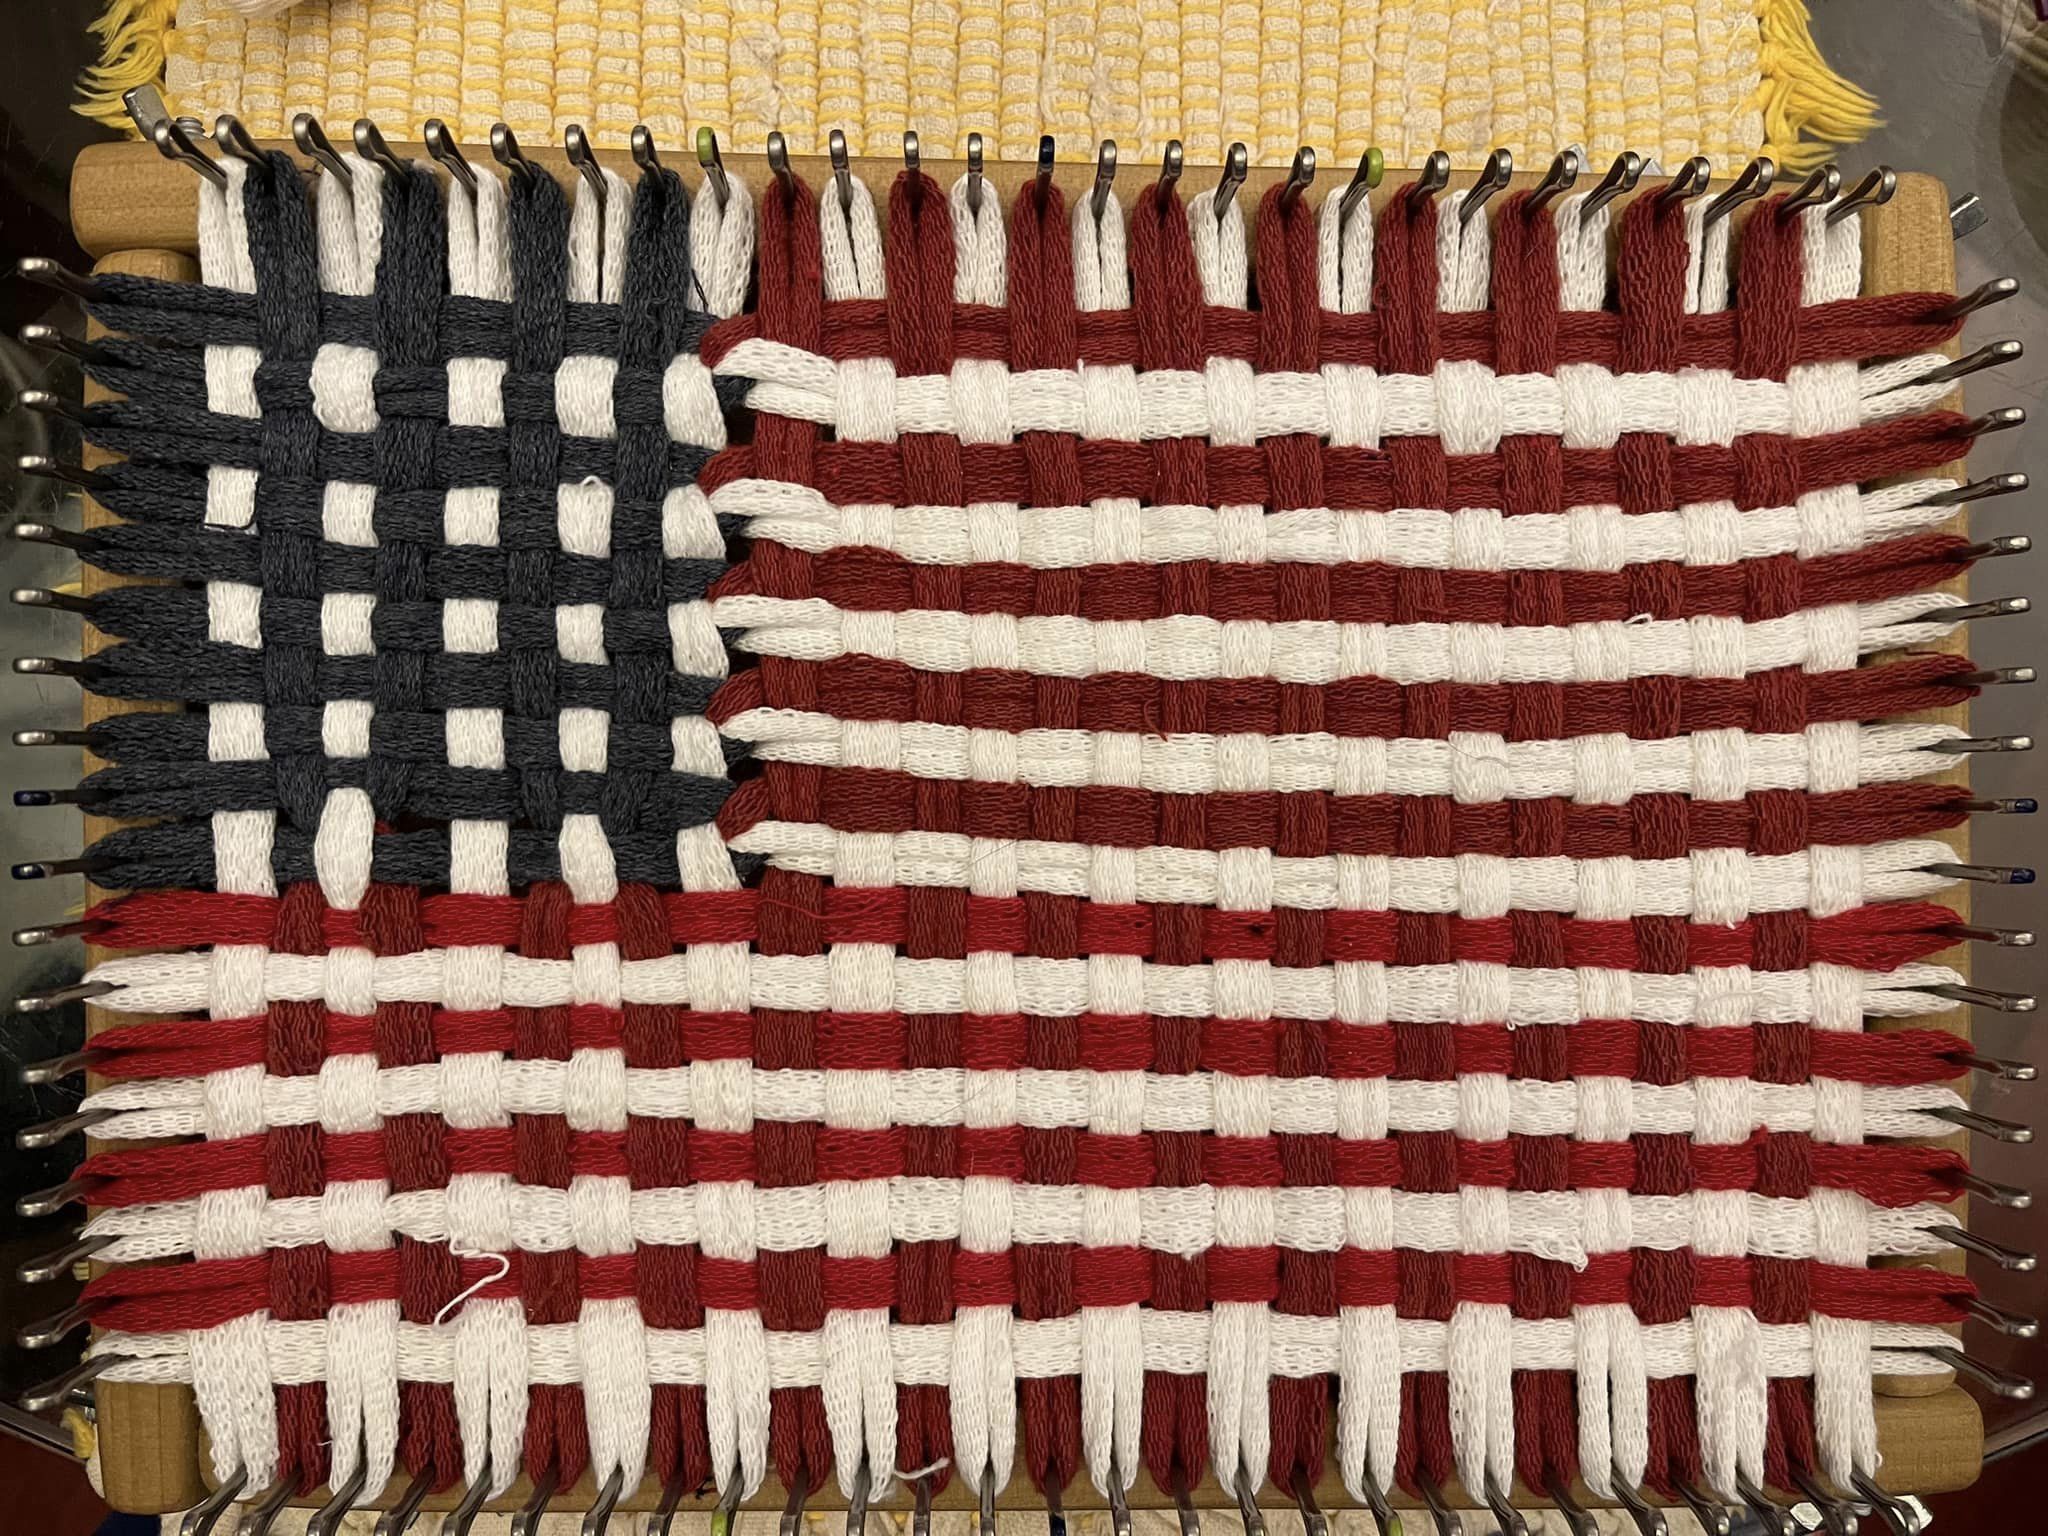
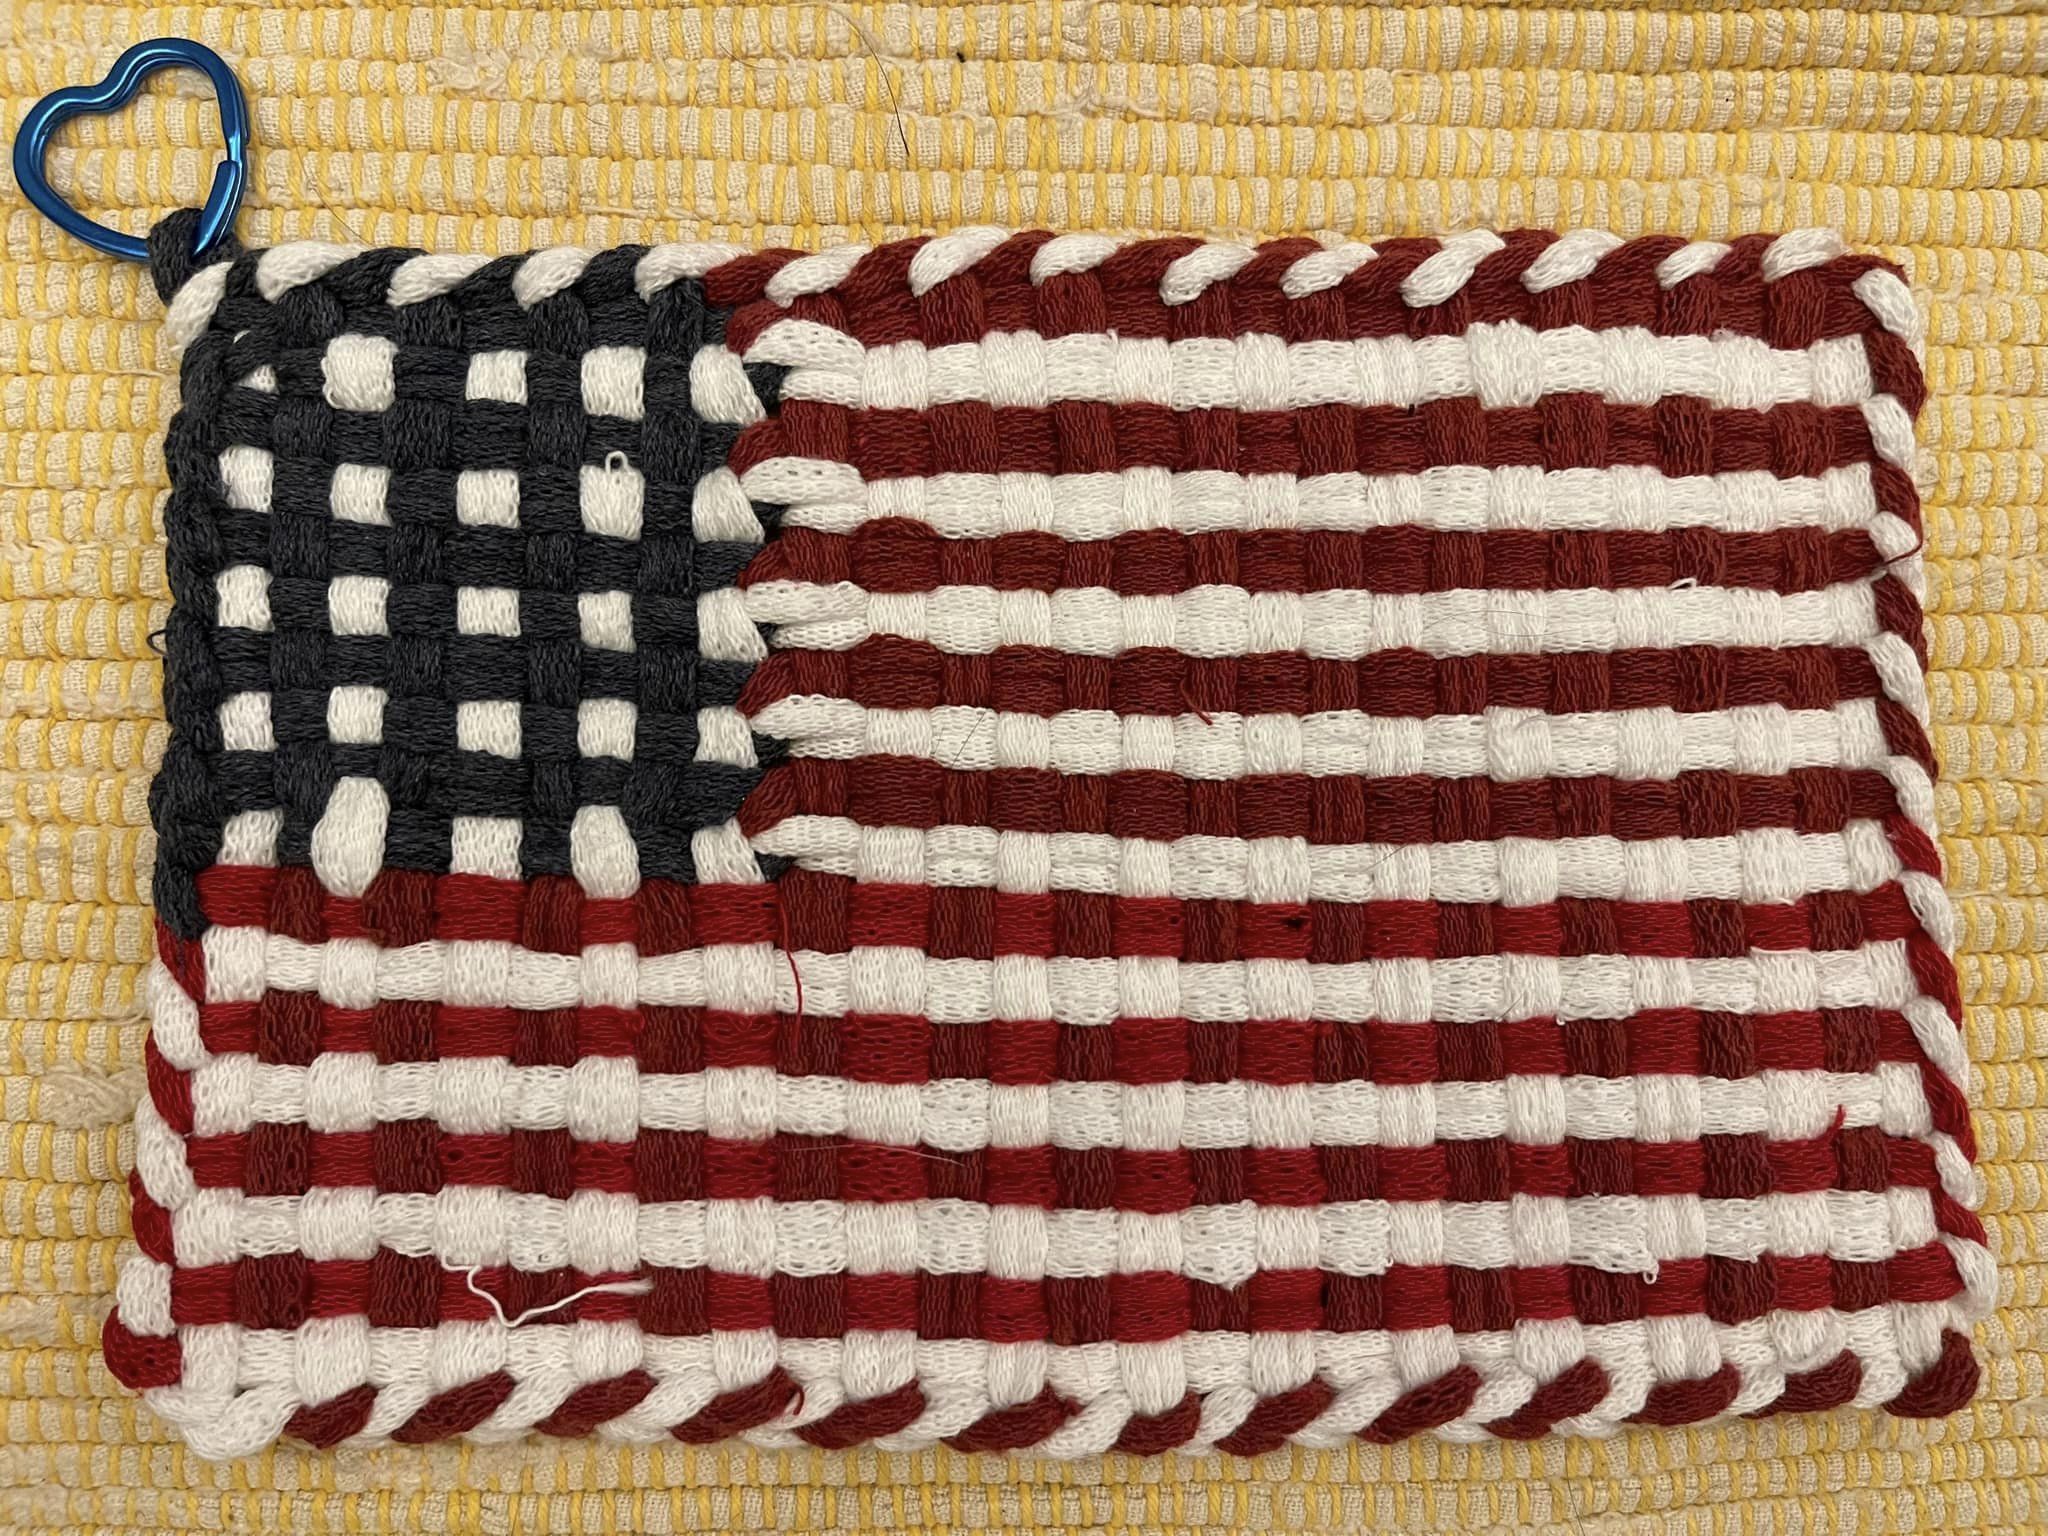
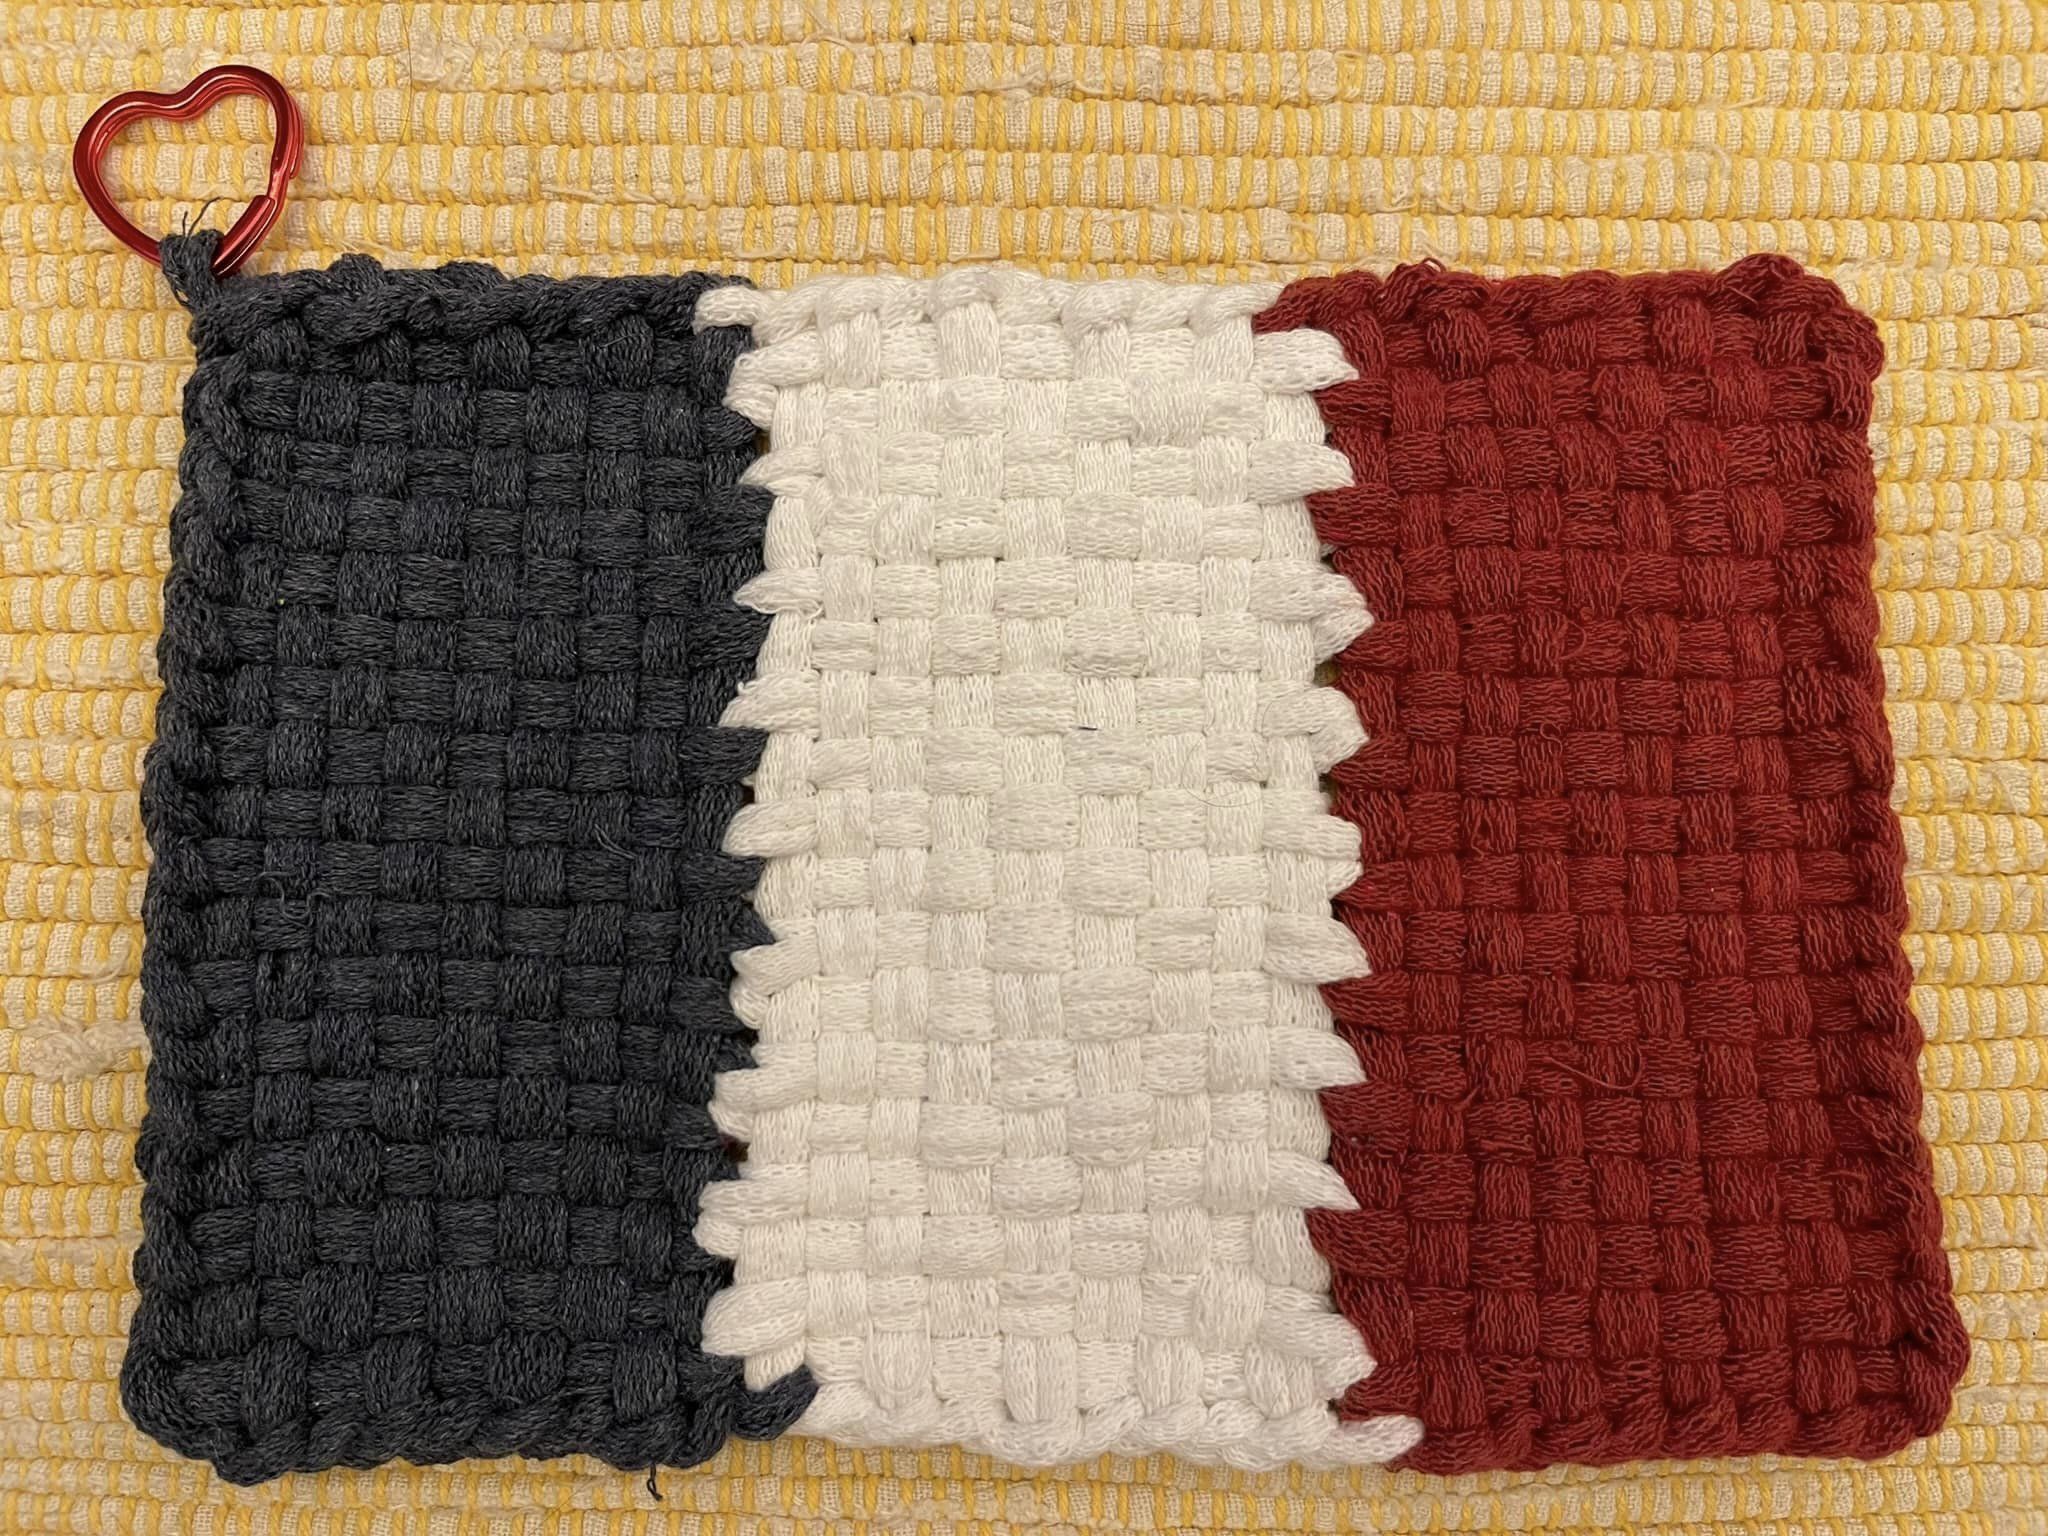
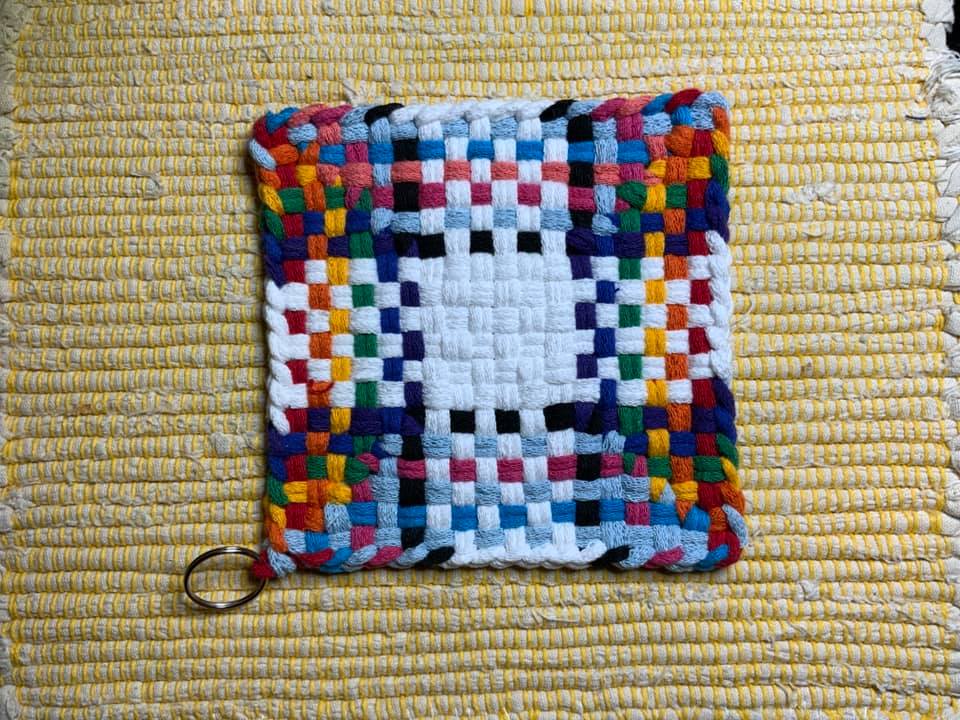
When I bound off the French flag this morning, I stared at for long enough to realize… half of a traditional loop plus one full length traditional loop *also* equals one pro loop, which means, VOILA!!! US FLAG!

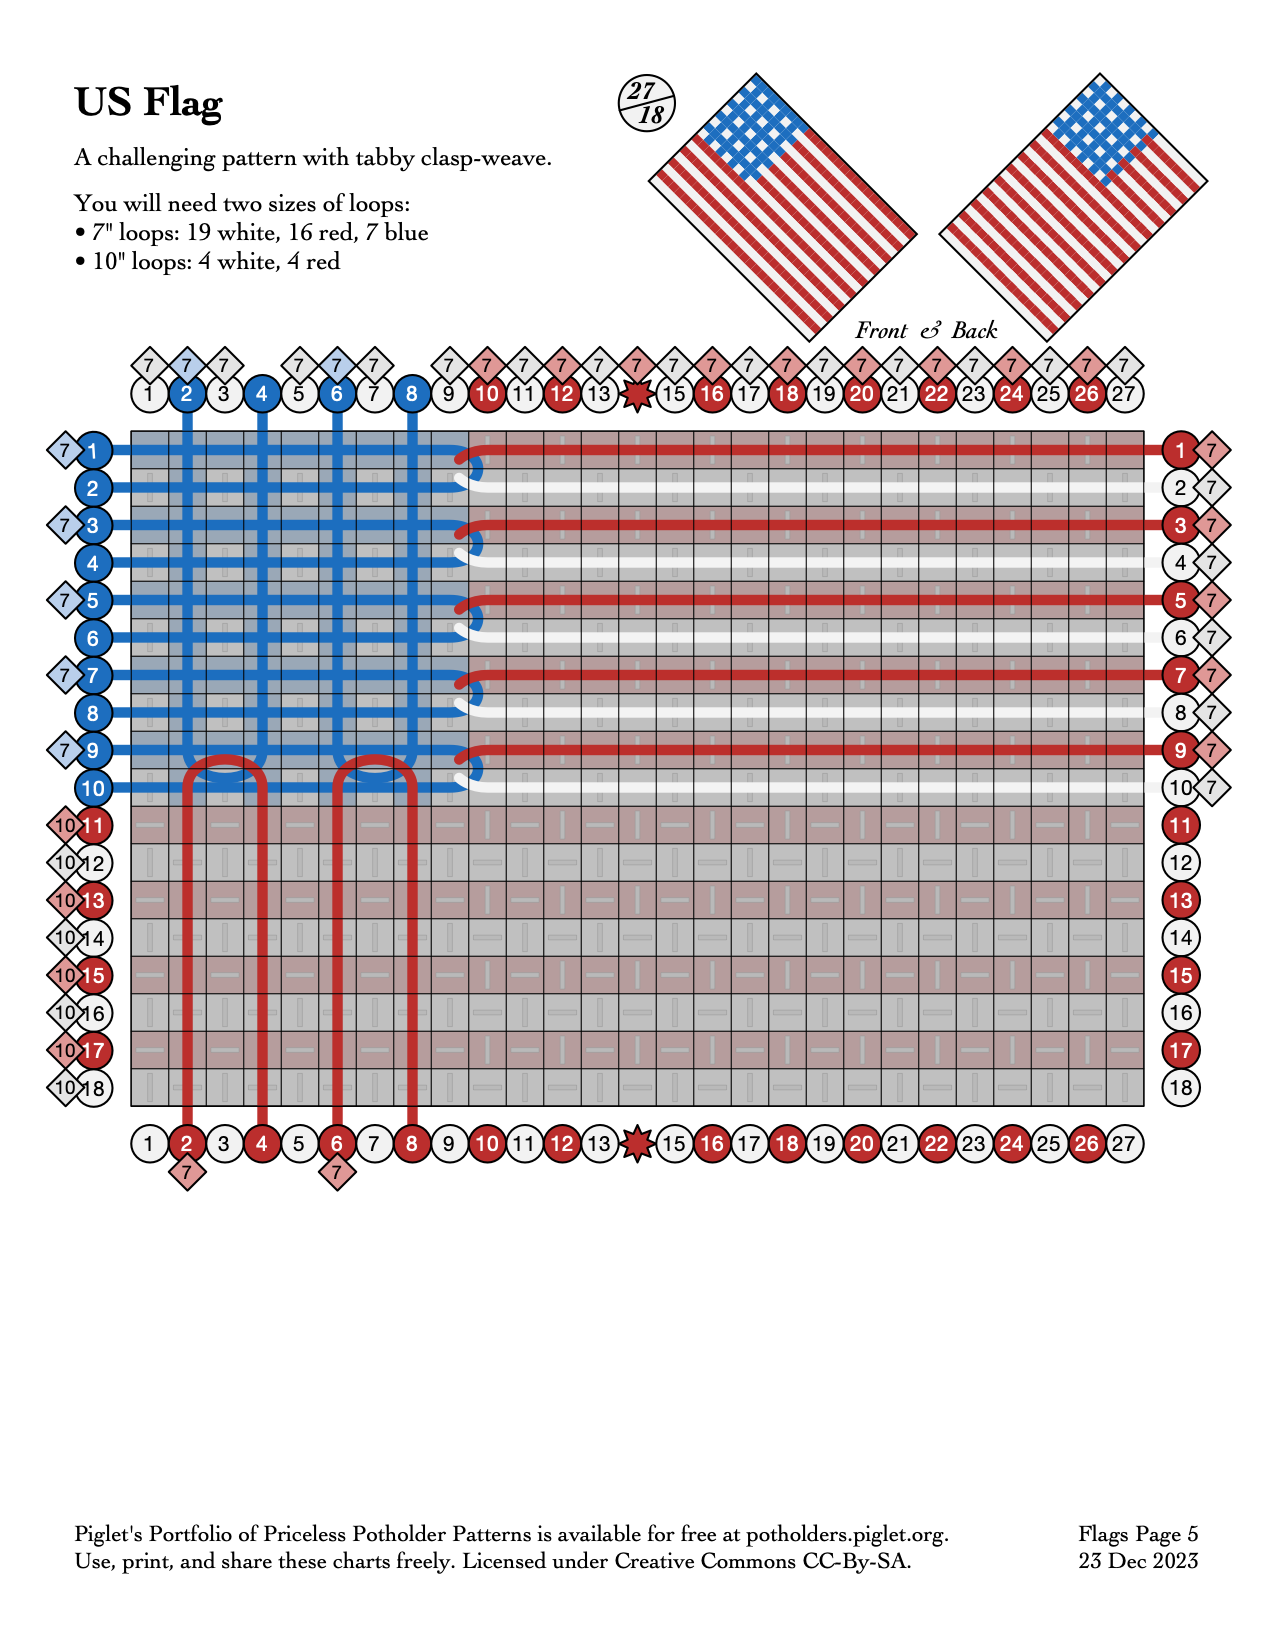
[Added by Matthew:] This example is woven on an oblong (18×27) loom, but you could use the same technique to make a square pro (27×28) potholder with more stripes.

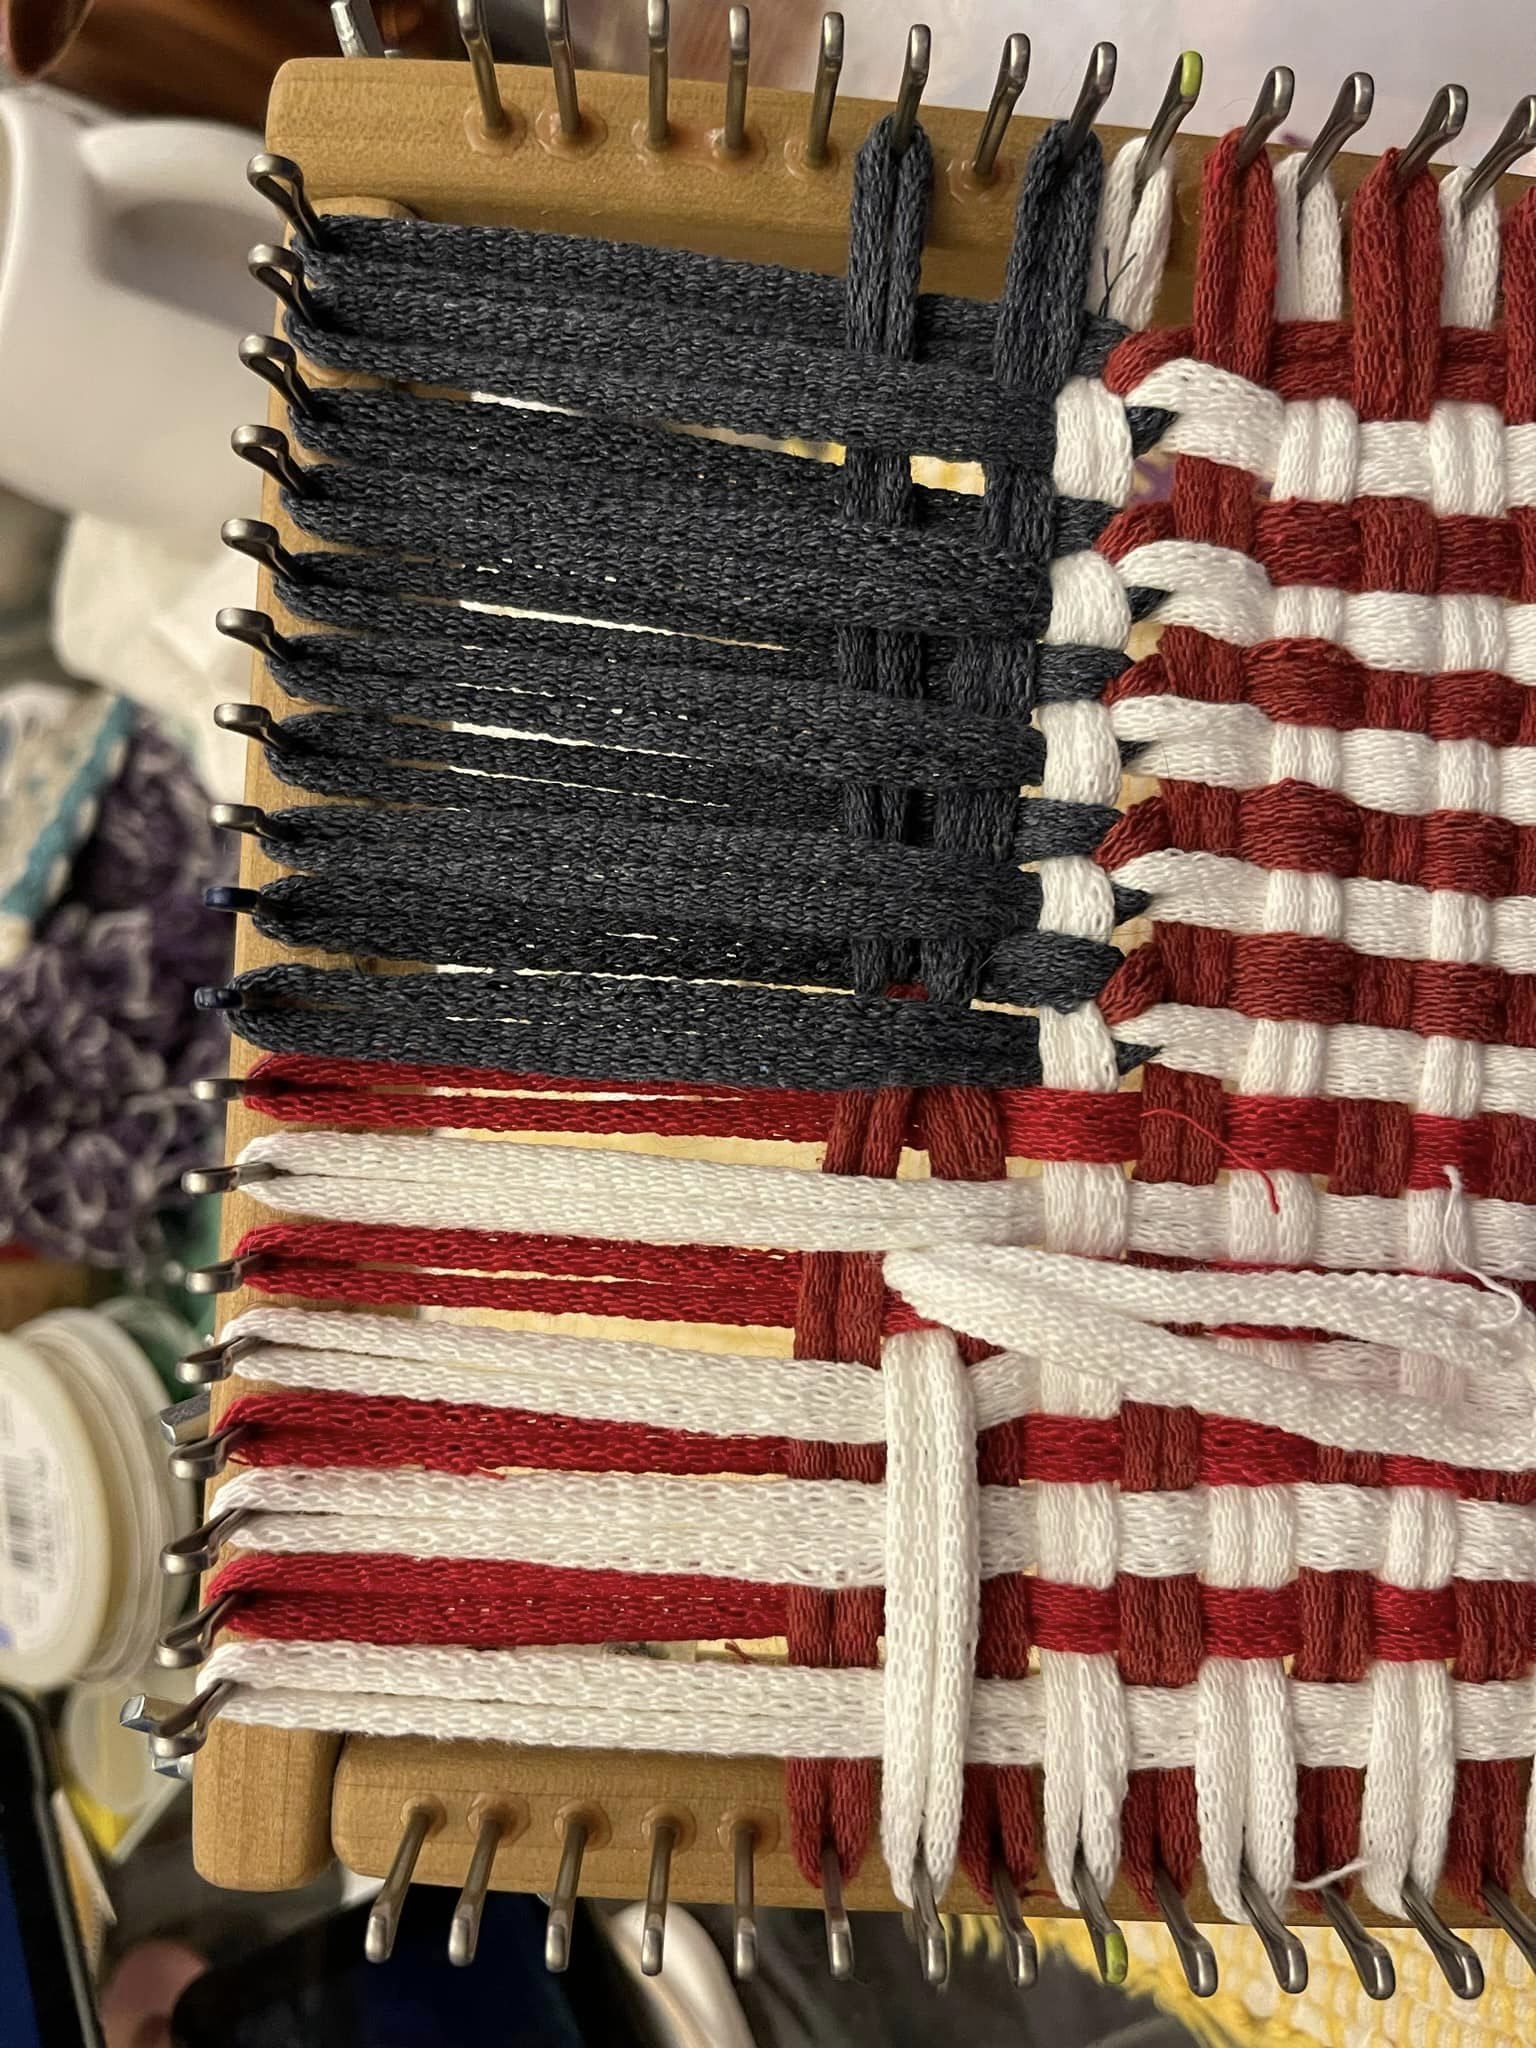
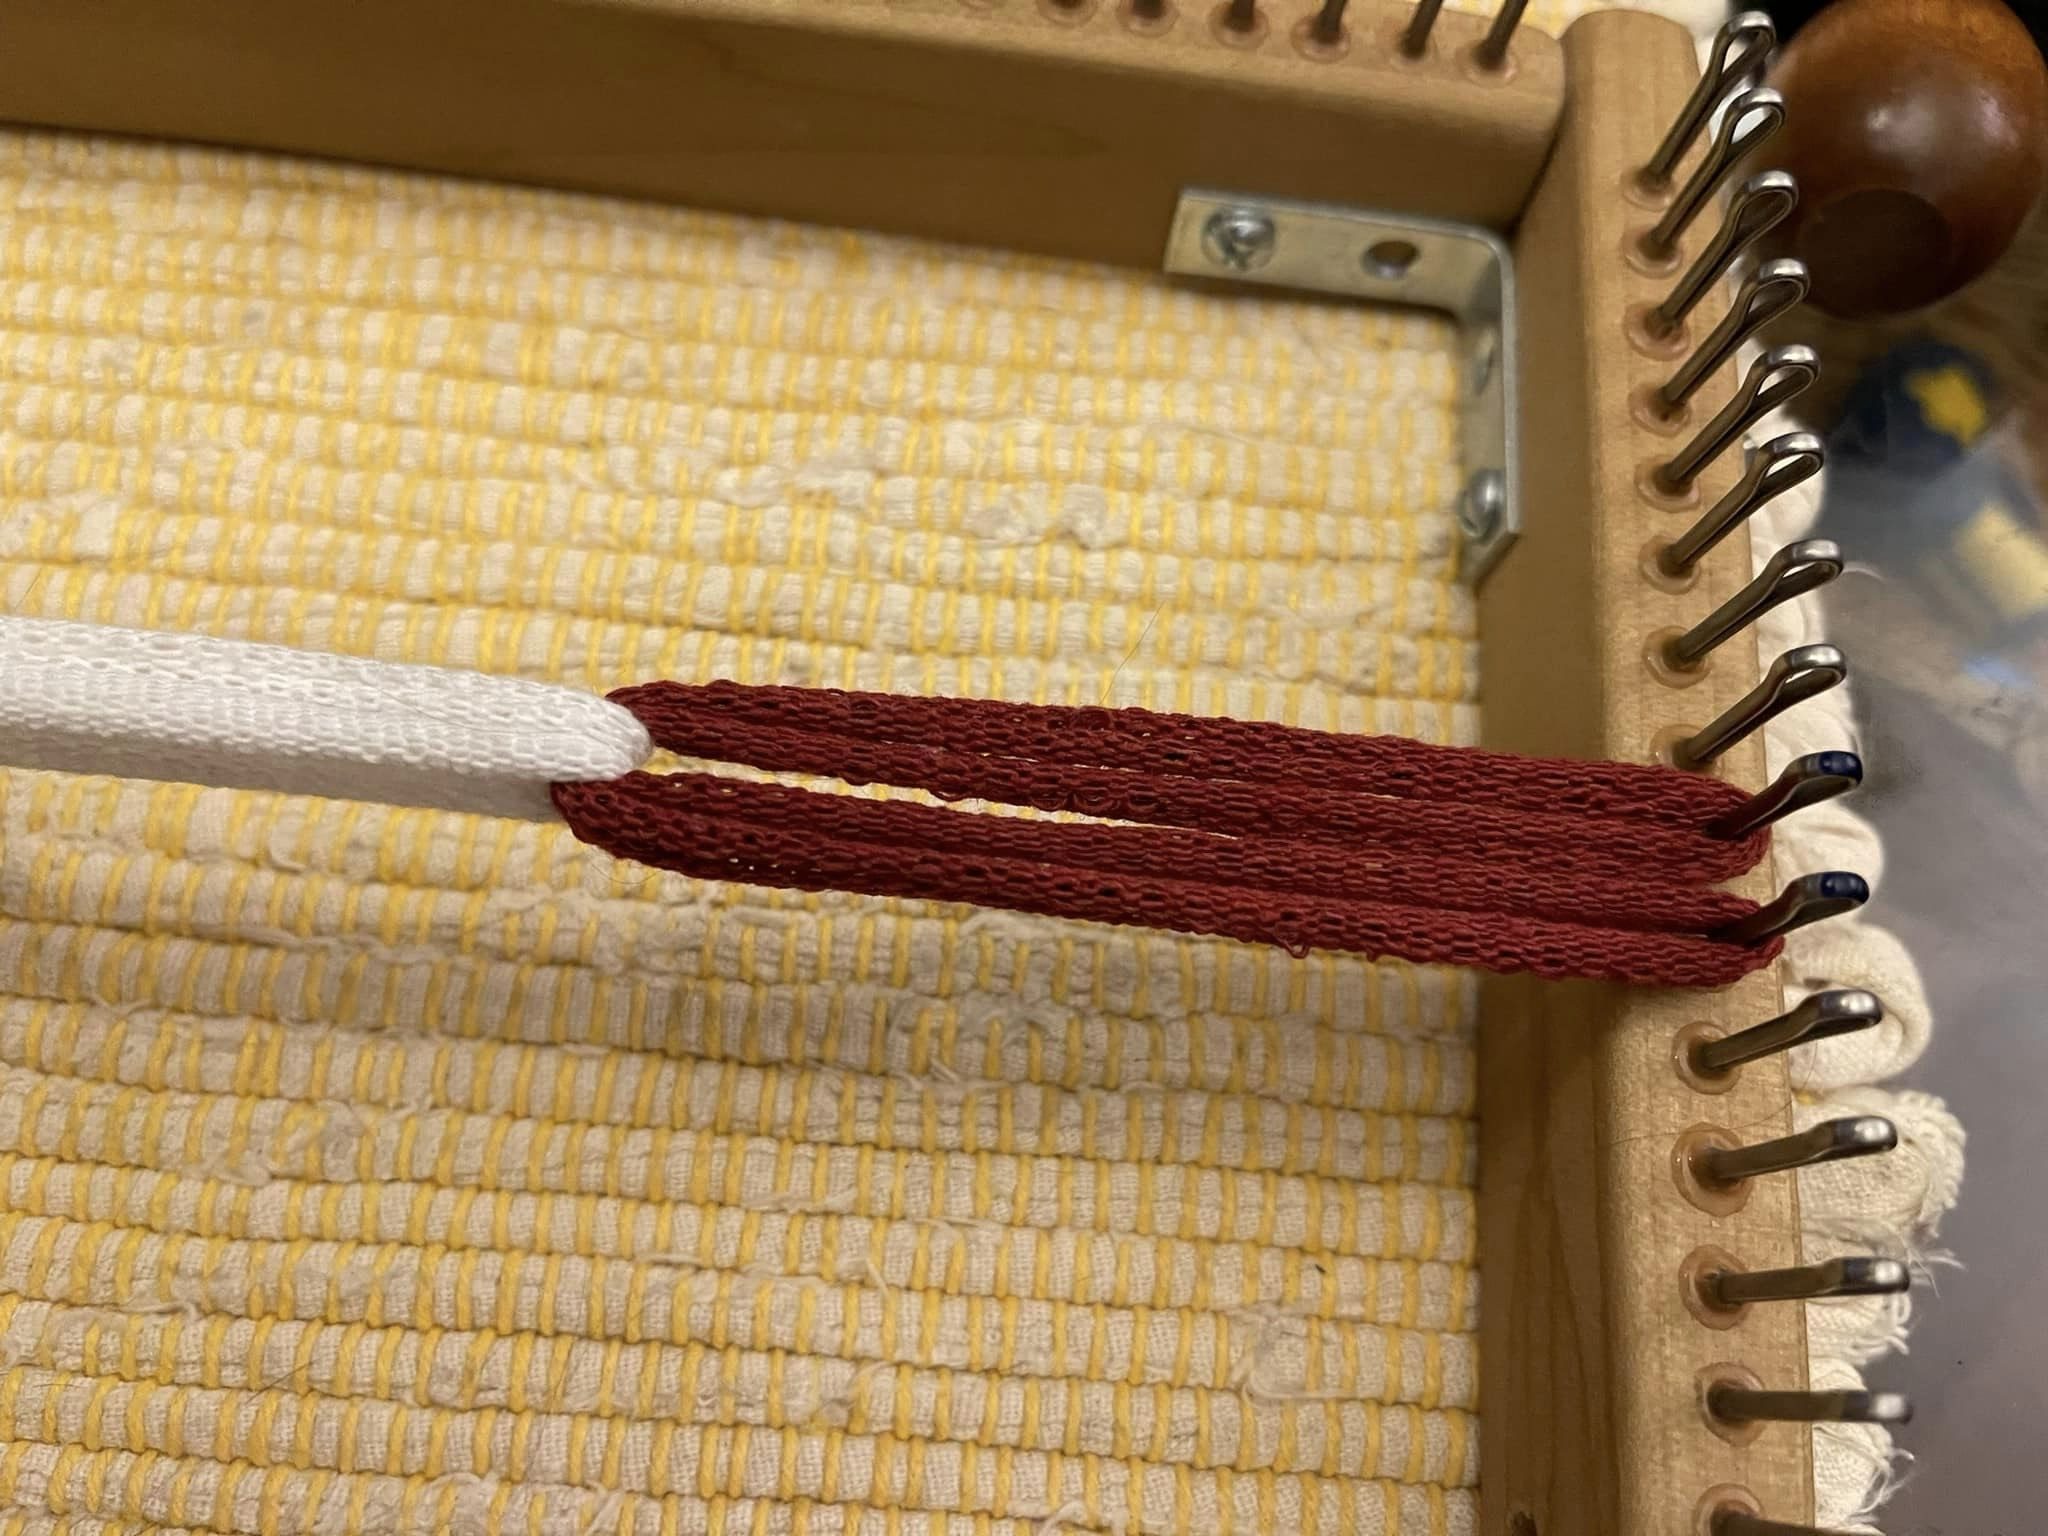
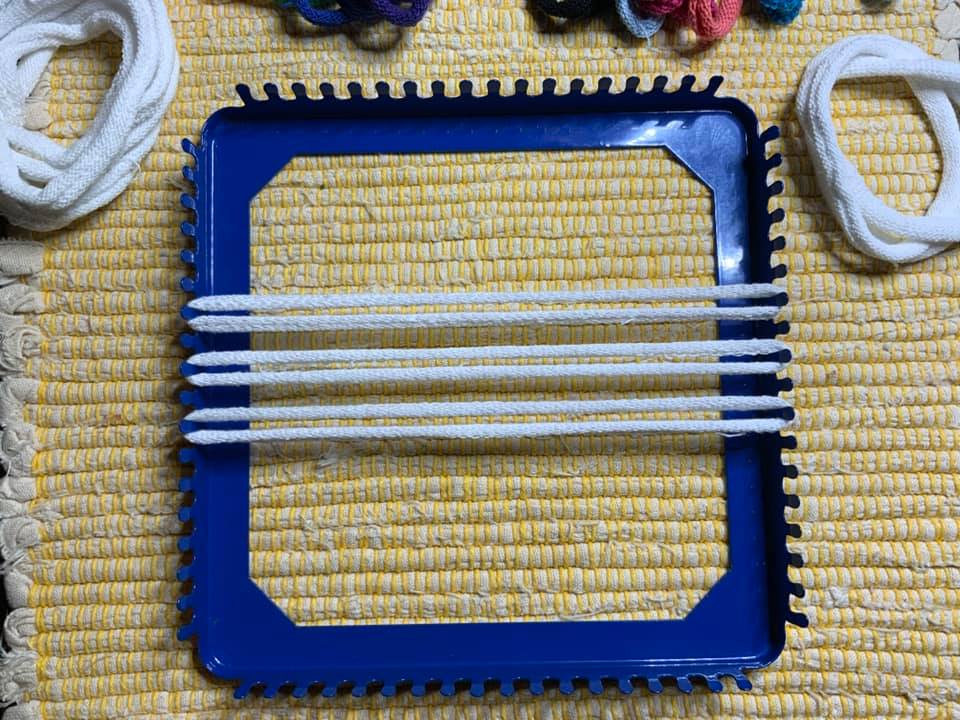
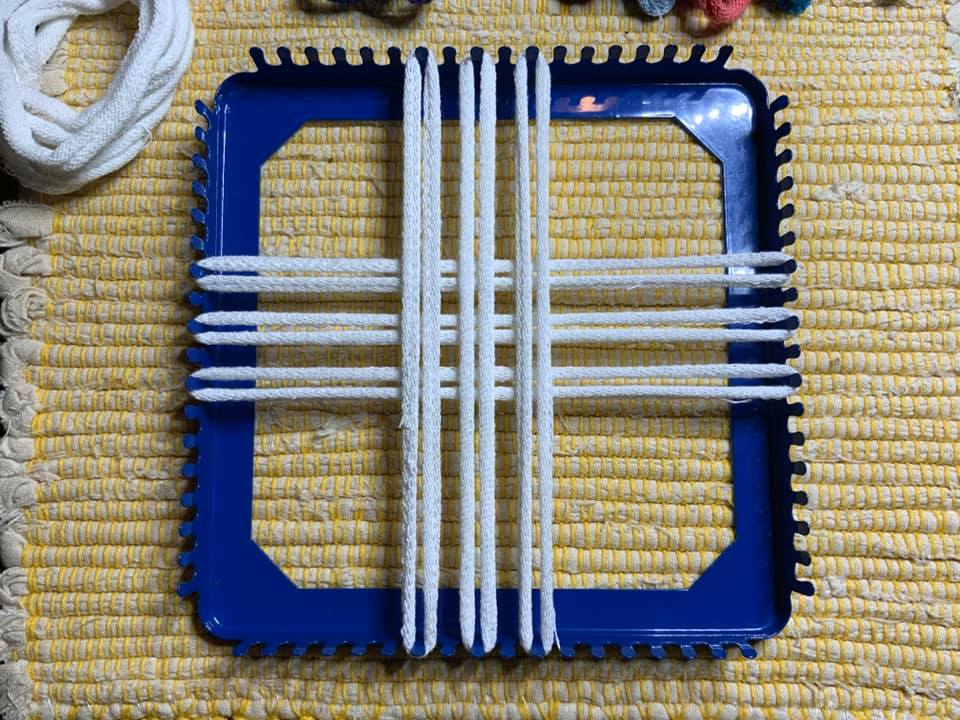
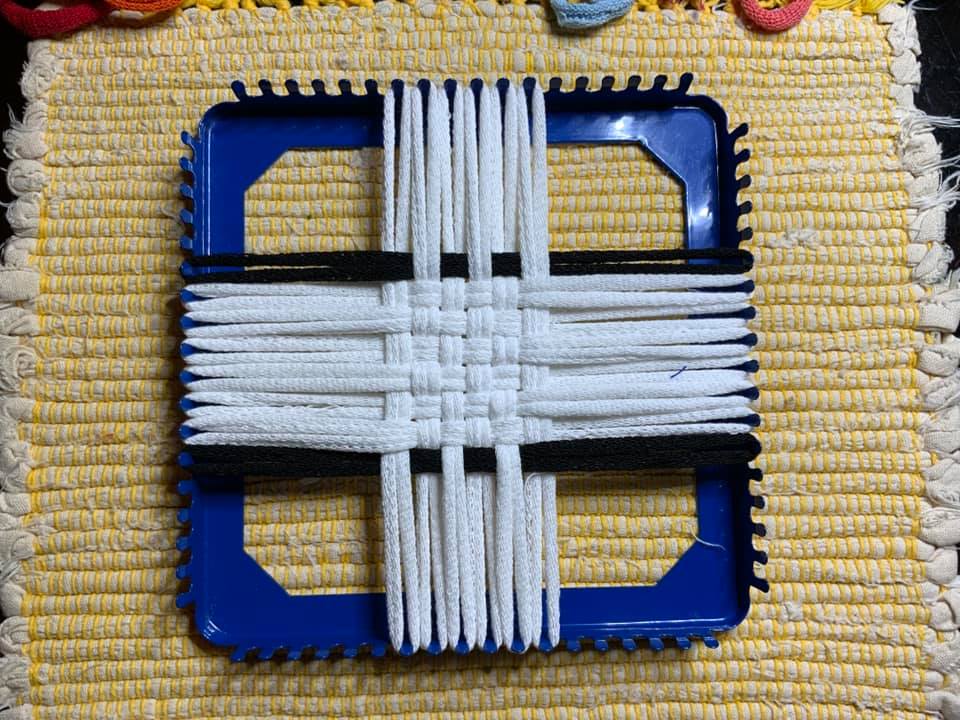
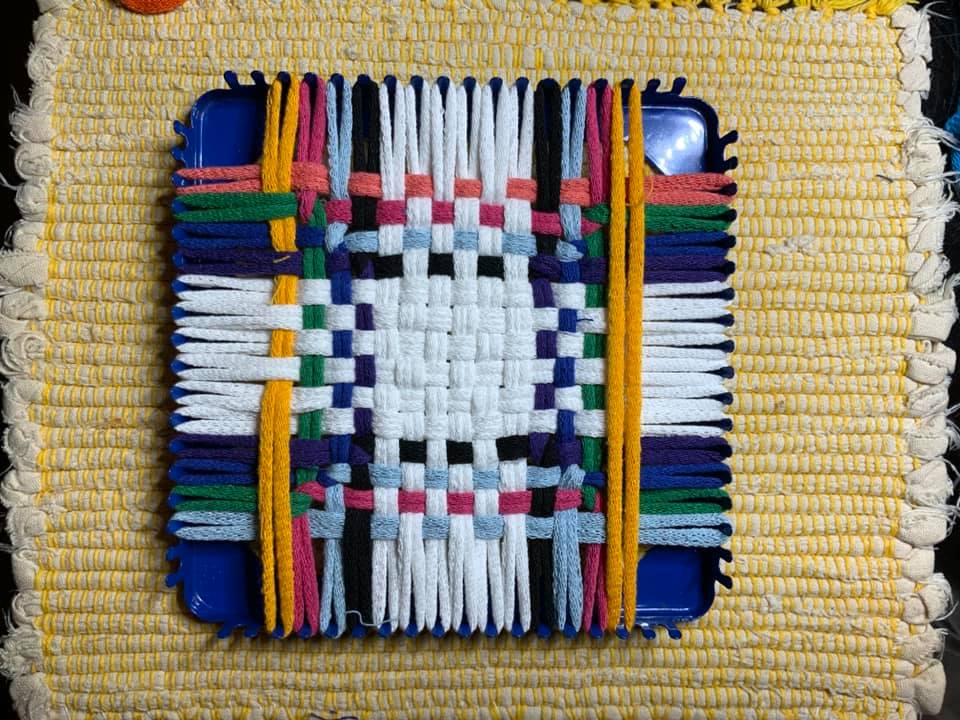
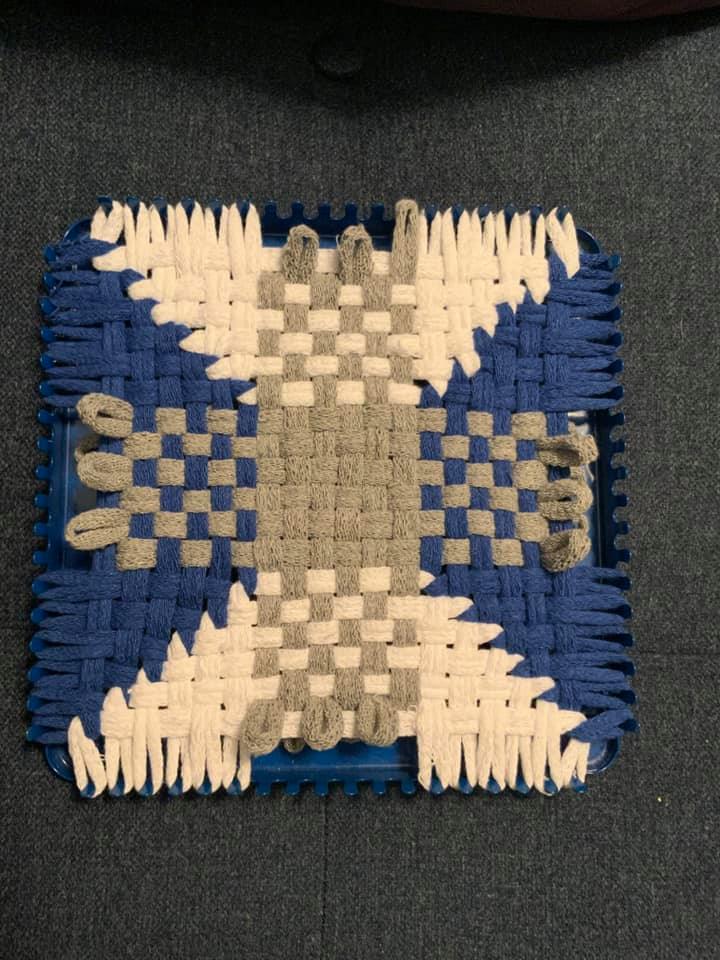
Warp the lower eight pegs with alternating red and white pro loops. Warp the upper ten pegs with alternating red and white traditional loops, using a folded-over blue traditional loop threaded through the loose ends of each pair.

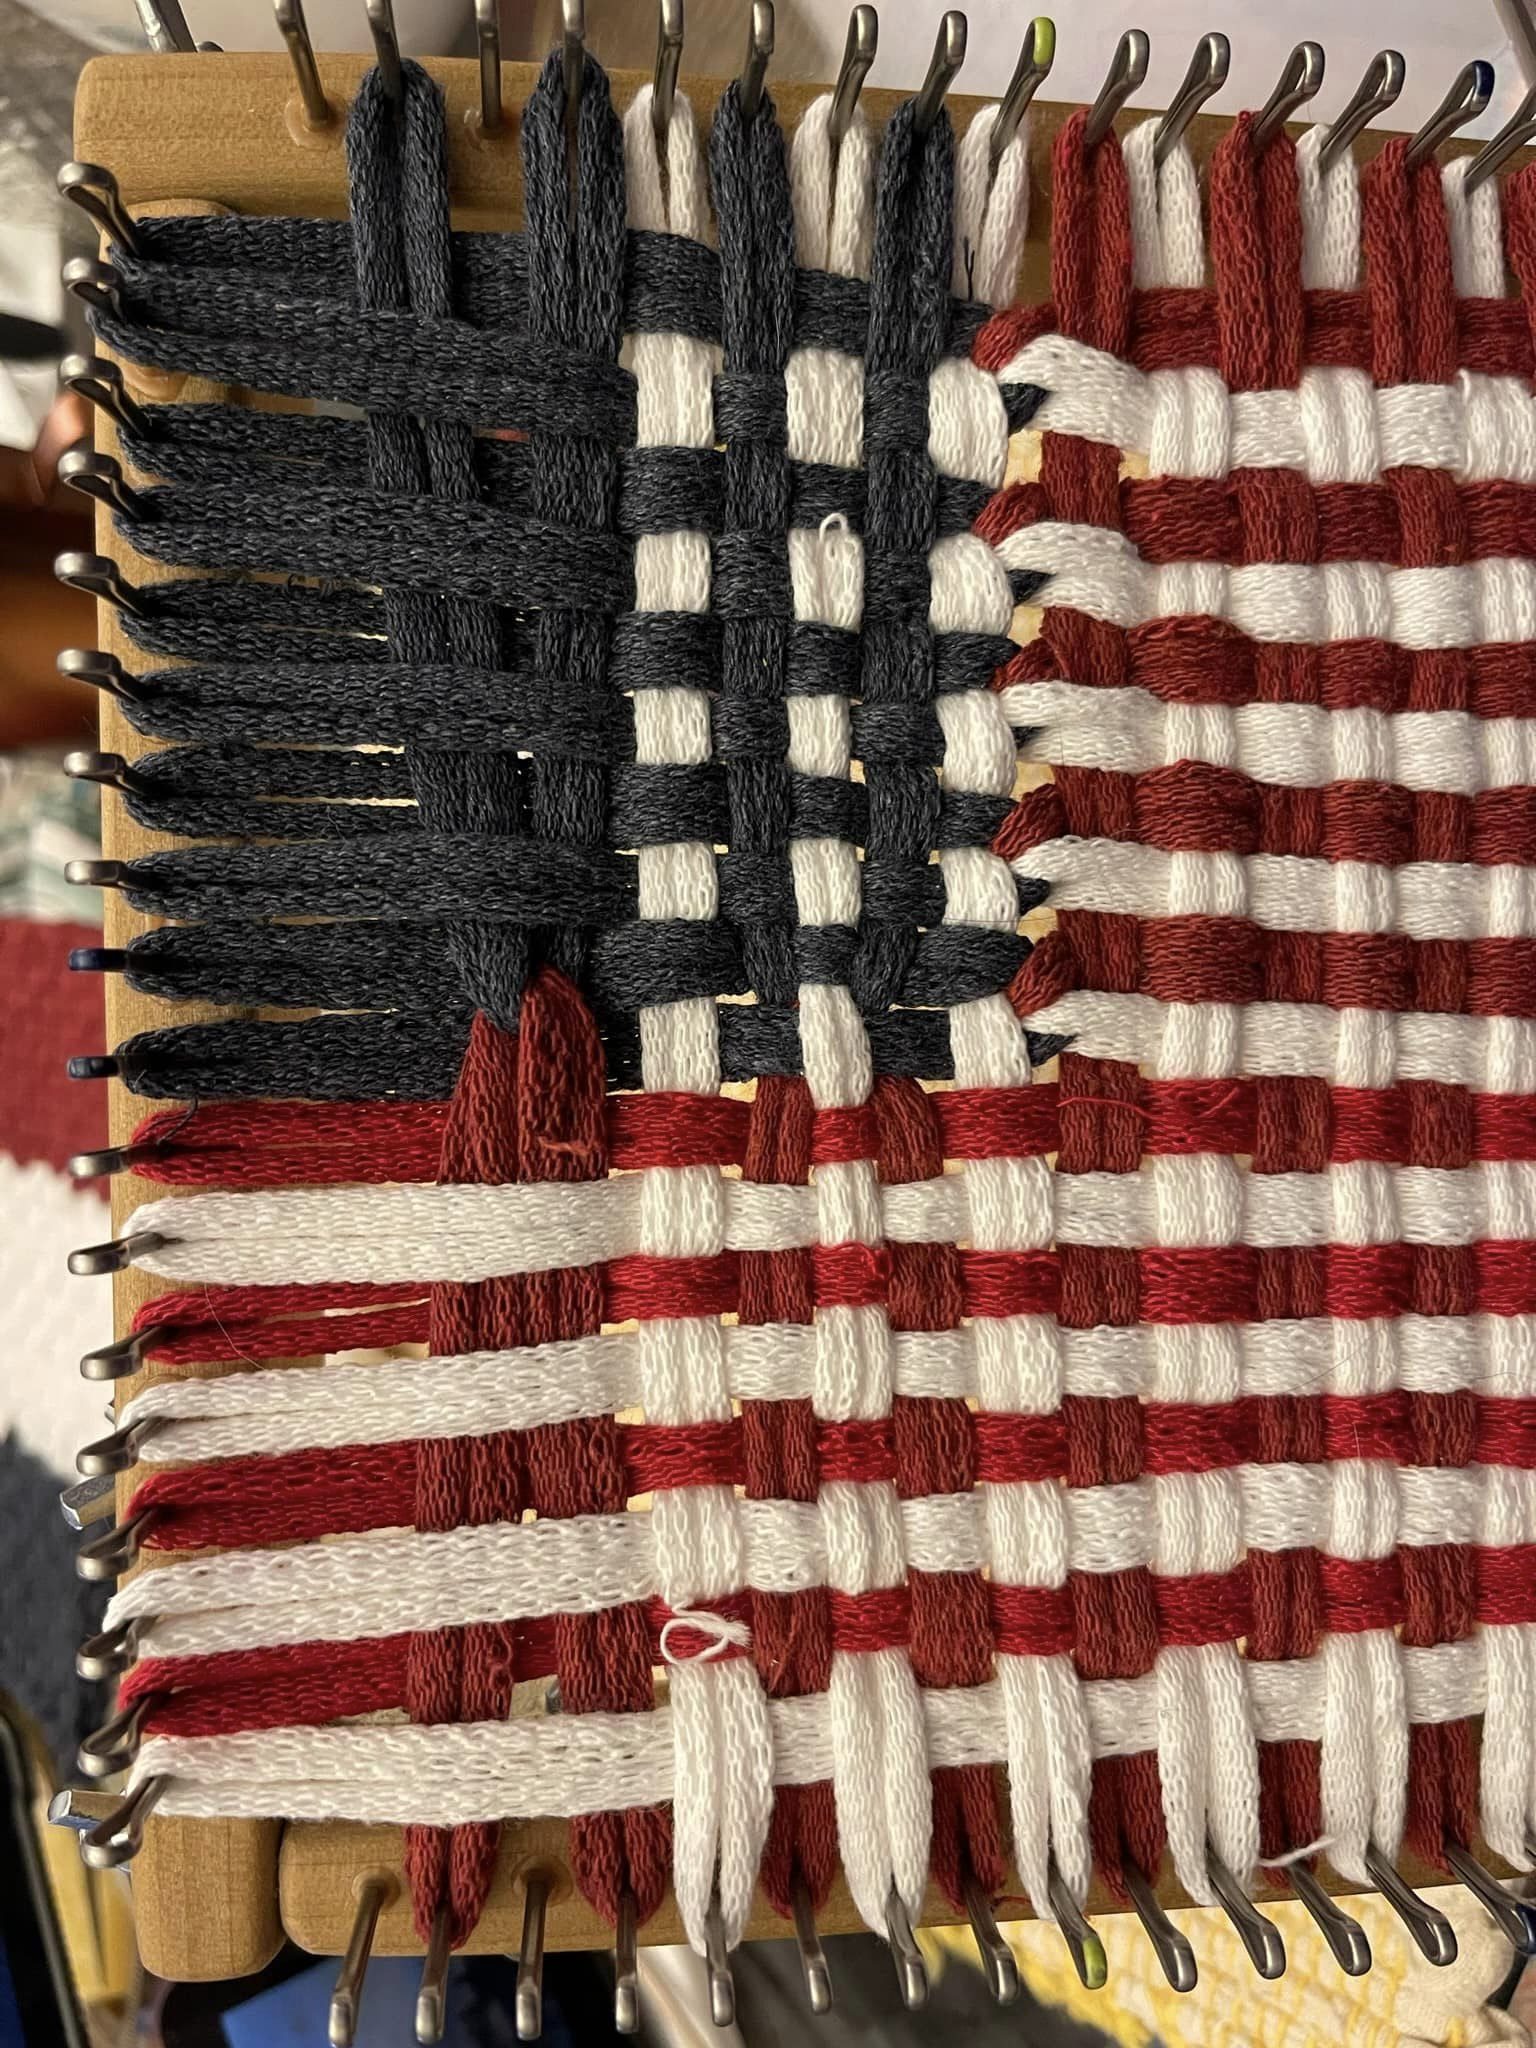
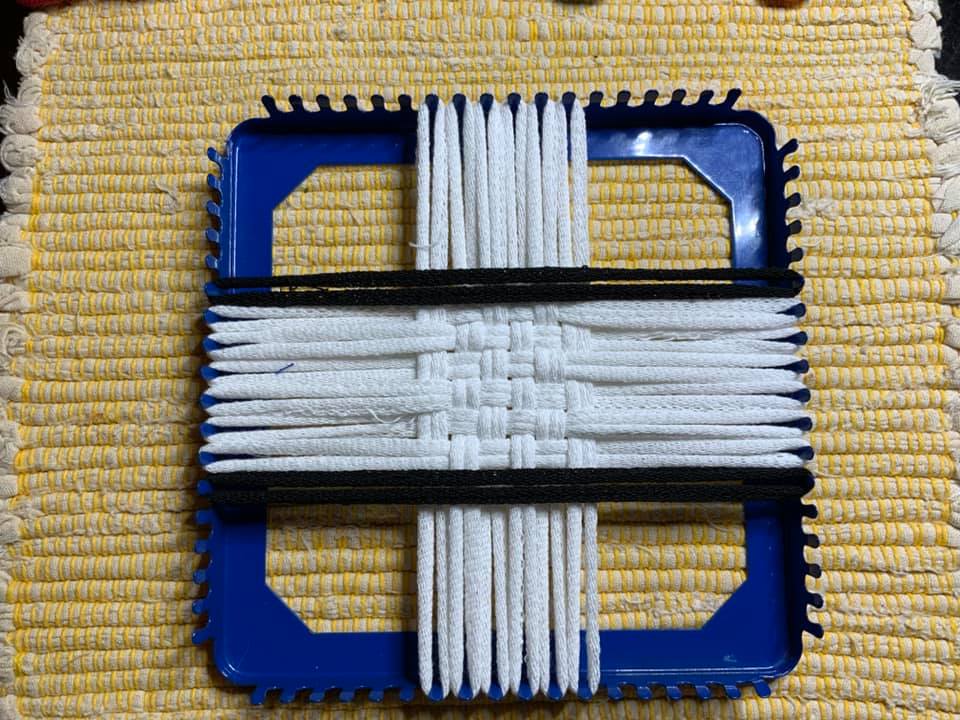
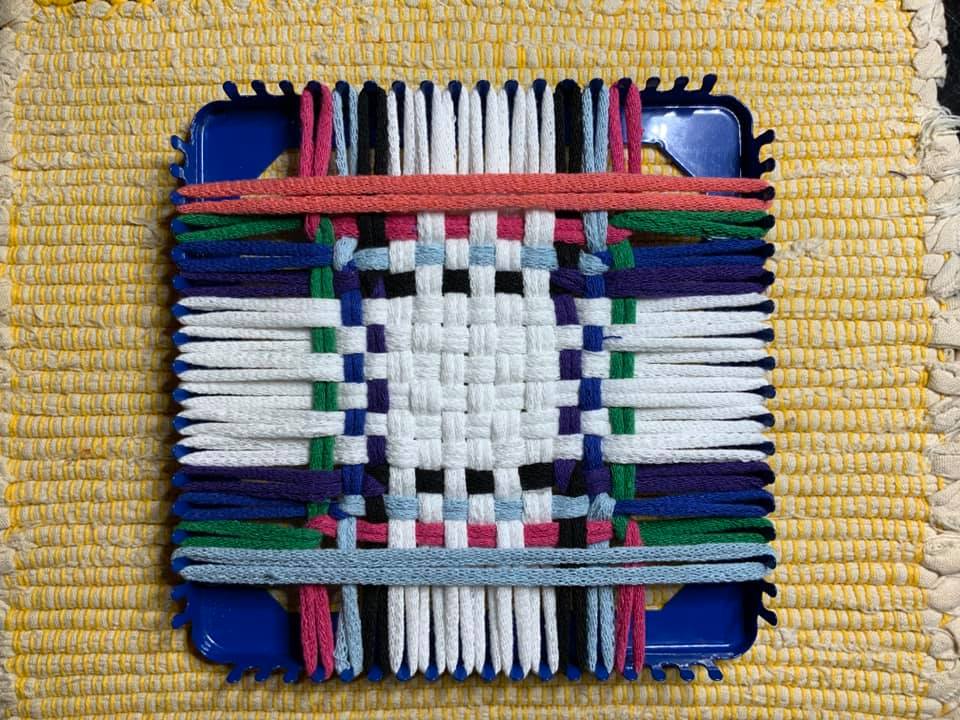
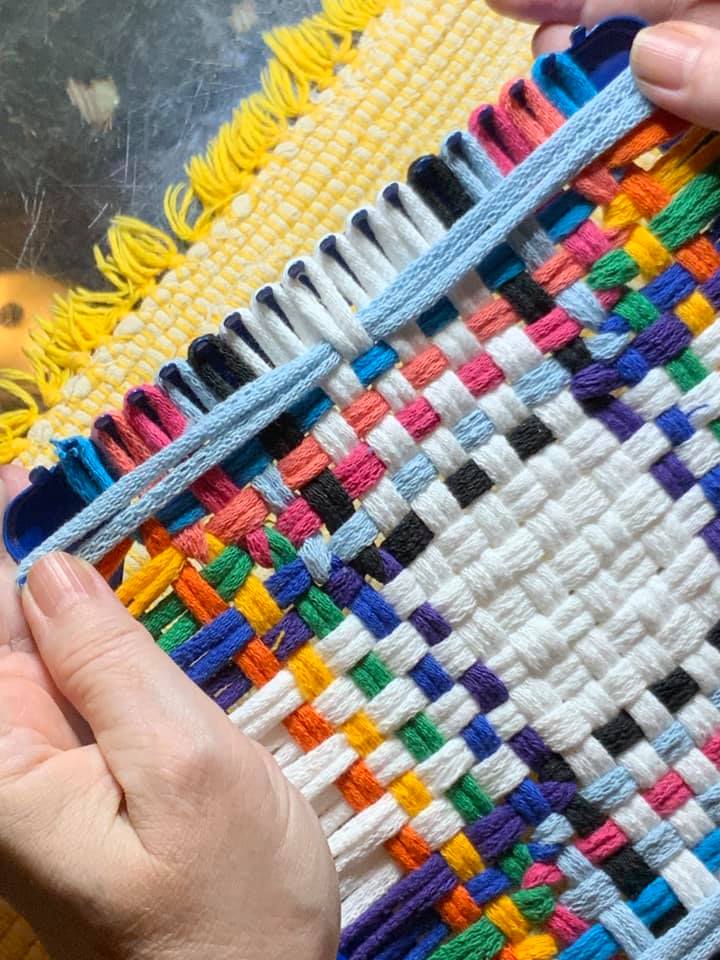
Weave the first eighteen rows with alternating red and white traditional loops woven in tabby plain weave to form stripes.

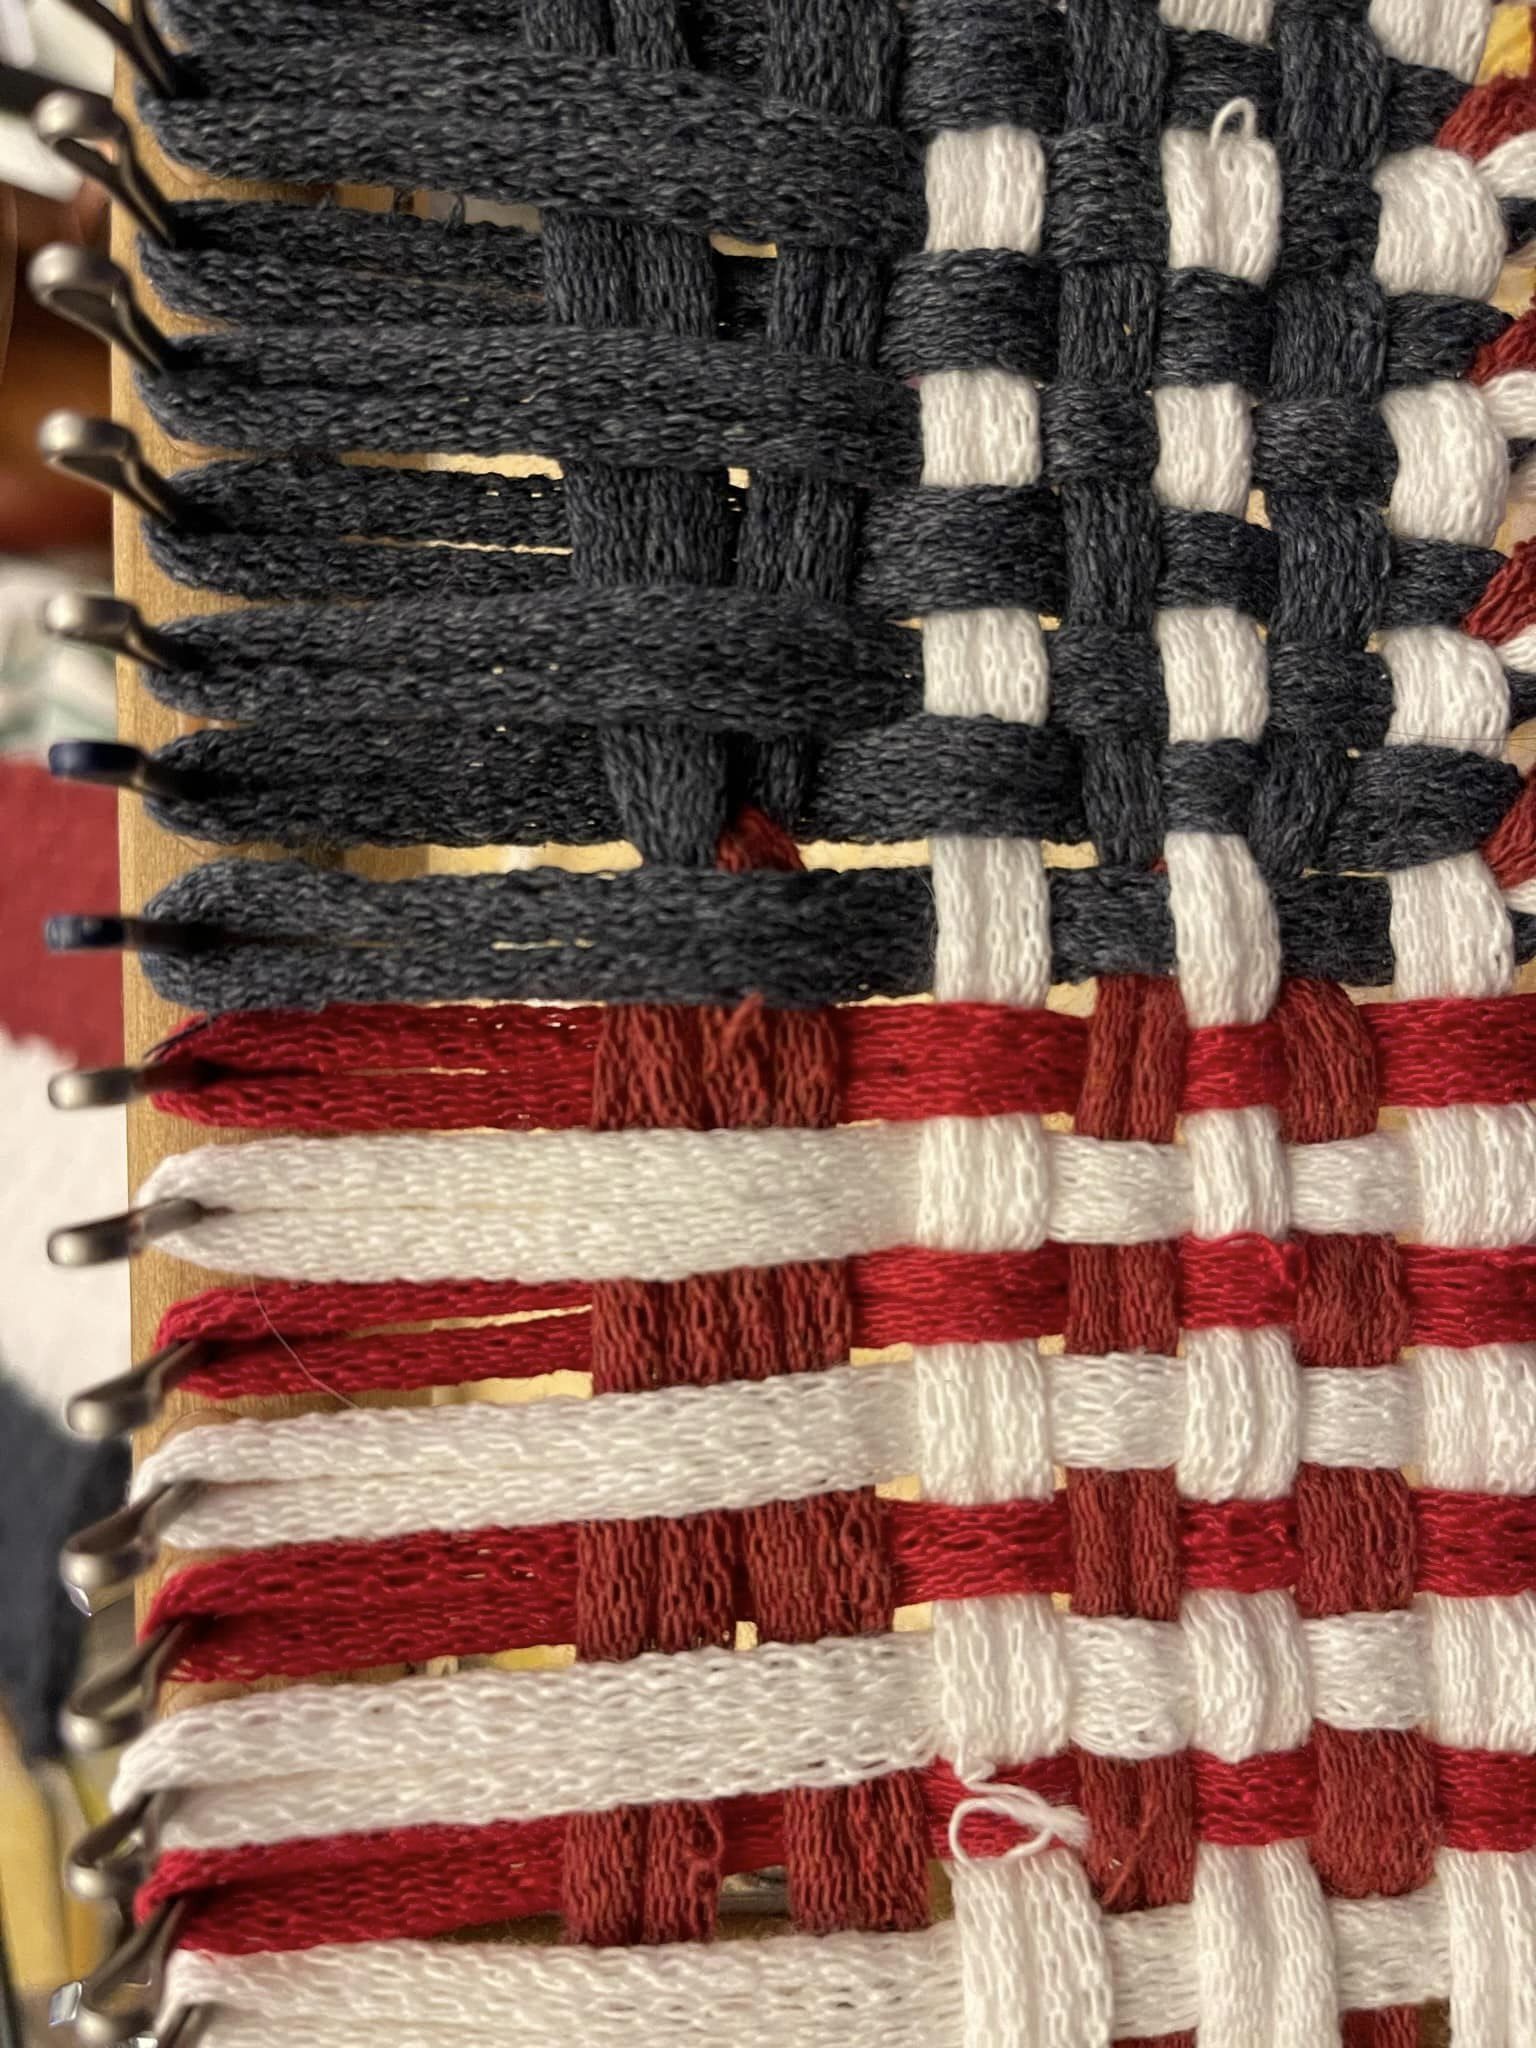
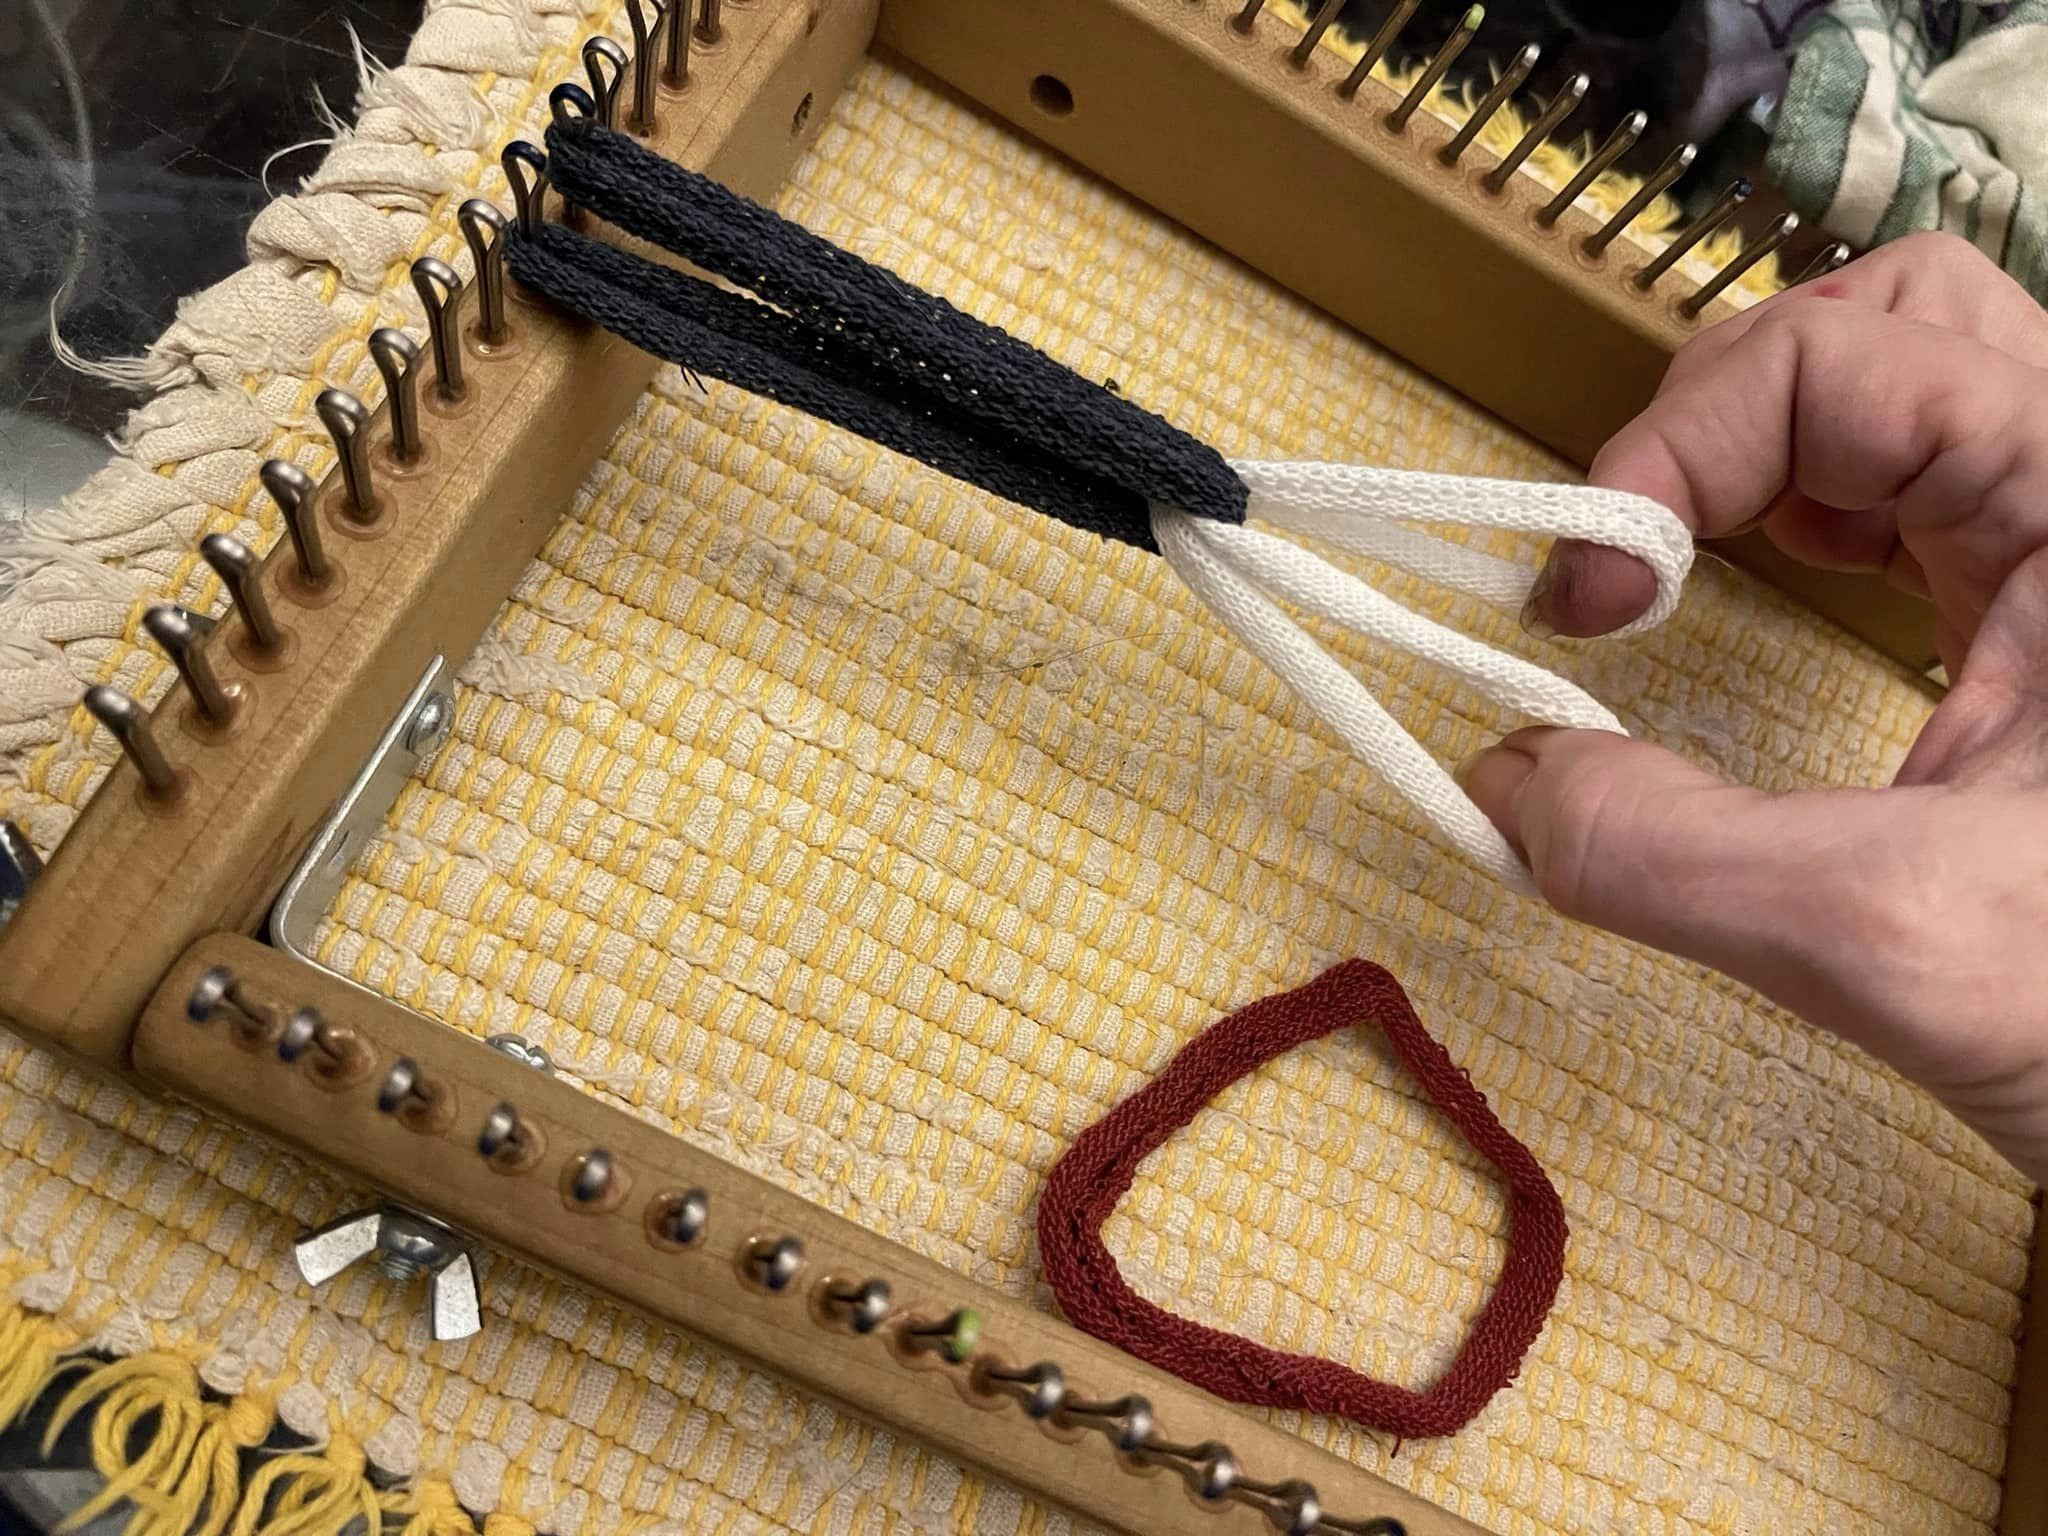
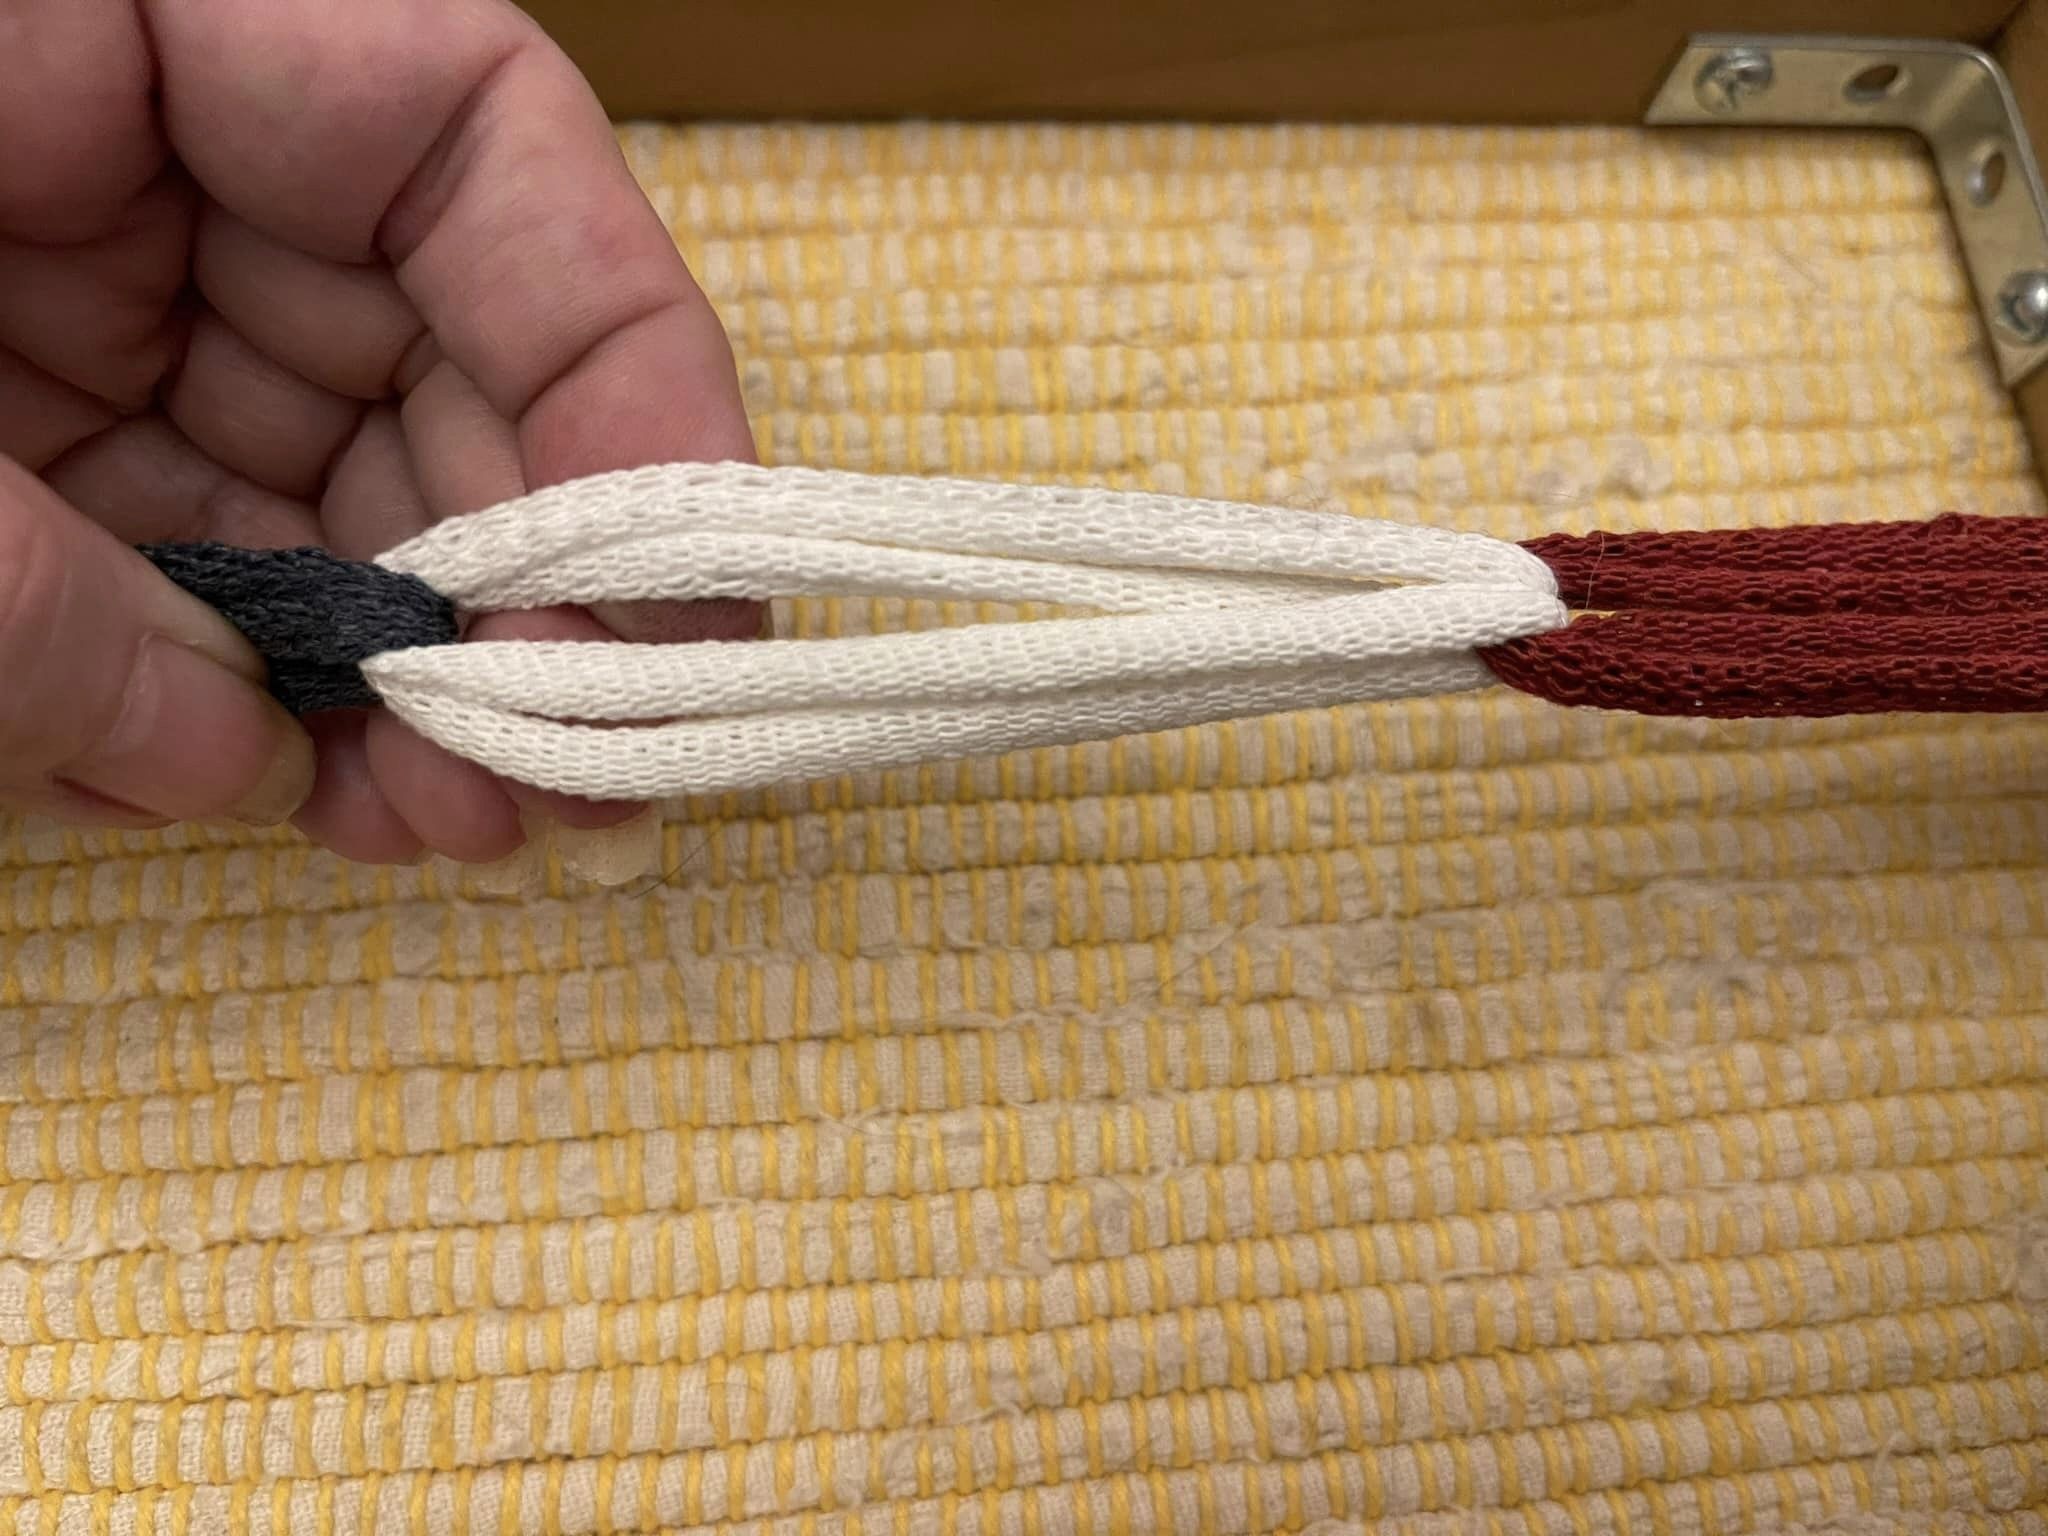
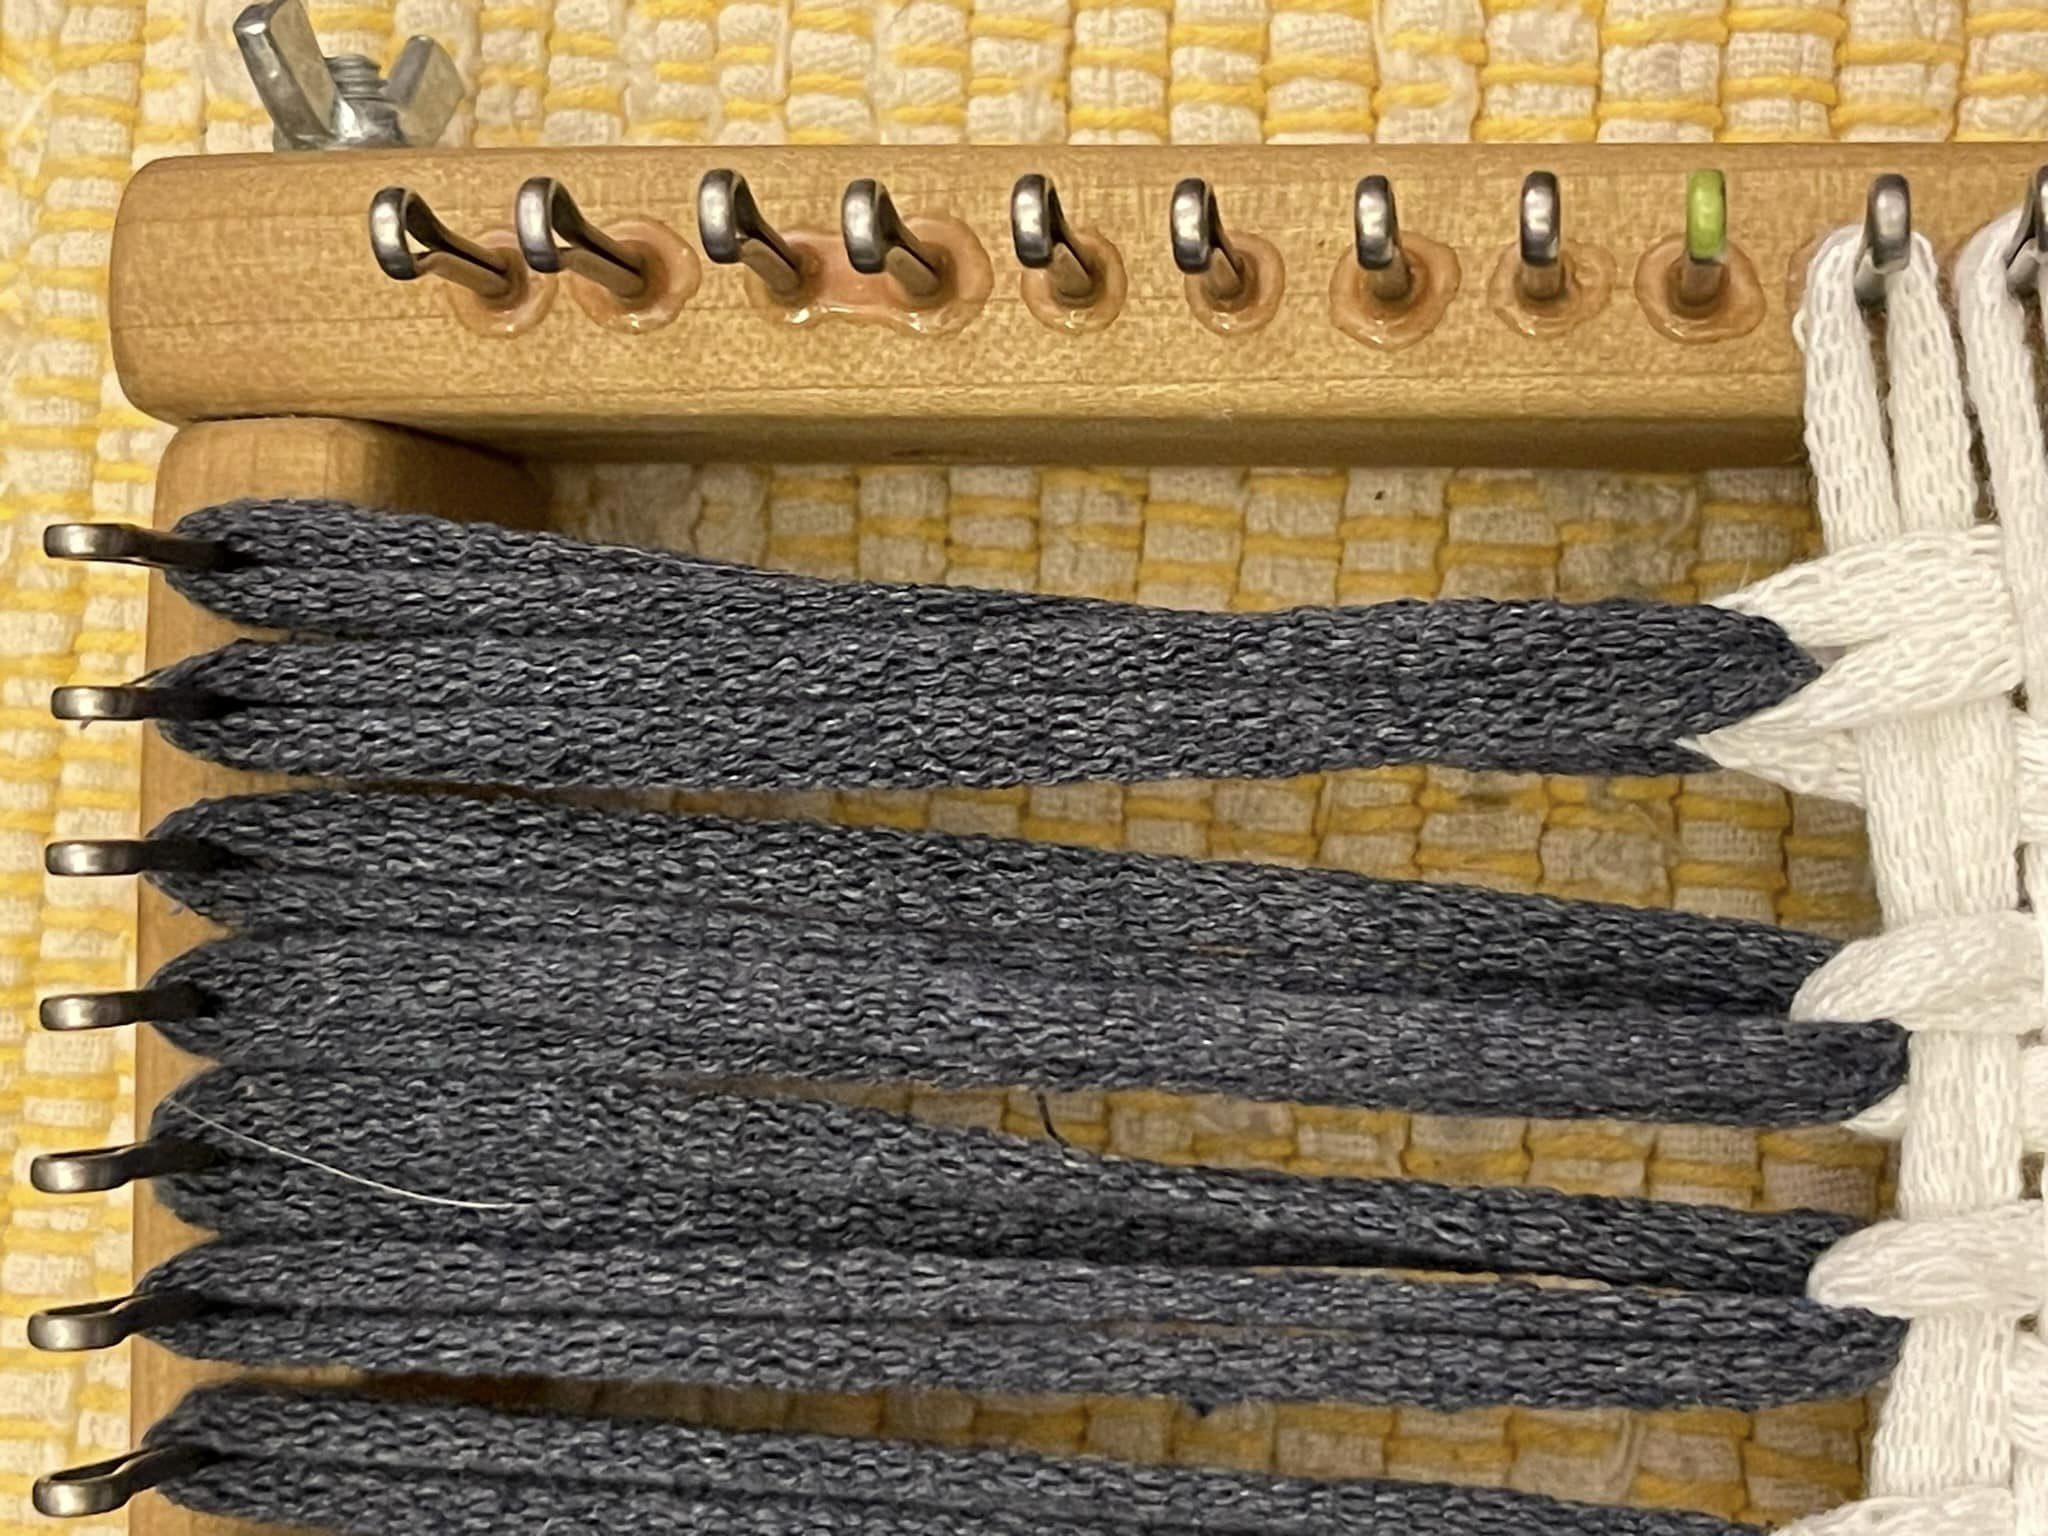
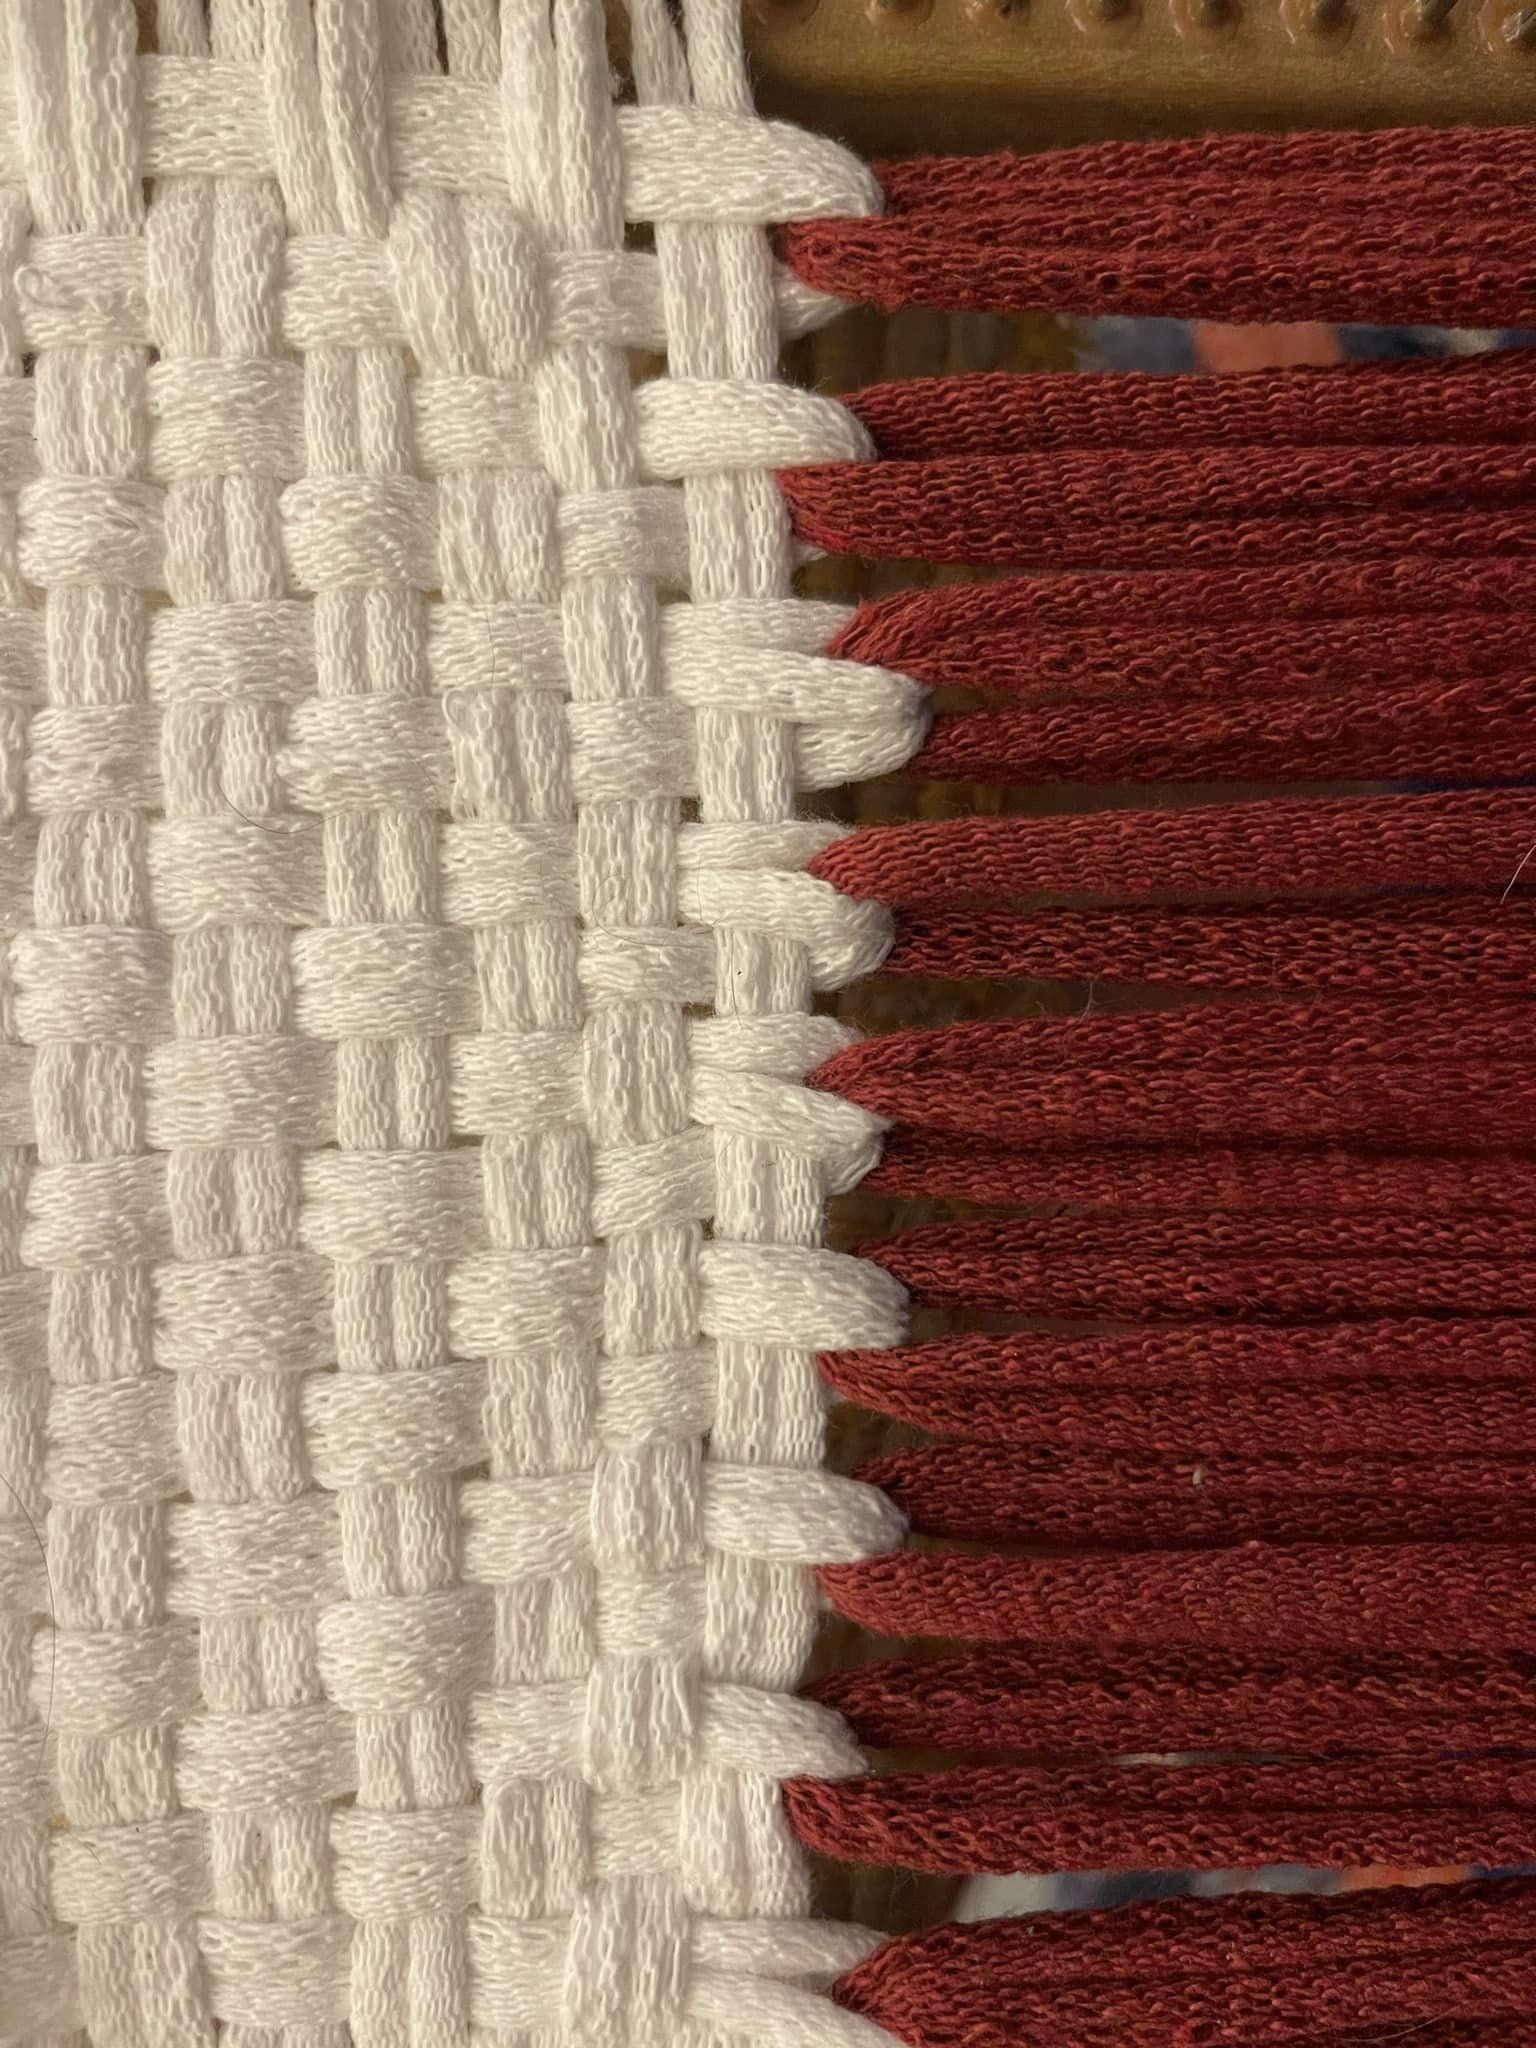
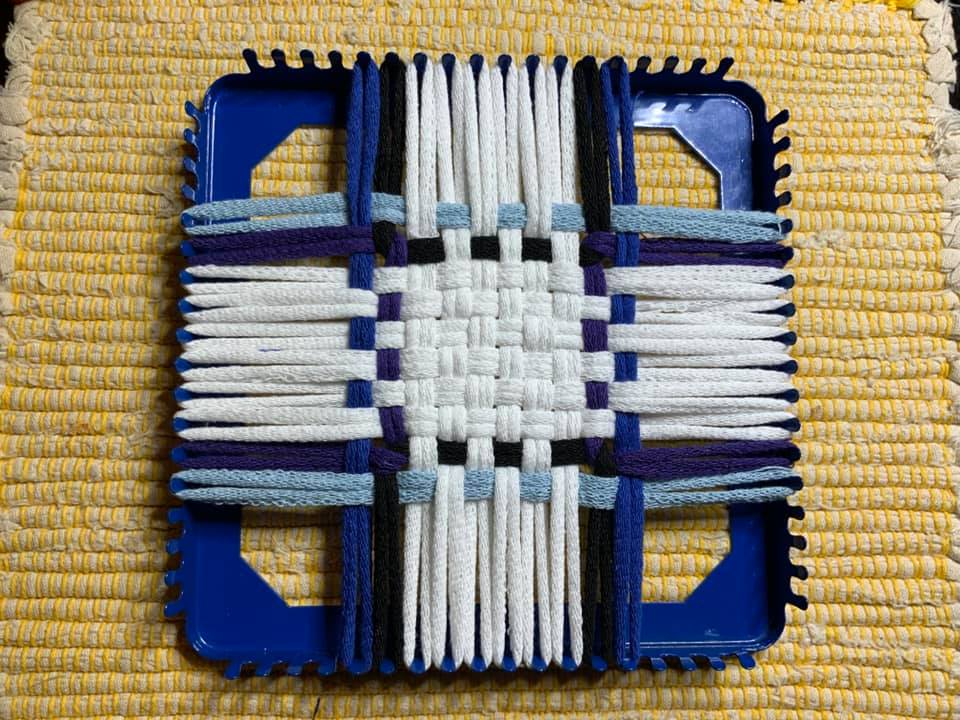
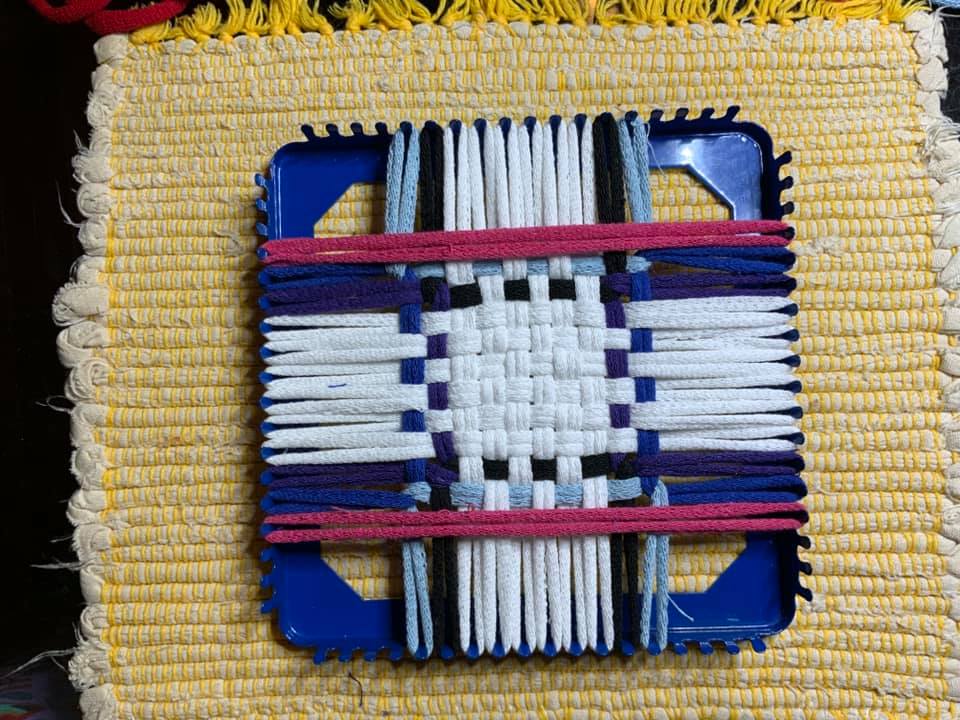
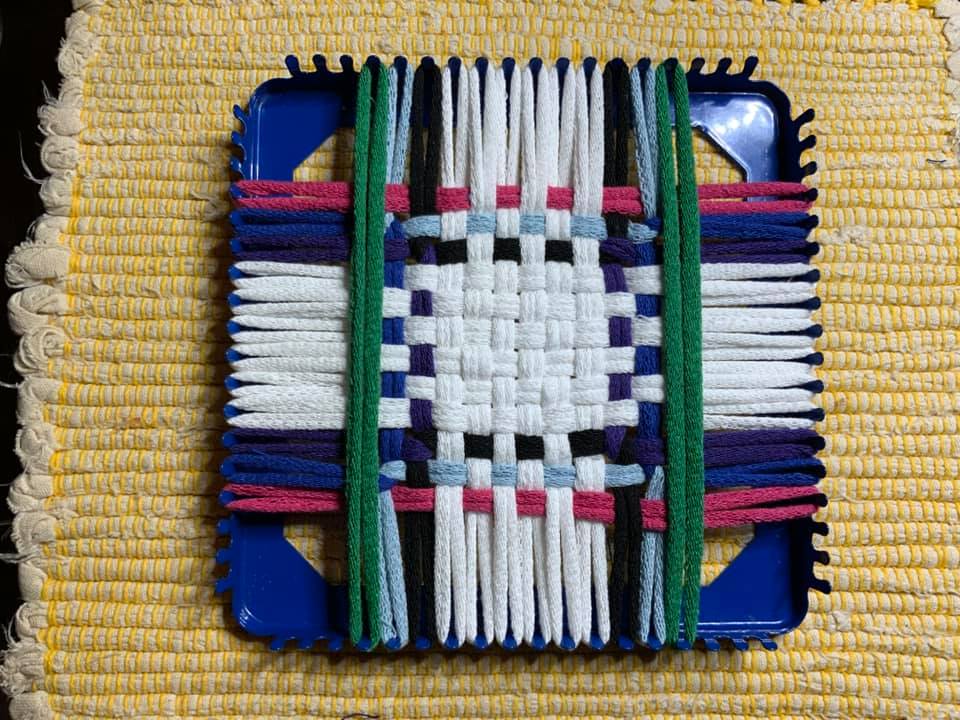
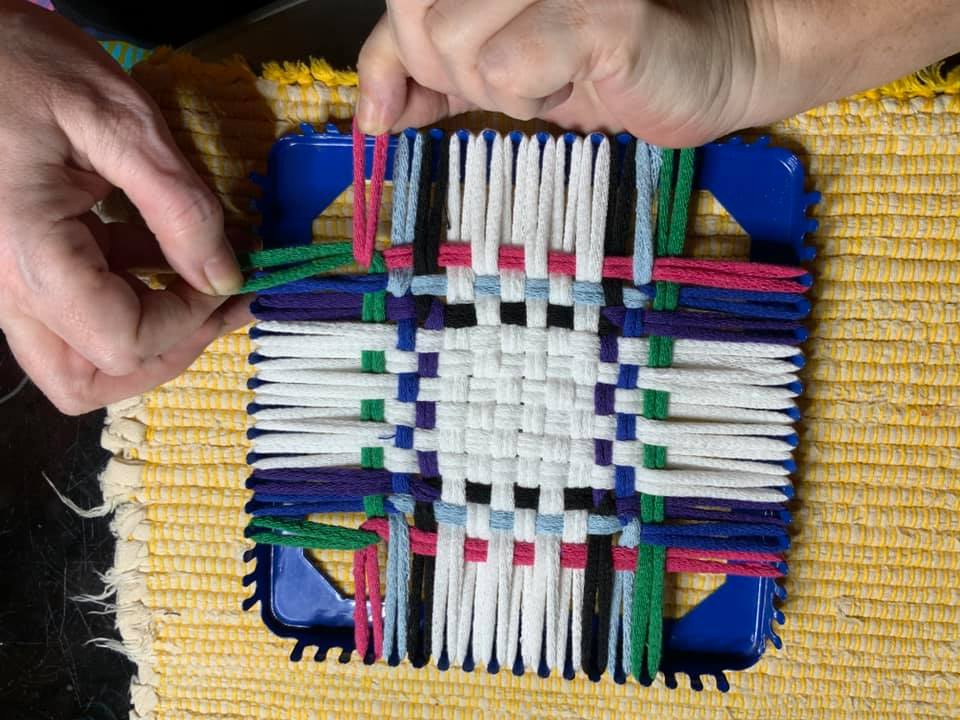
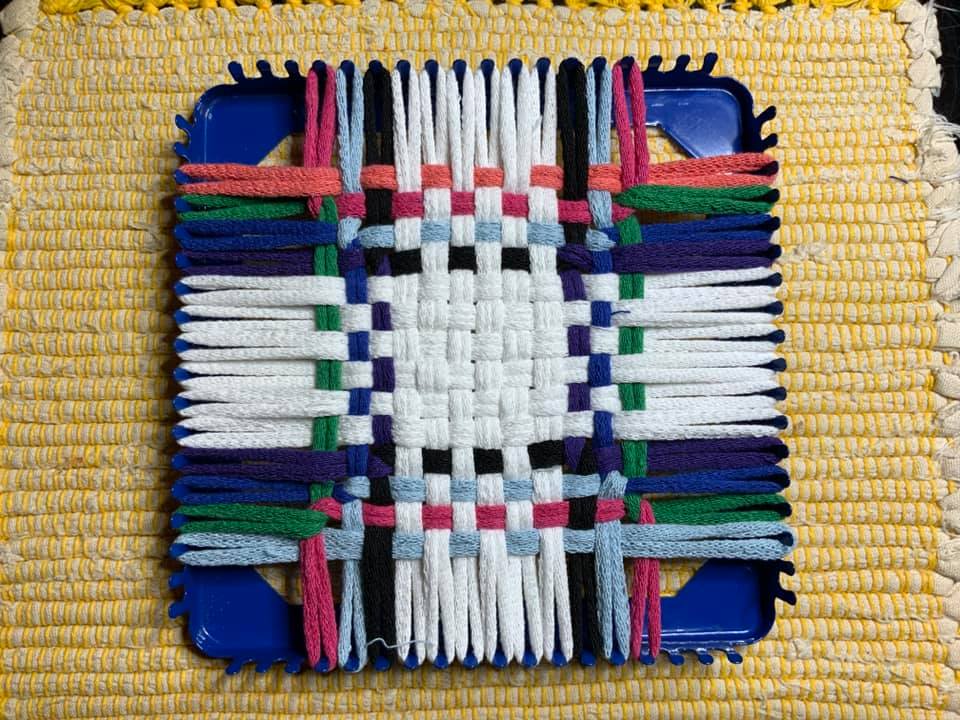
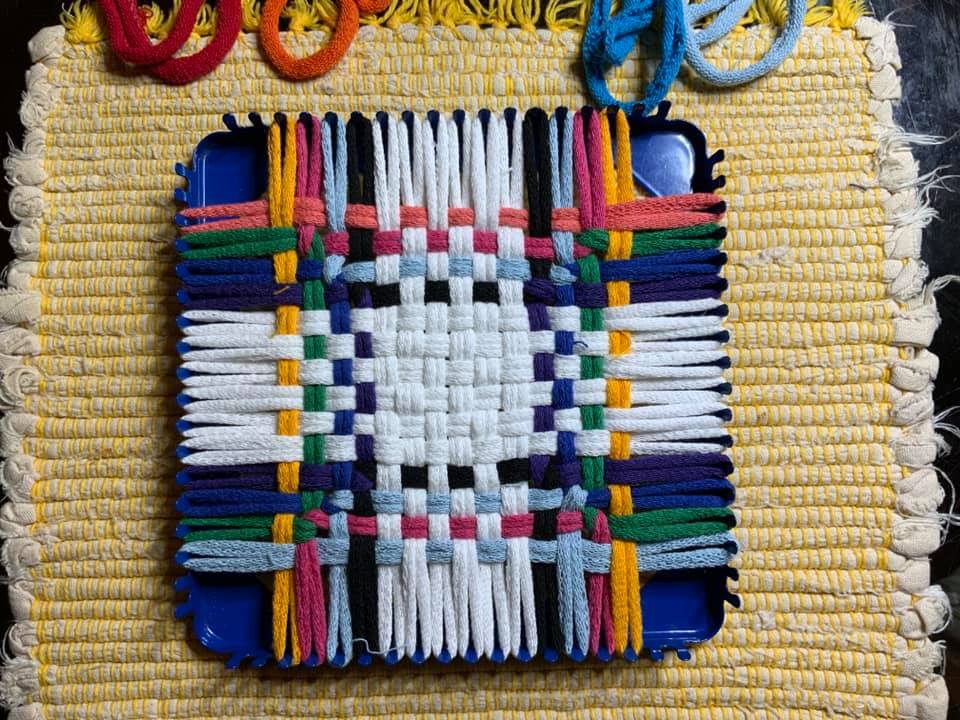
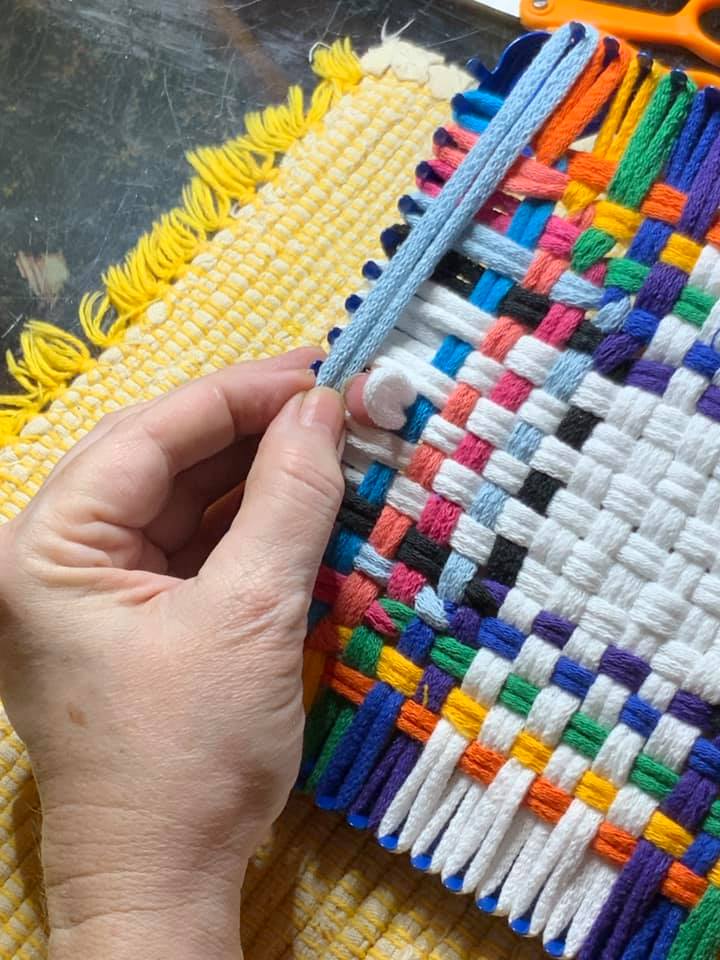
To weave the last ten rows, fold a red and blue traditional loop over each other and place them on the loom with one empty peg between them. Weave them into each side, with the blue loop weaving into the blue square and the red loop into the red and white stripes. Then place a white traditional on the empty pegs and weave it in, in between the split legs of the red and blue loops. Do the same with another white loop next to them, then repeat the process to the end of the loom.
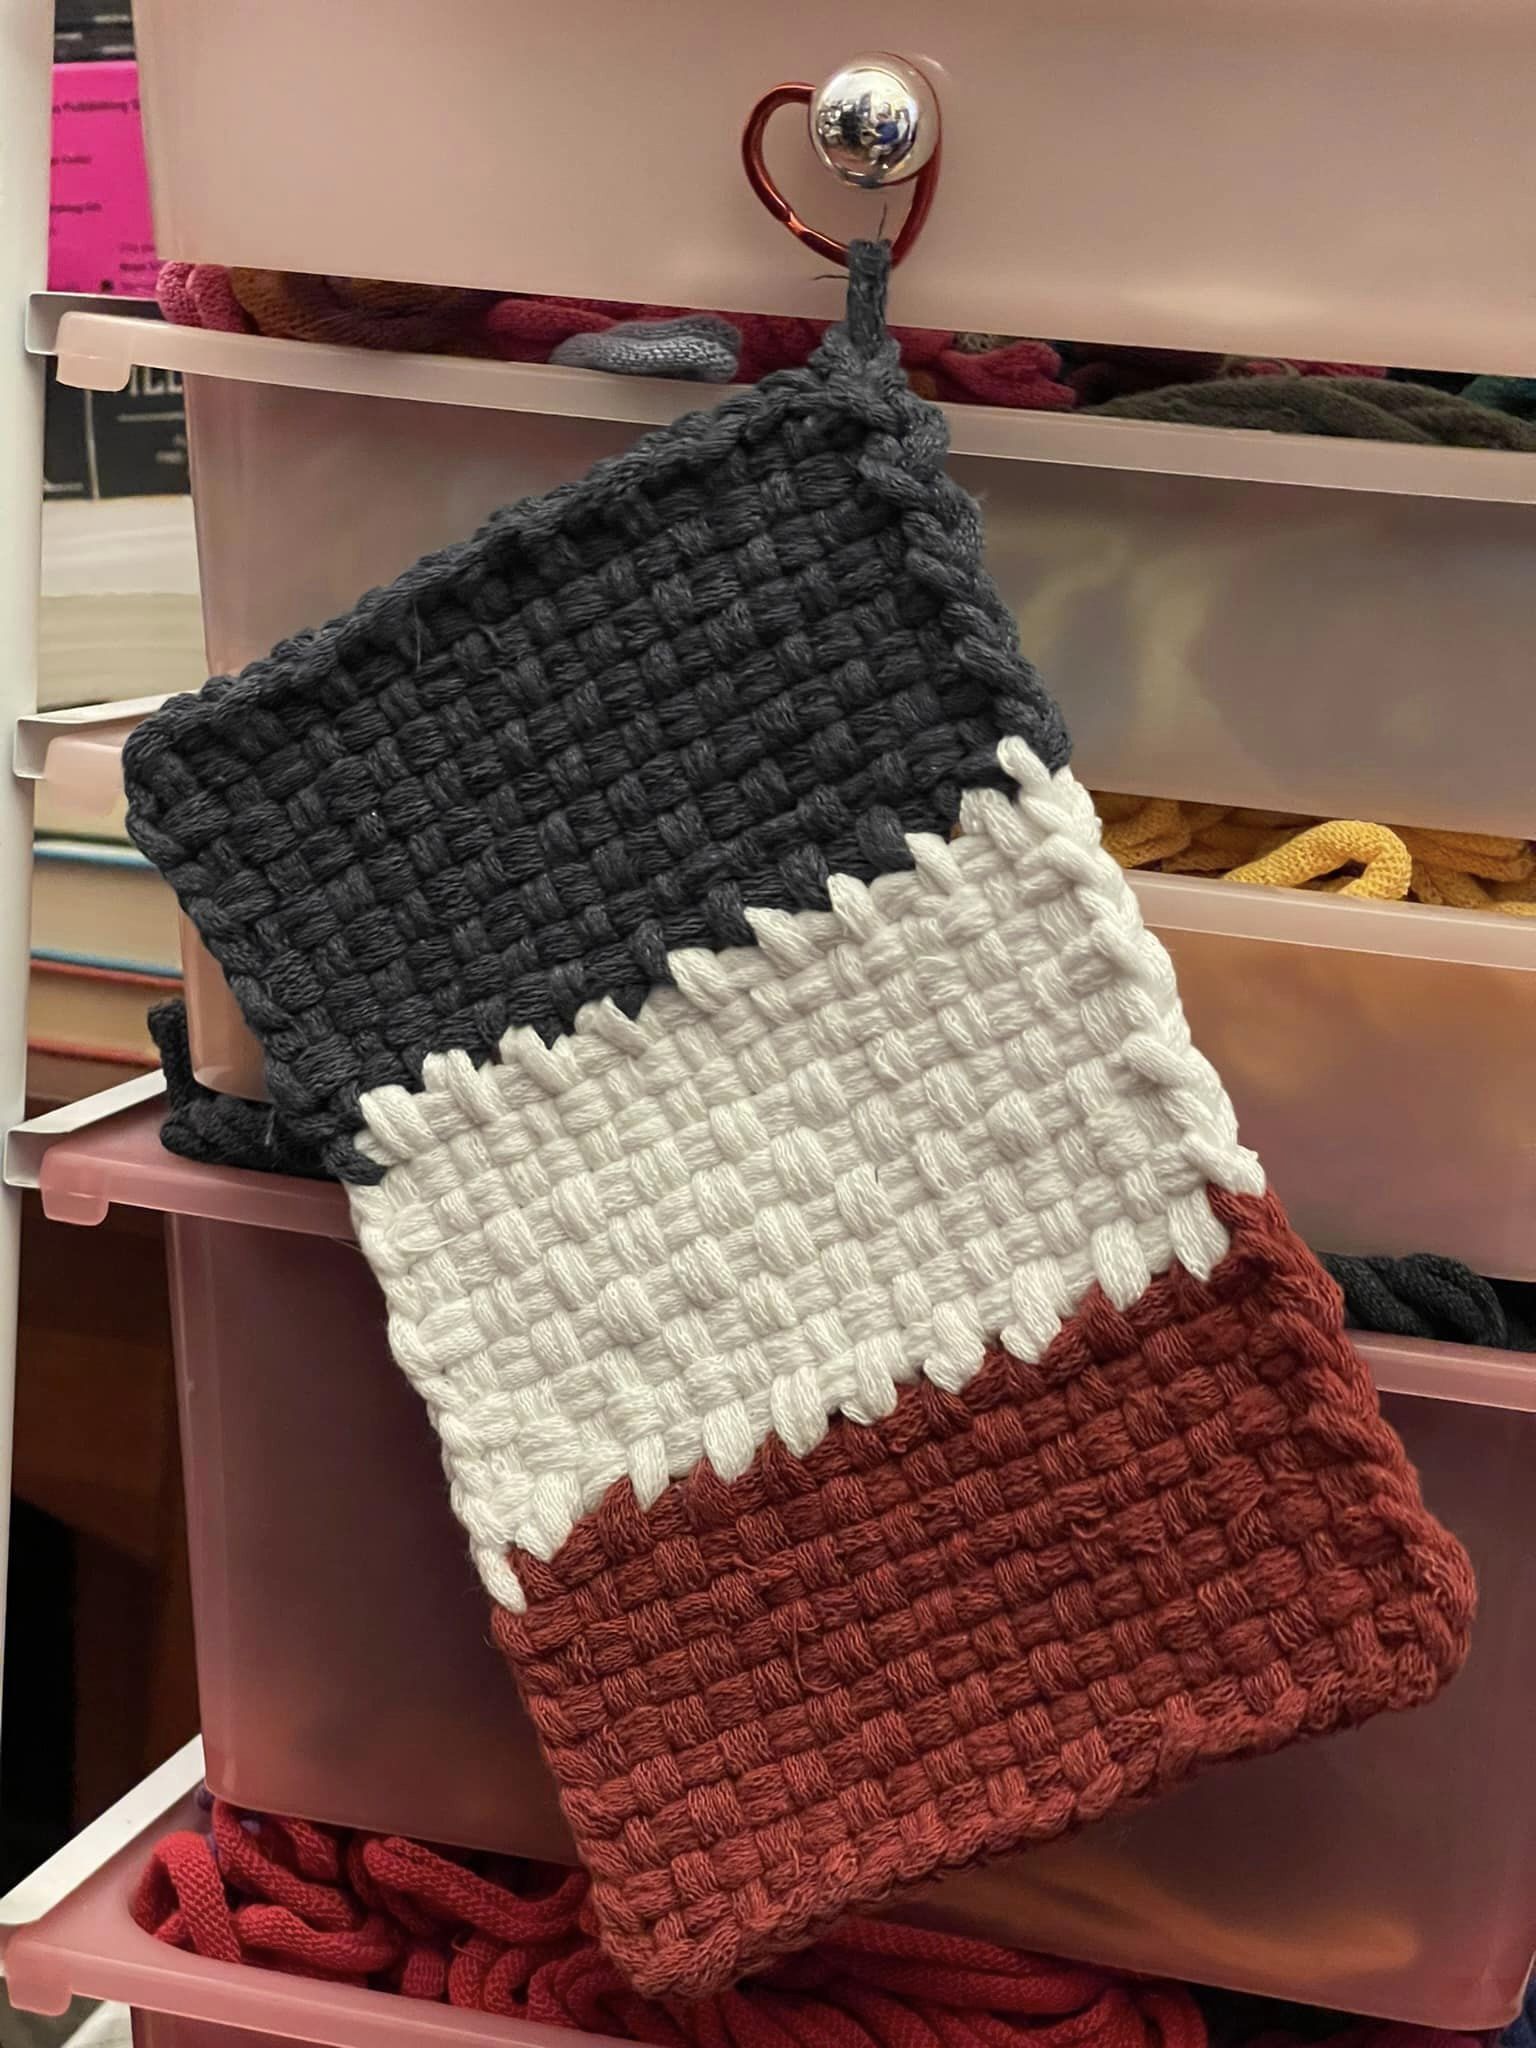
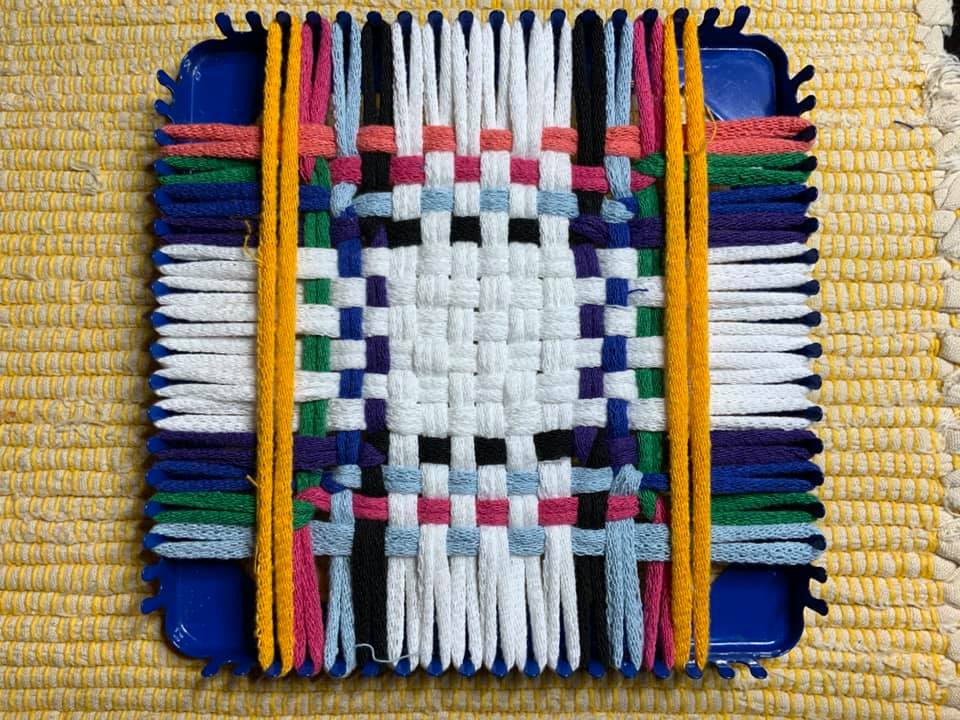
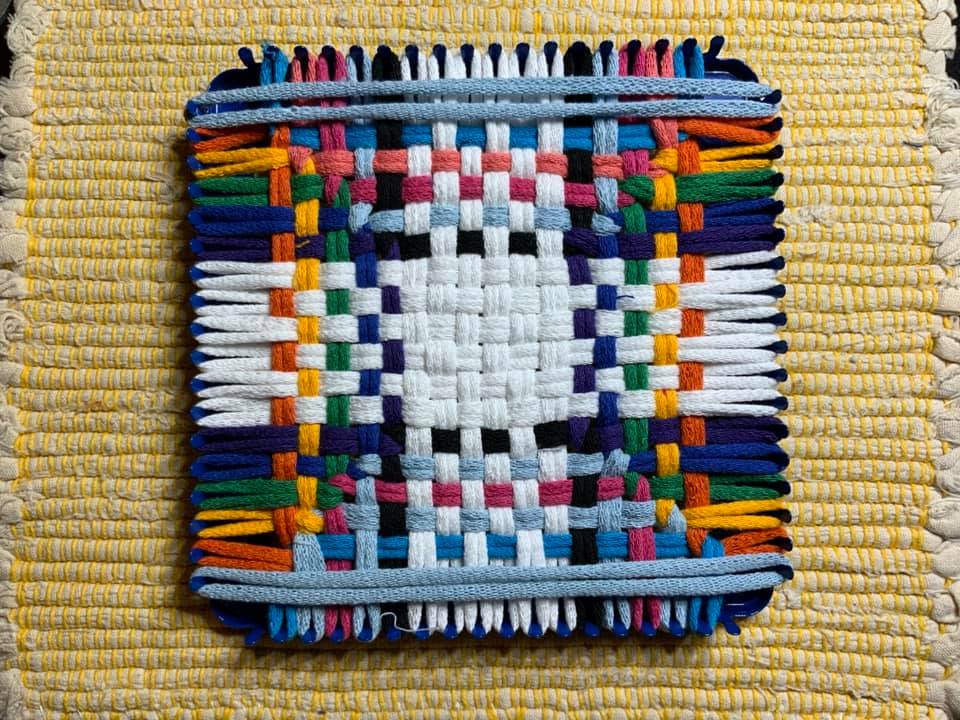
Bind off as usual.

Clasp Weave: Tri-Color Flags

Flags, you say? *You* get a flag, and *YOU* get a flag! Everybody gets flags!

Tricolors, anyway. 😉

Matthew noted that the 7″ traditional loop is 2/3 the size of the 10″ pro loop. So… 3 traditional loops folded in half equal one pro loop. Therefore, we can use this ratio to create three colorblocks across the width of our potholder!

We wove the French flag with denim, white, and cayenne traditional loops.

(You could use this same technique to make a square pro-sized potholder with matching colors of traditional-size loops in one direction and pro loops in the other.)

The photos below show the process, starting with warping the loom with loops folded over and threaded through each other. I wove the center section first, as I always do, but you could also start from either end. Before transitioning from one section to the next, check the next section for twisted loops and untwist them so they all line up nicely.

Diagonal Twist Photo Tutorial

Photo tutorial on loop swapping.

I work from the middle out. Once I’ve made the central square, I continue in rounds of 4 loops, adding to the top/bottom/left/right of the central square, and crossing the corners over each other.

[Originally published to Noreen Crone-Findlay’s Potholder Loom Weaving group on Facebook in February 2021.]

Diagonal Twists

Here is today’s fun! Exchanging row/column loops.

I saw an amazing design in the Harrisville Designs potholder competition this summer — and am sad to have mislaid the weaver’s name.

Today I was inspired to try it. I quite like the outcome. And there are SO MANY possibilities, my brain hurts.

My first effort was white/blue/silver — and I did not like it when woven. It looks fine in the photo, but did not appeal in the hand. So I pulled out the center square, and patched in a purple center instead. Ripping out its heart gave me a chance to show you the inner structure of the twisted loops.

First attempt using blue / white / silver. Ugh. Removing the silver.

The structure of the twists, revealed when I removed the silver center.

Patching in purple.

My finished potholder.

[Originally published to Noreen Crone-Findlay’s Potholder Loom Weaving group on Facebook in February 2021.]