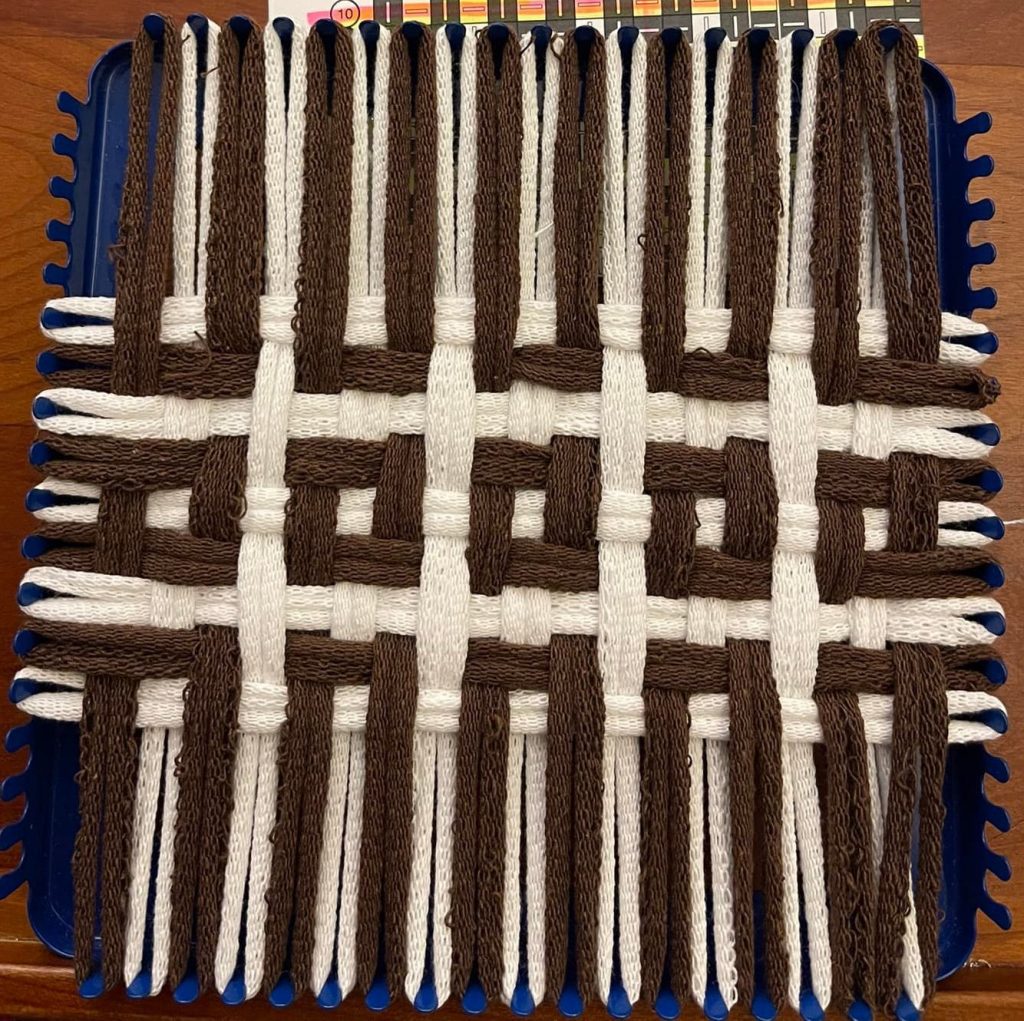
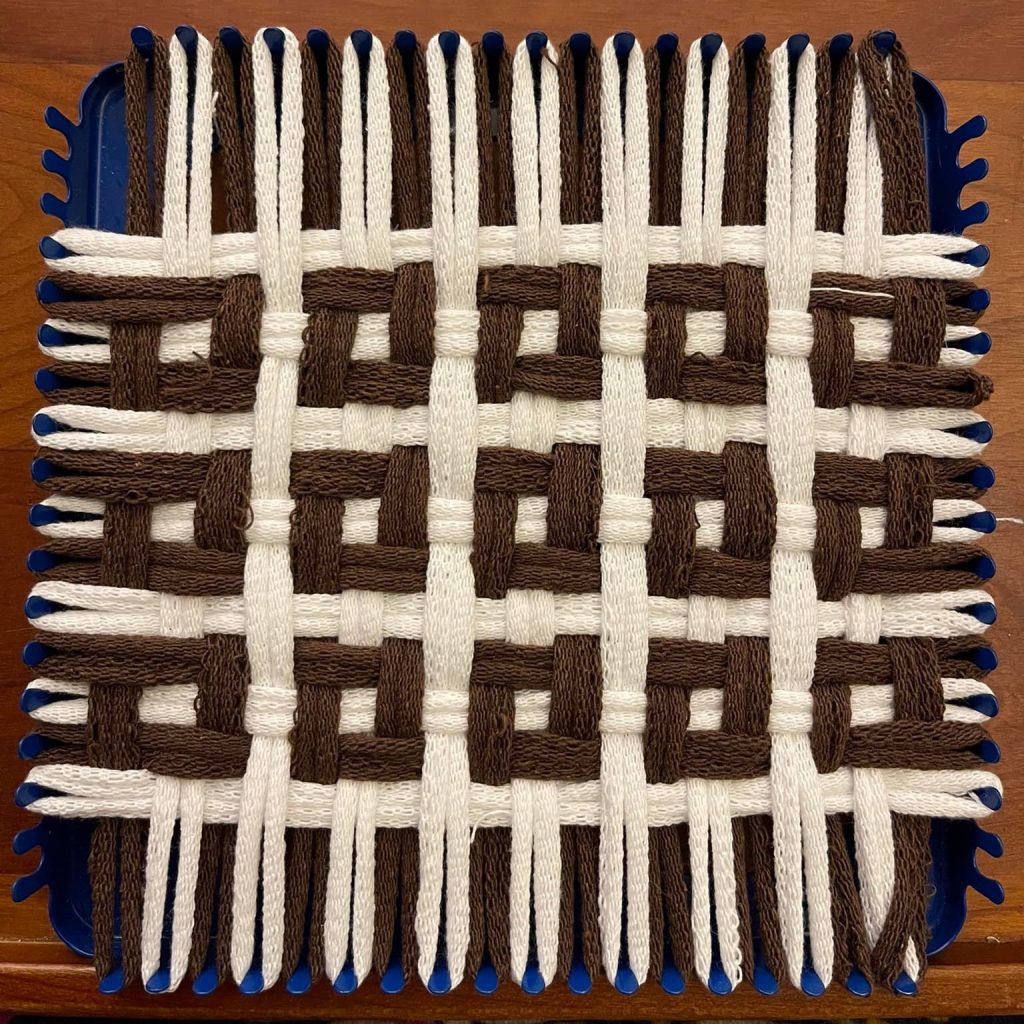
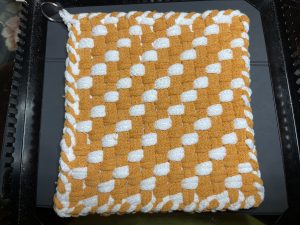
Today’s fun! Another great texture, both stable and flexible. Easy to weave, it has 2 regular patterns: 2 / 2 / 1 / 1 and tabby (over/under across the row).
Blog
Radiating Boxes
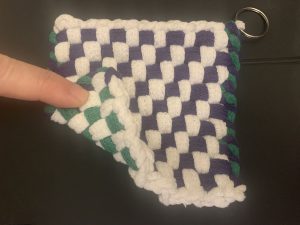
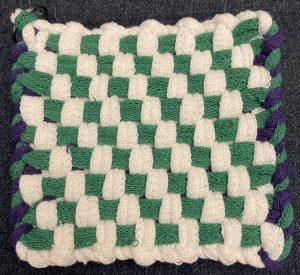
You know how tabby (plainweave, over/under across the row) can be a little stiff? This weave includes 3-floats in the center, and 2-floats that progress along the vertical, the horizontal, and both diagonals, so that the potholder flexes easily in all directions, and can be crumpled into your hand. The mostly tabby construction keeps it stable. It molds extremely well, and would be excellent for items like Dutch oven lids, whose knob can be hard to grasp and also wicked hot, fresh out of the oven.
The 3-floats cause the small boxes (4 white on the front, and one blue on the back) to close up on themselves, hiding the center opposing color.
Because of its moldability, this would be an excellent base for a potholder bowl or other flexible construction.
You’ll see in the captions that I have ideas for adjusting the weave. If you work this before I put out the finished pdf (and honesty even after, I’m always up for improvement), I’d love to hear your input on your twilling choices.


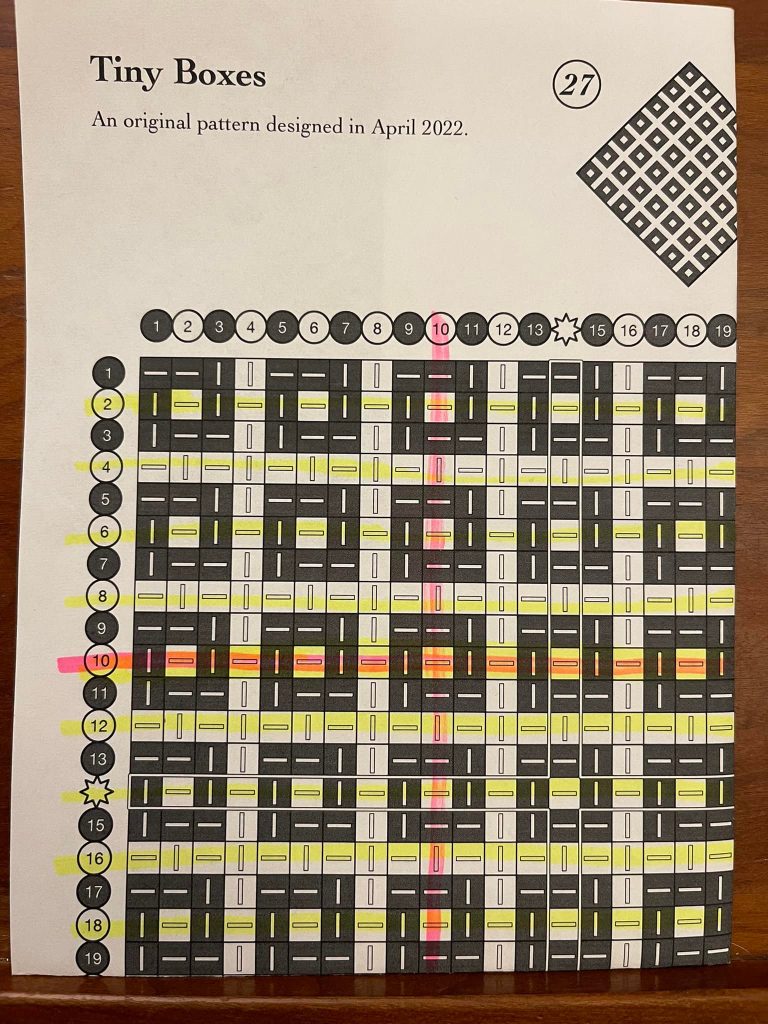
Tiny Boxes
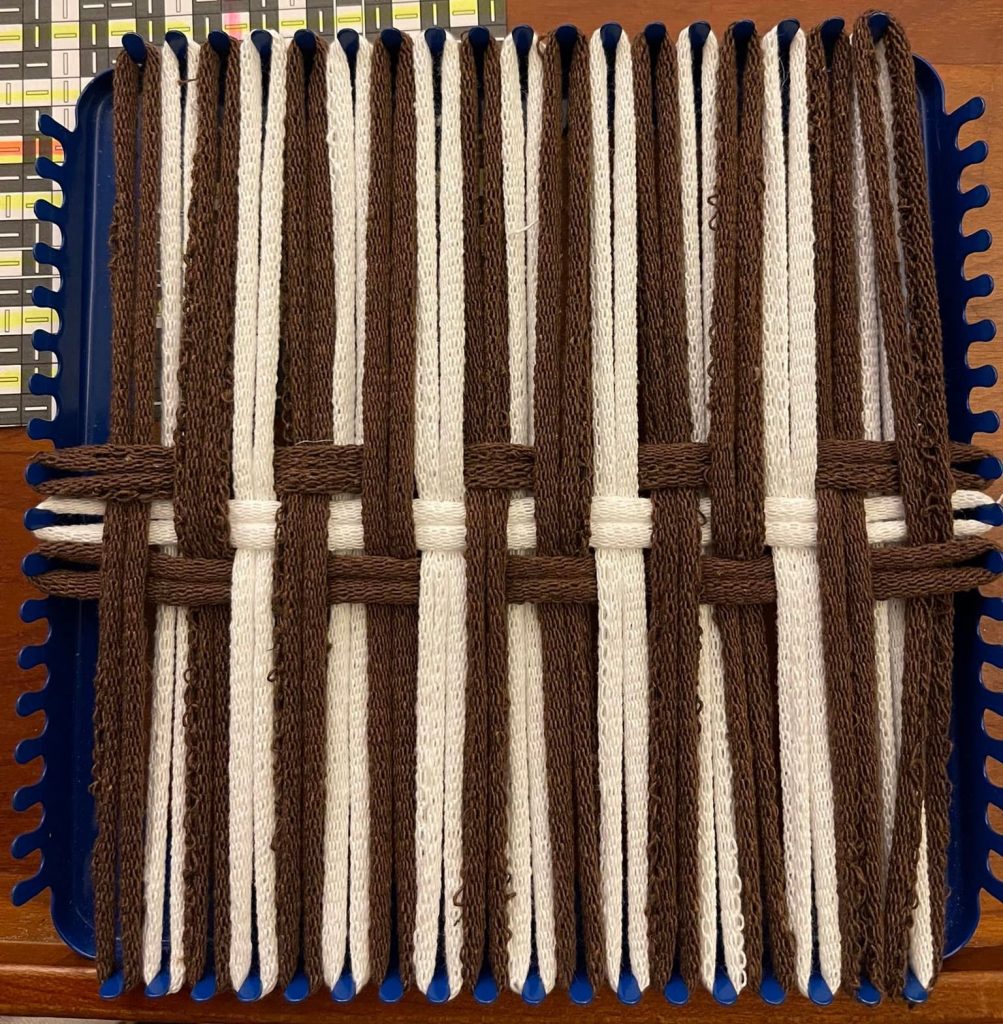
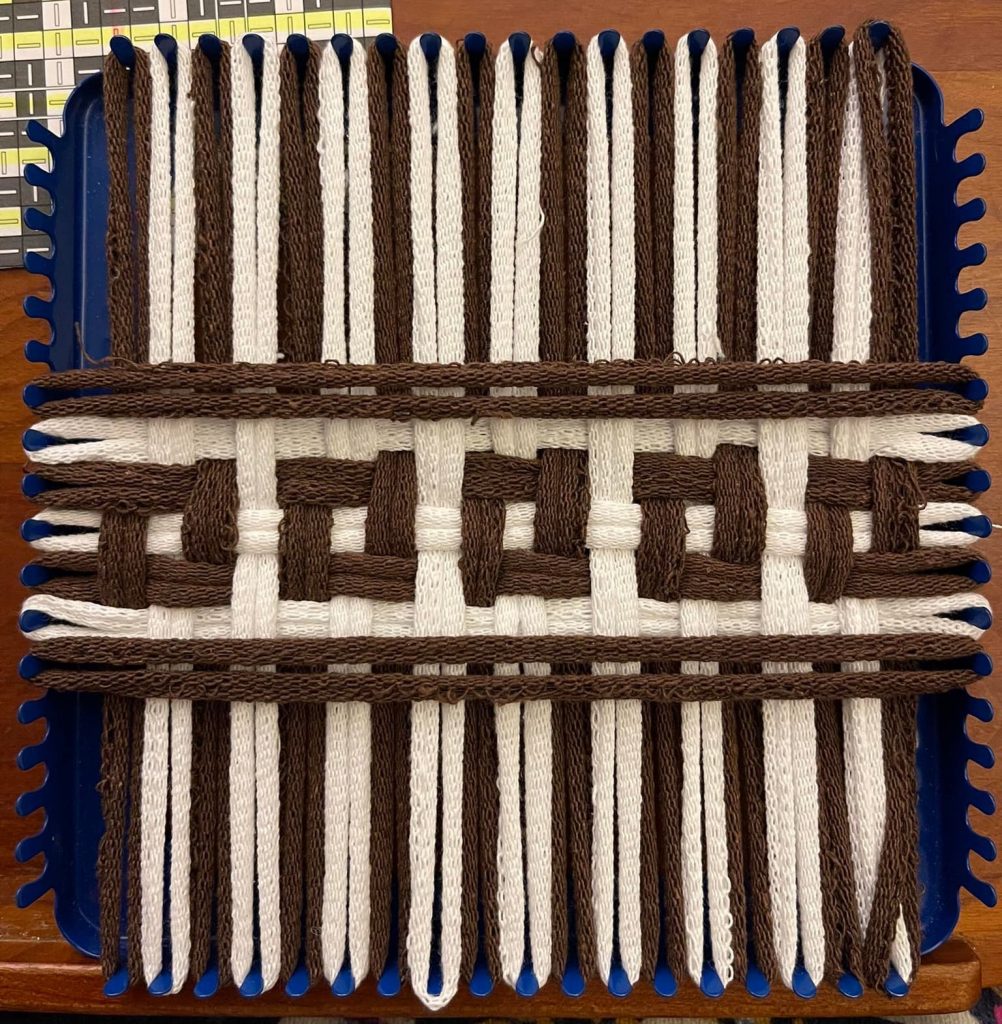
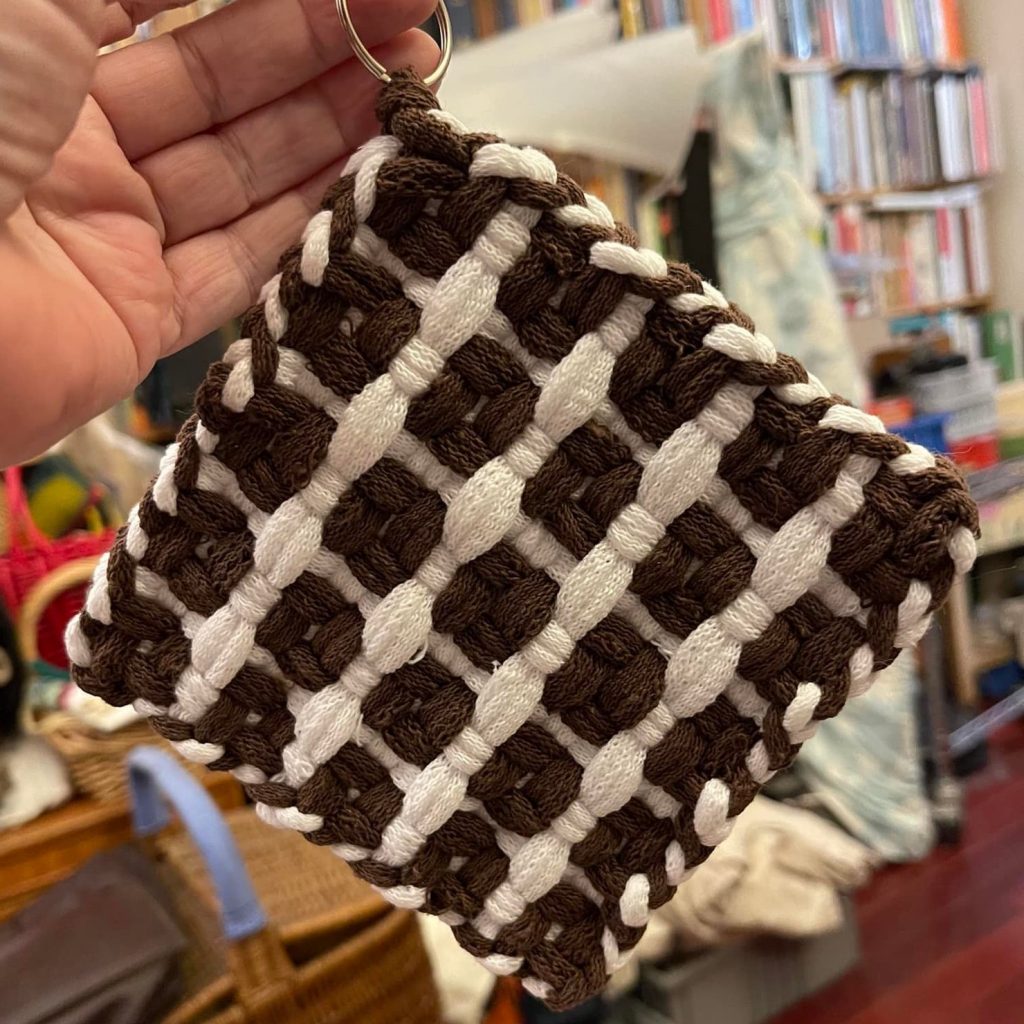
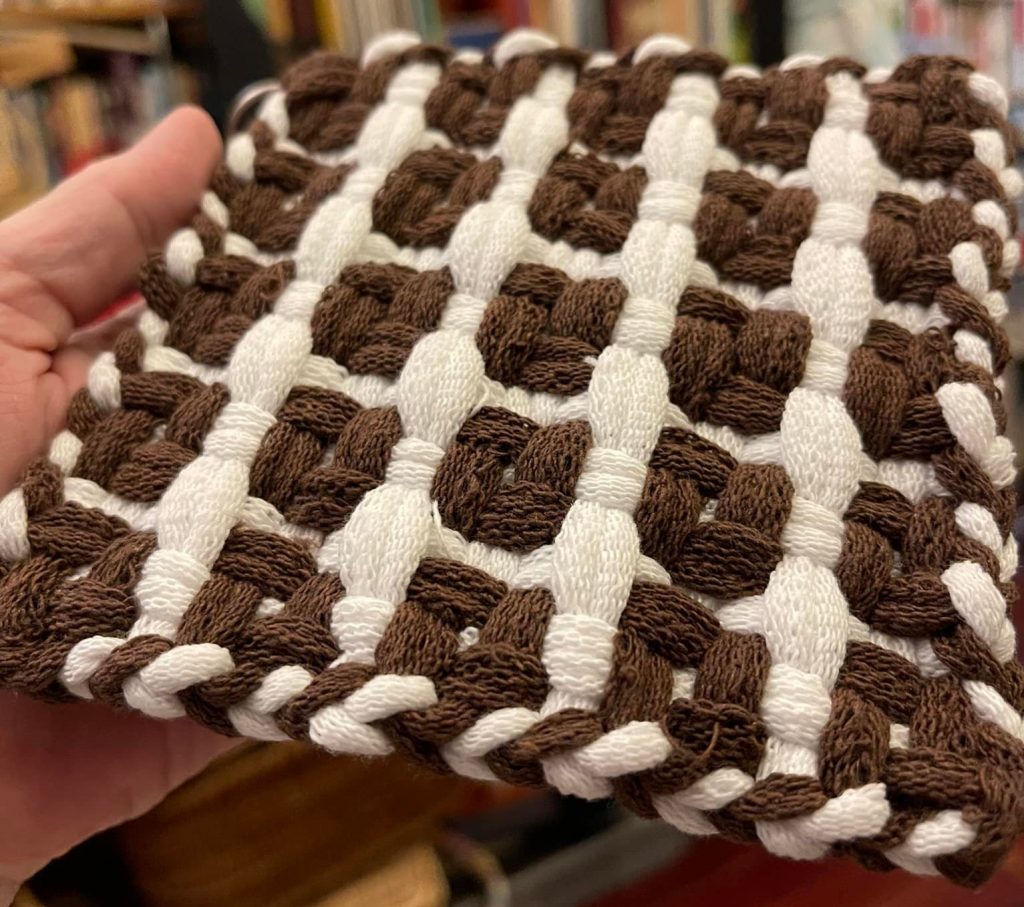
Here’s a fun variation based off of “Cobblestones” that is provisionally named “Tiny Boxes”. It’s another highly textural fabric, very ridged, almost like corduroy? Has insulating pockets spread out evenly, and should make an excellent trivet.




Leaning Tower Twill
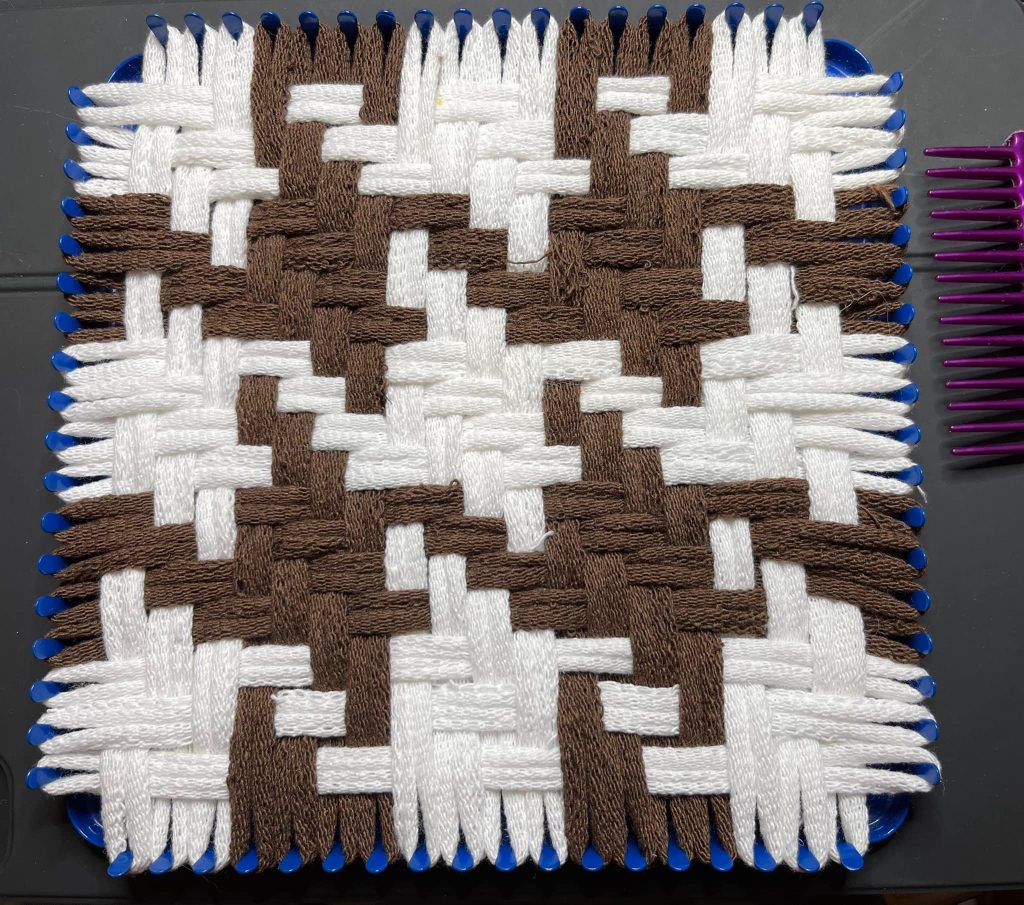
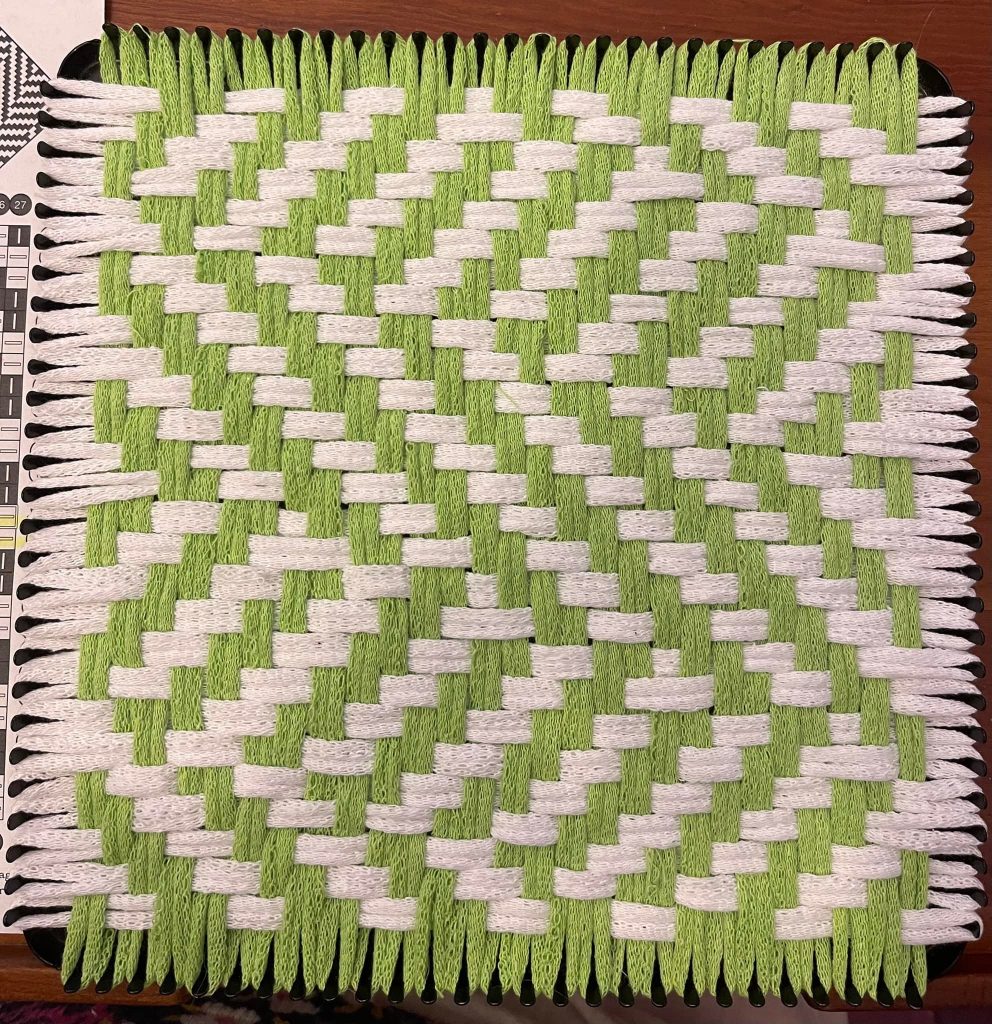
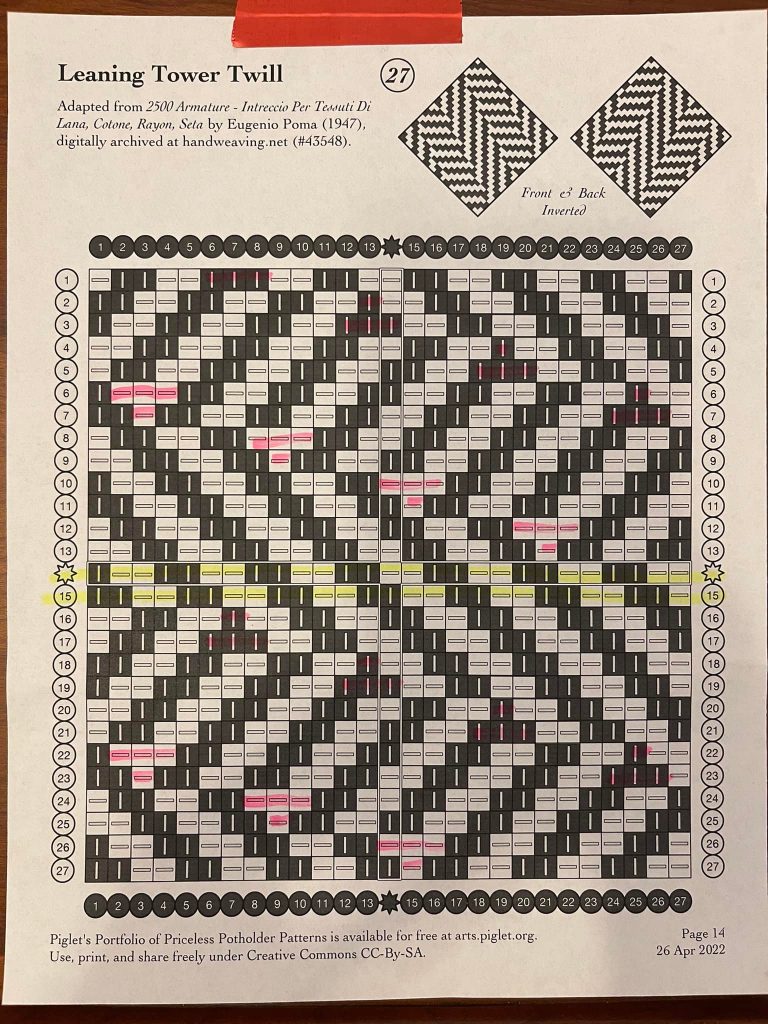
Look at this amazing chart I woke up to this morning!! I had to work in lime for the contrast because this pattern is SO SHOCKING.
I don’t think this pattern will be effective in an 18-peg version that is a subset. I think it would need to be re-charted to get the full unsettling sensation. It would make a very interesting placemat, with the greater expanse of fabric.
Texturally, the fabric is supple yet stable, as you would expect from any 2×2 twill. The pattern changes do not significantly distort the result.
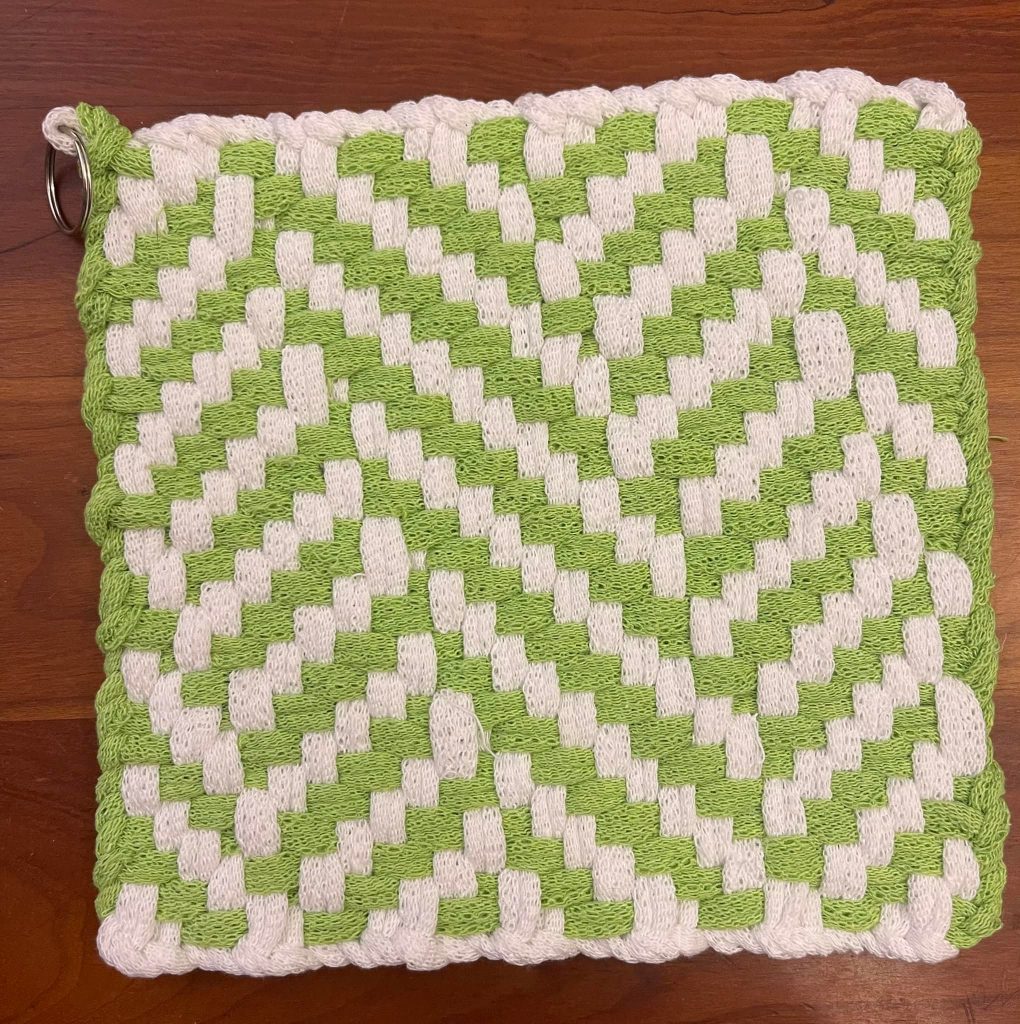
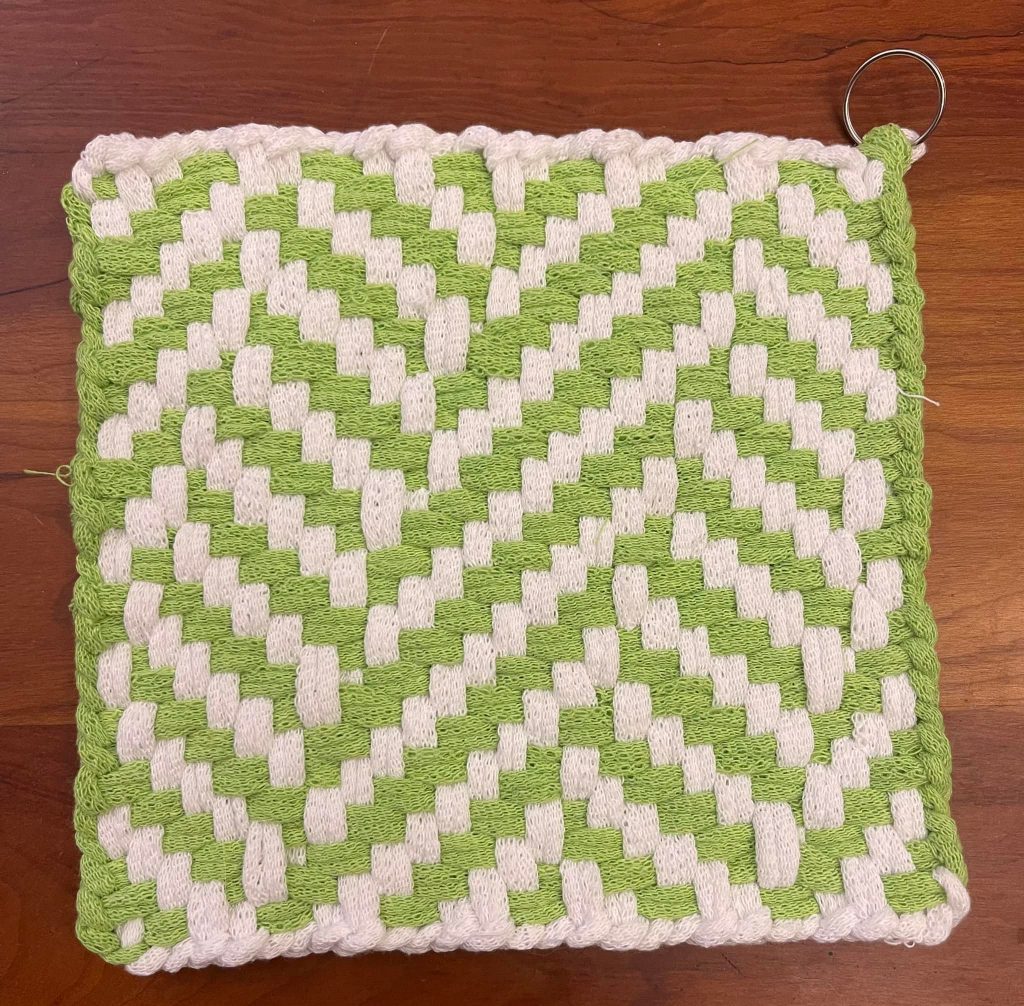
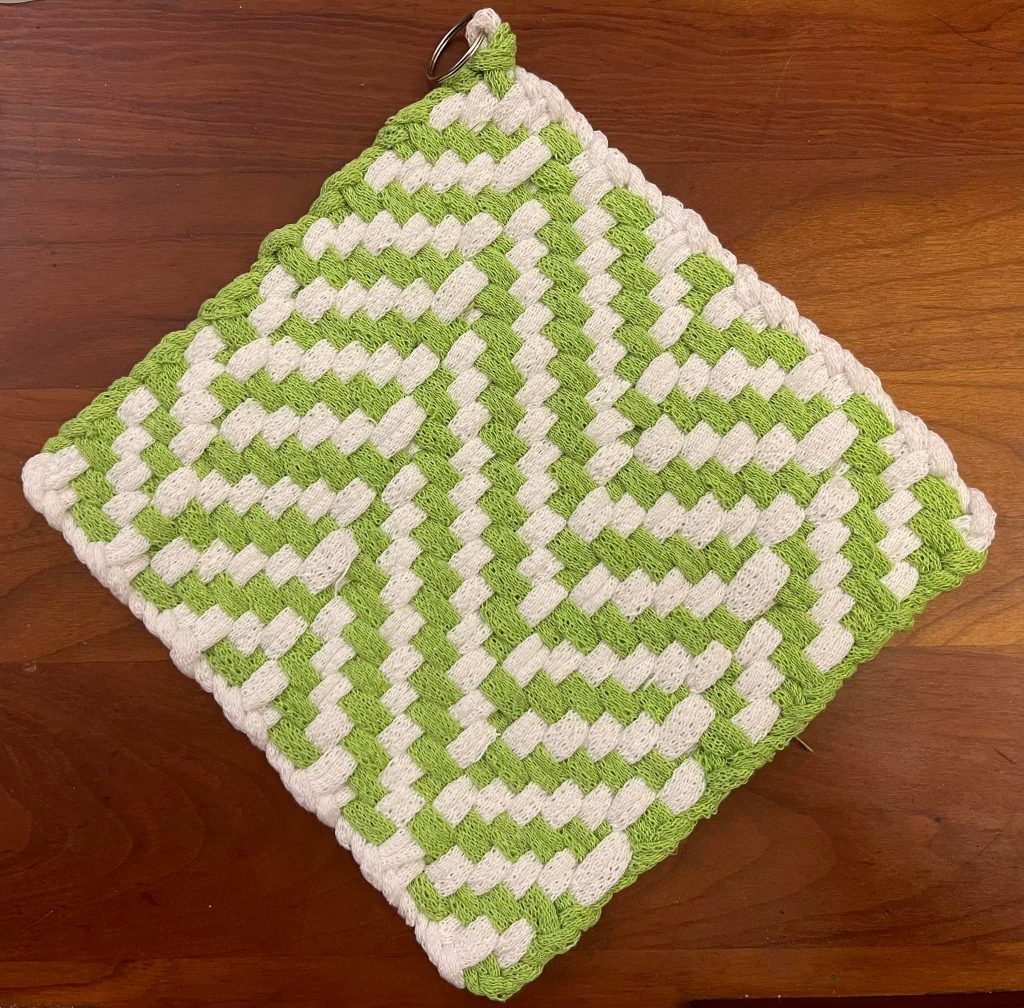
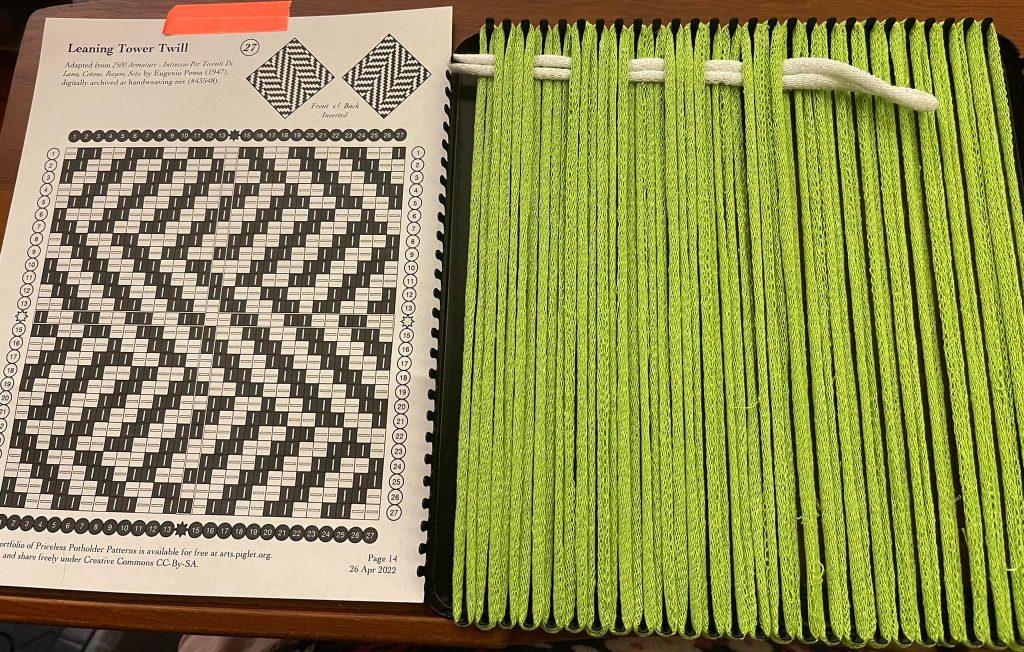
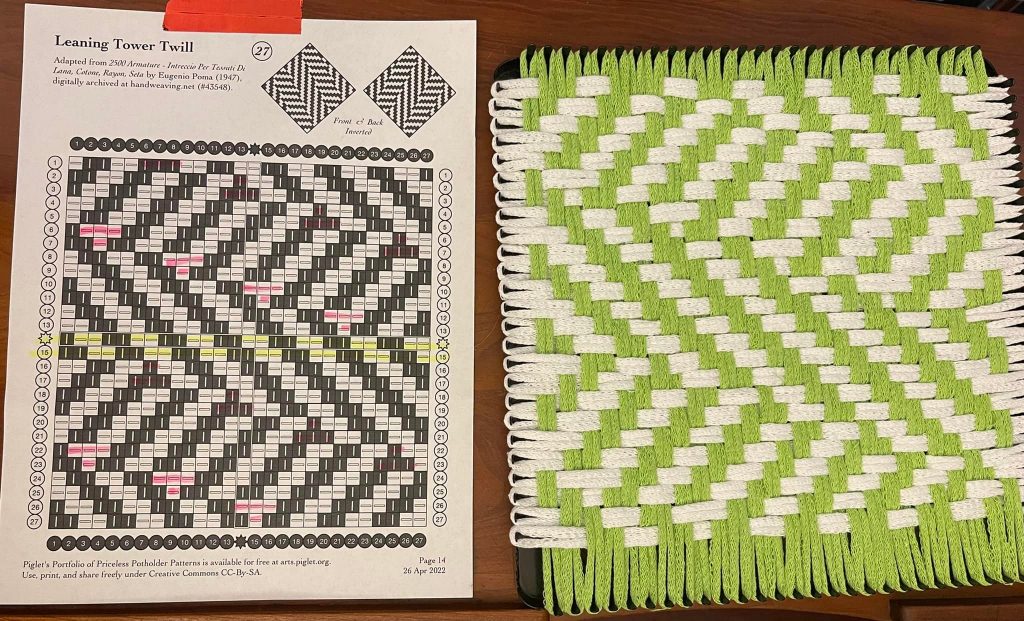
Start with the center row and the row below, which helps lock in your loops to their correct columns (they do love to roll around, especially in 2×2 twill). Working from the center row to the top and bottom rows, start your weaving in each row with the discontinuity in that row. For the 4 rows with 2 discontinuities, start your weaving in the middle and work out to the pattern changes, which will be at each end of your row.
Cobblestone
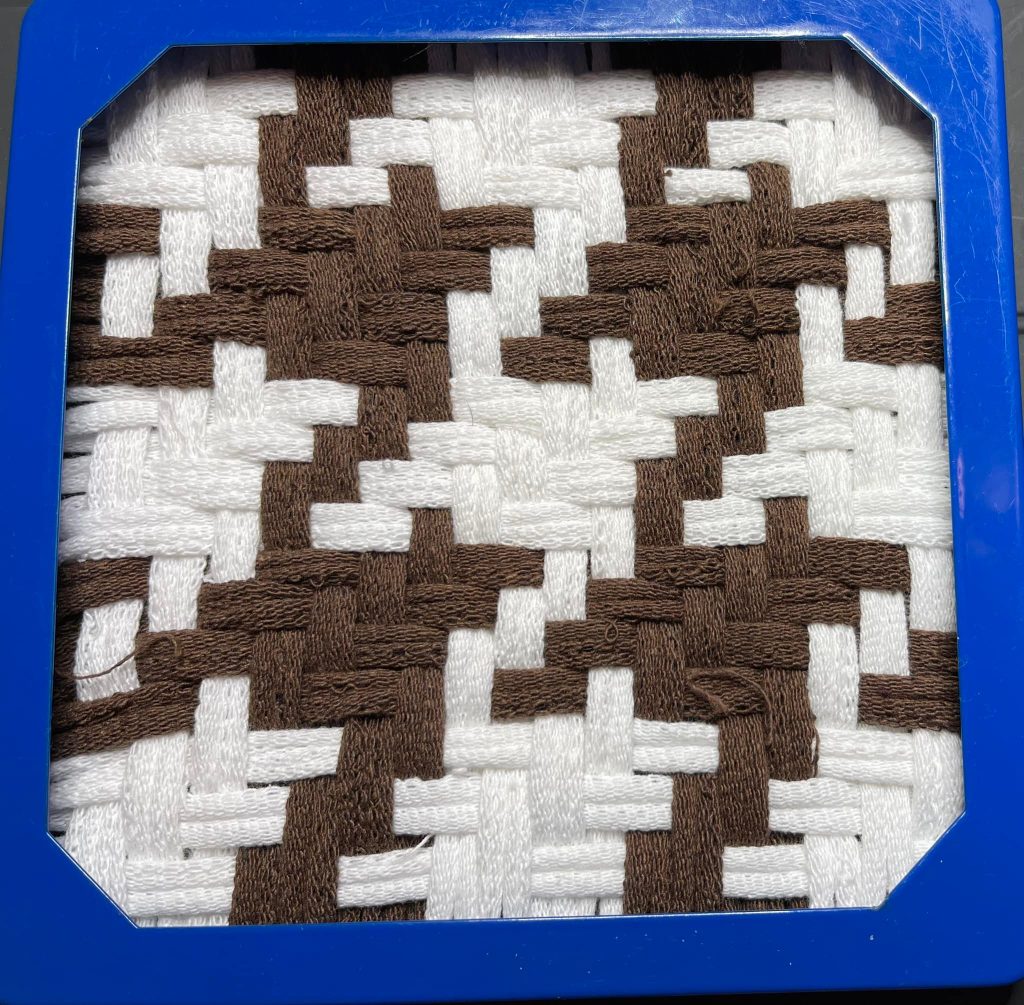
New fabric from Matthew!! This one is amazeballs. I don’t know how he keeps doing it. Renamed “Cobblestone” after binding off.
The fabric is remarkably stable, with distinct bumps where the squares close up over their center. It folds easily on the grain (horizontally and vertically), but does not like to fold diagonally or twist on the bias.
I have woven the sample on an 18-peg loom, using the first 19 rows and columns. Because the pattern is quadrilaterally symmetric, it is an astonishingly easy weave. If you start in the center and work out, you repeat each half row 4 times. Every 4th row is plain tabby (simple over/under) across the row. Photo tutorial to show all steps, exhaustively.


Houndstooth
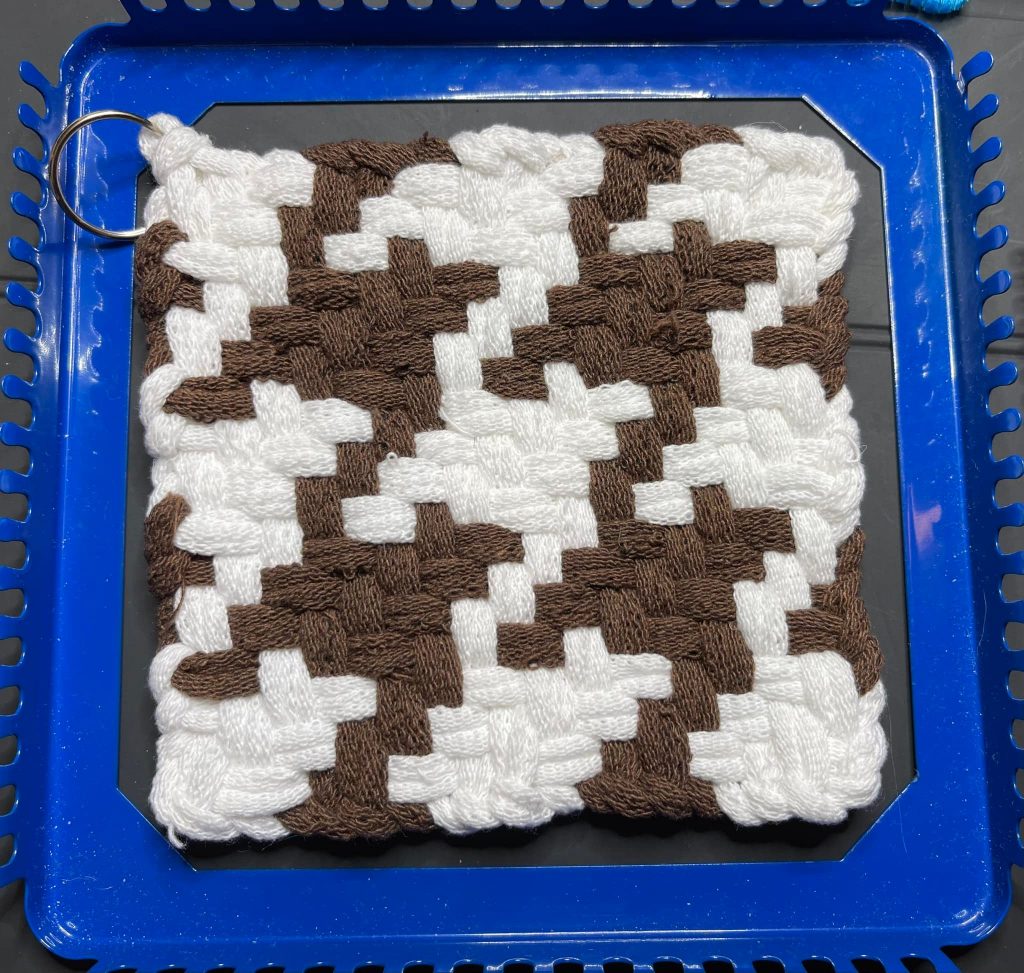
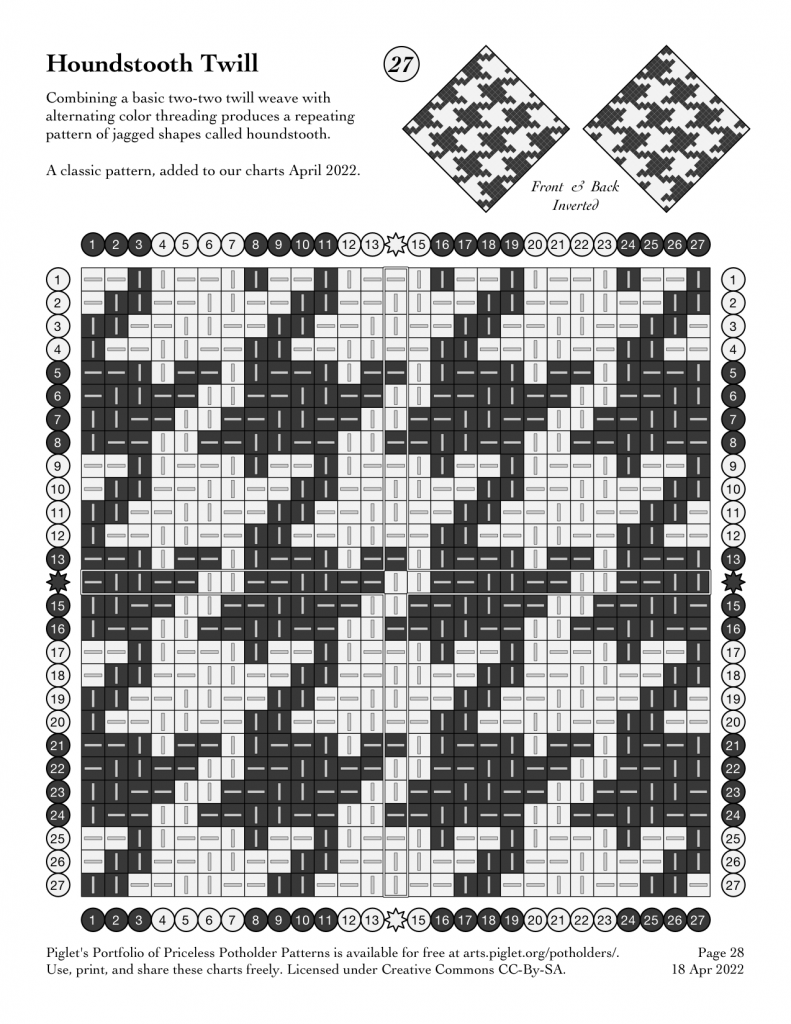
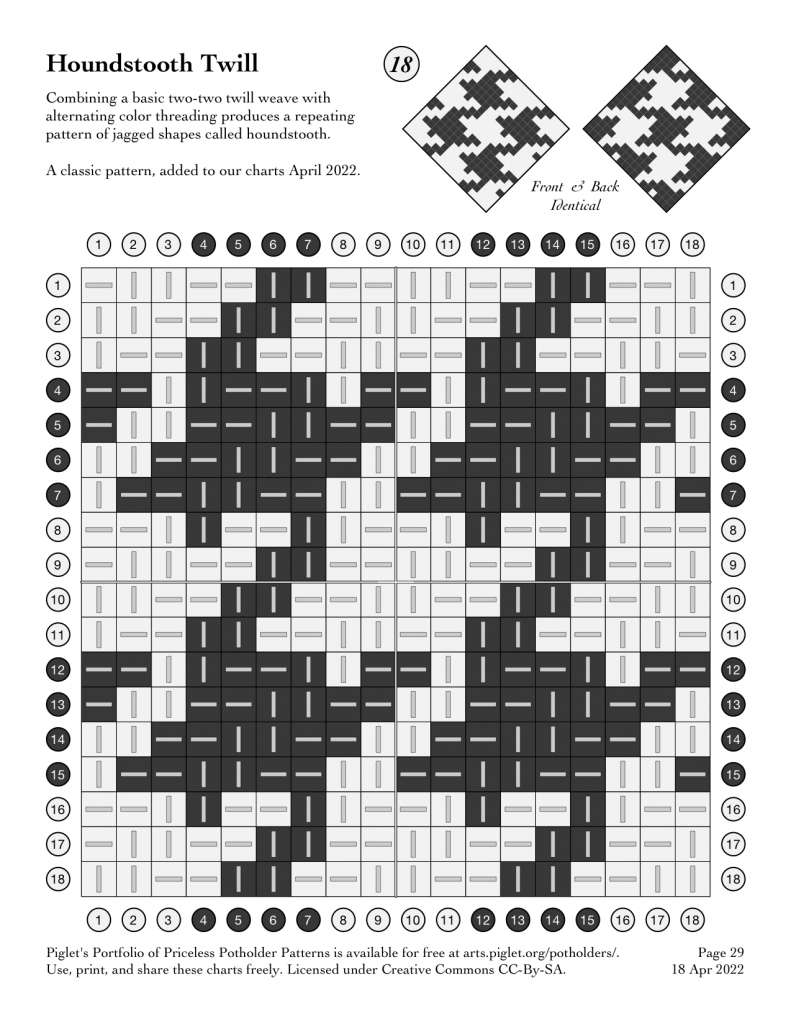
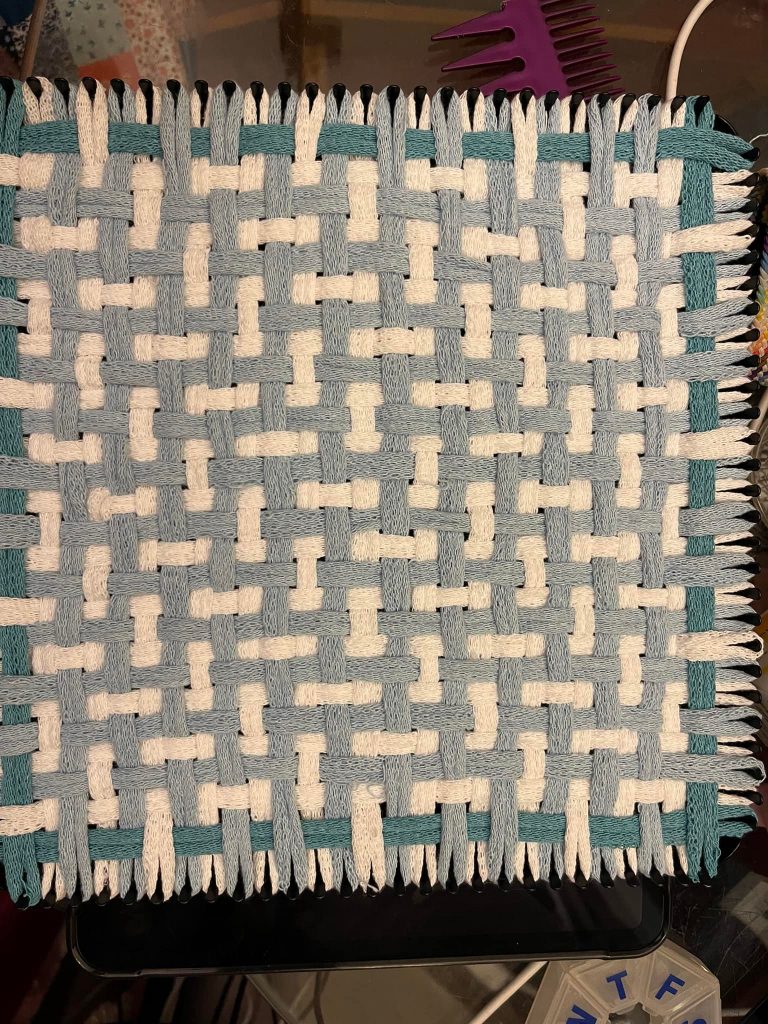
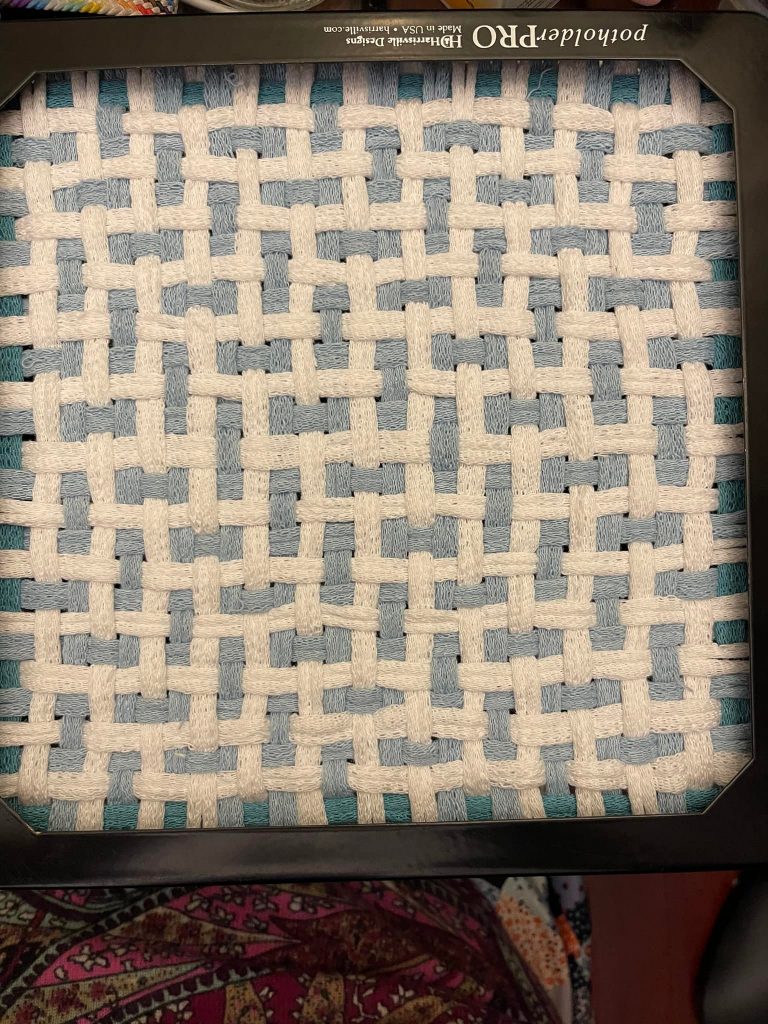
Houndstooth! Matthew charted the classic houndstooth weave, which is threaded with alternating sets of 4 loops, woven in a 2/2 (2 over / 2 under alternating) twill, progressing one loop per row. I opted for chocolate and white for this sample, which gives it a bit of a cow-hide effect. (Cowstooth??)
As is the nature of 2/2 twill, the fabric is thick, small, puffy, flexible in all directions yet stable. This one is 5″ square (off the 7″ loom). It takes a little time to draw in on itself. You can help it along by manipulating it with your hands, and you should expect shrinkage over the course of the first few hours to its final size and thickness as the twills snug up on each other.
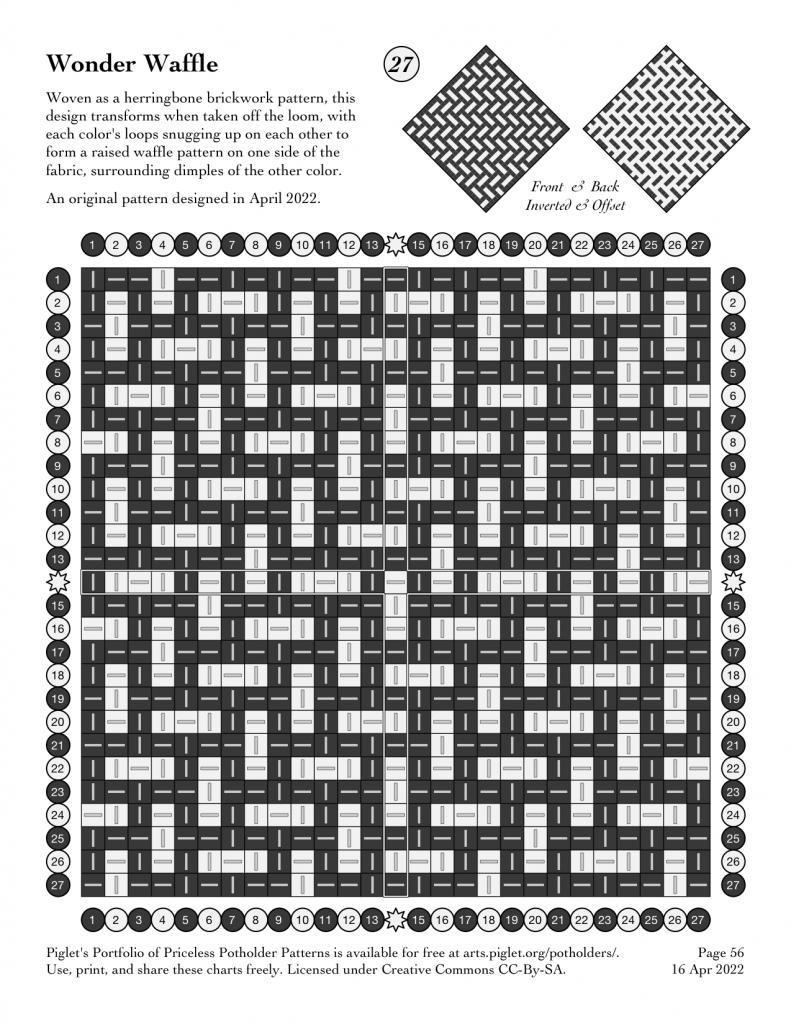
Wonder Waffle
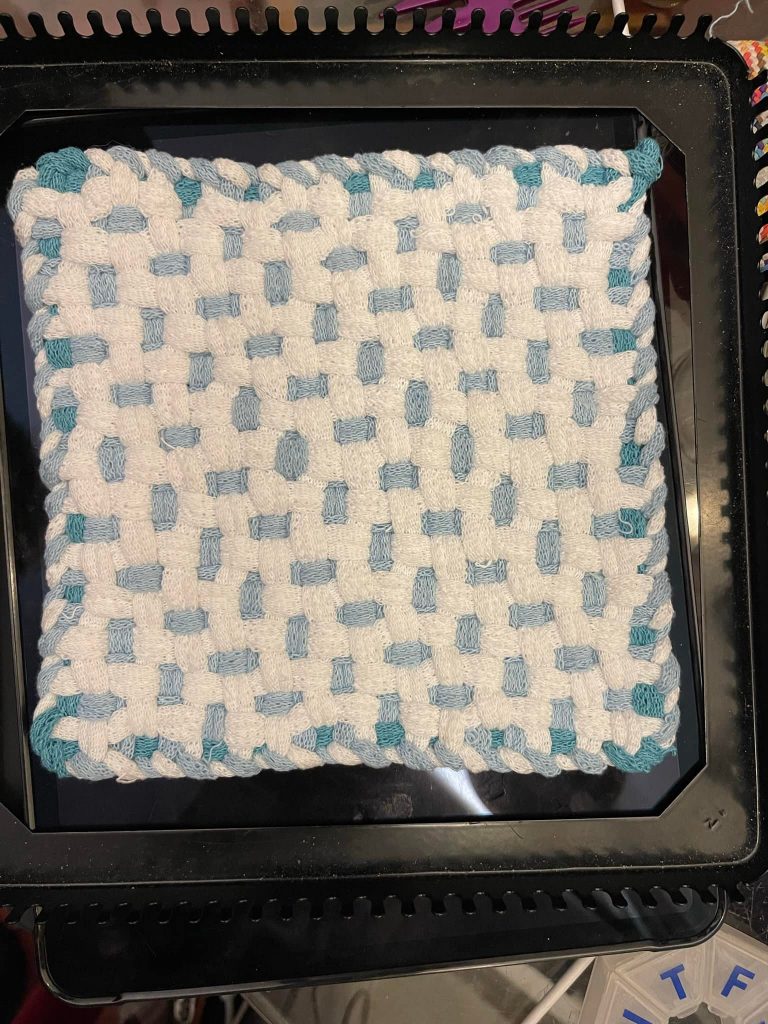
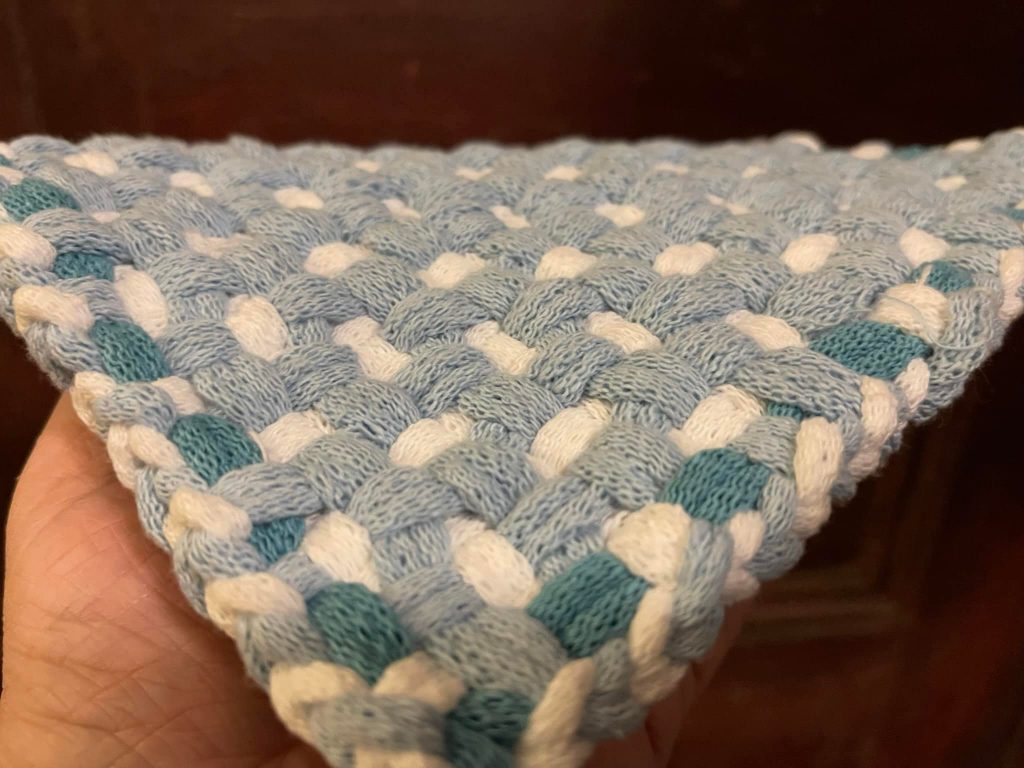
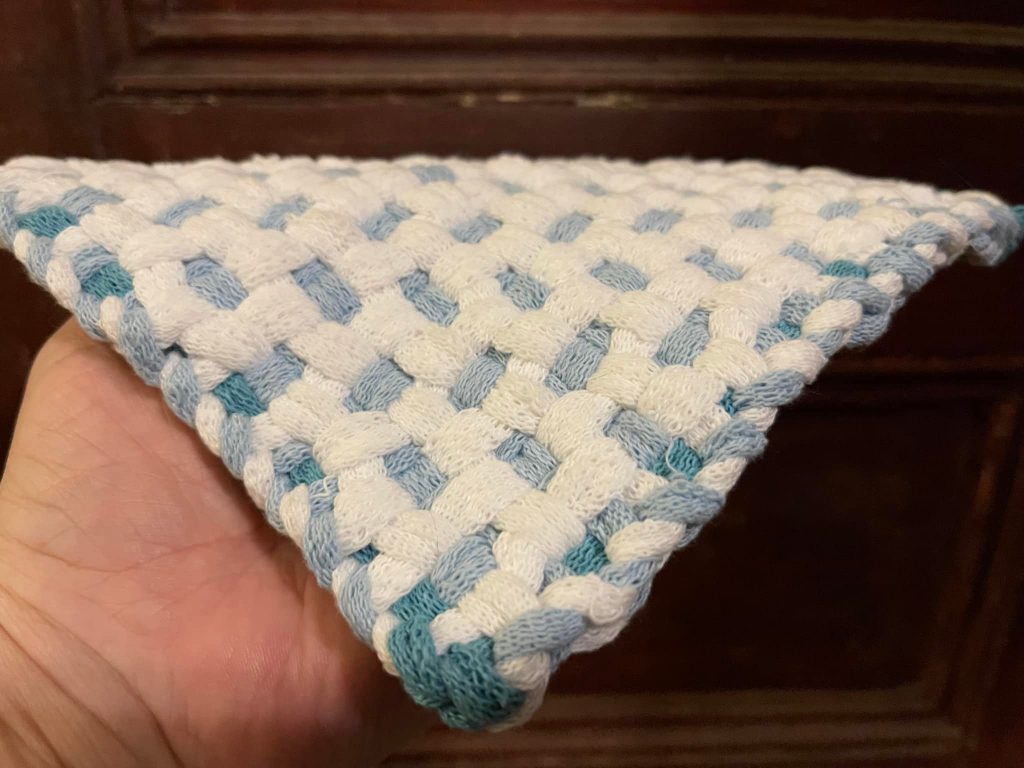
New pattern! Wonder Waffle. With a wonderfully waffly weave! This is a collapsing pattern, which will not look like the same design under tension. Under tension, you have what looks like brickwork. Off the loom, it’s as if the grass and moss surrounding your bricks overgrew them.
Once you take it off the loom, jiggle around in your hands, wriggling it against the bias until it shimmies into shape. The loops will pull each other into a semi-collapsed form that has distinct wells in it. If you look at it sideways you will mostly see one color on each side. It is very thick, extremely flexible, and protective against heat.
Mini Heart Start-to-Finish Video
Start-to-finish weaving of a mini-potholder (coaster or mug rug) on an 18-peg traditional potholder loom, in a single heart pattern.
Sheila’s Shamrock
Wibbly Wobbly Timey Wimey
This pattern really is bigger on the inside. Continue reading “Wibbly Wobbly Timey Wimey”
